Meta Description: Budget DIY home upgrades don’t have to make your home look cheap. Discover 12 designer tricks that transform your space without emptying your wallet — starting now.
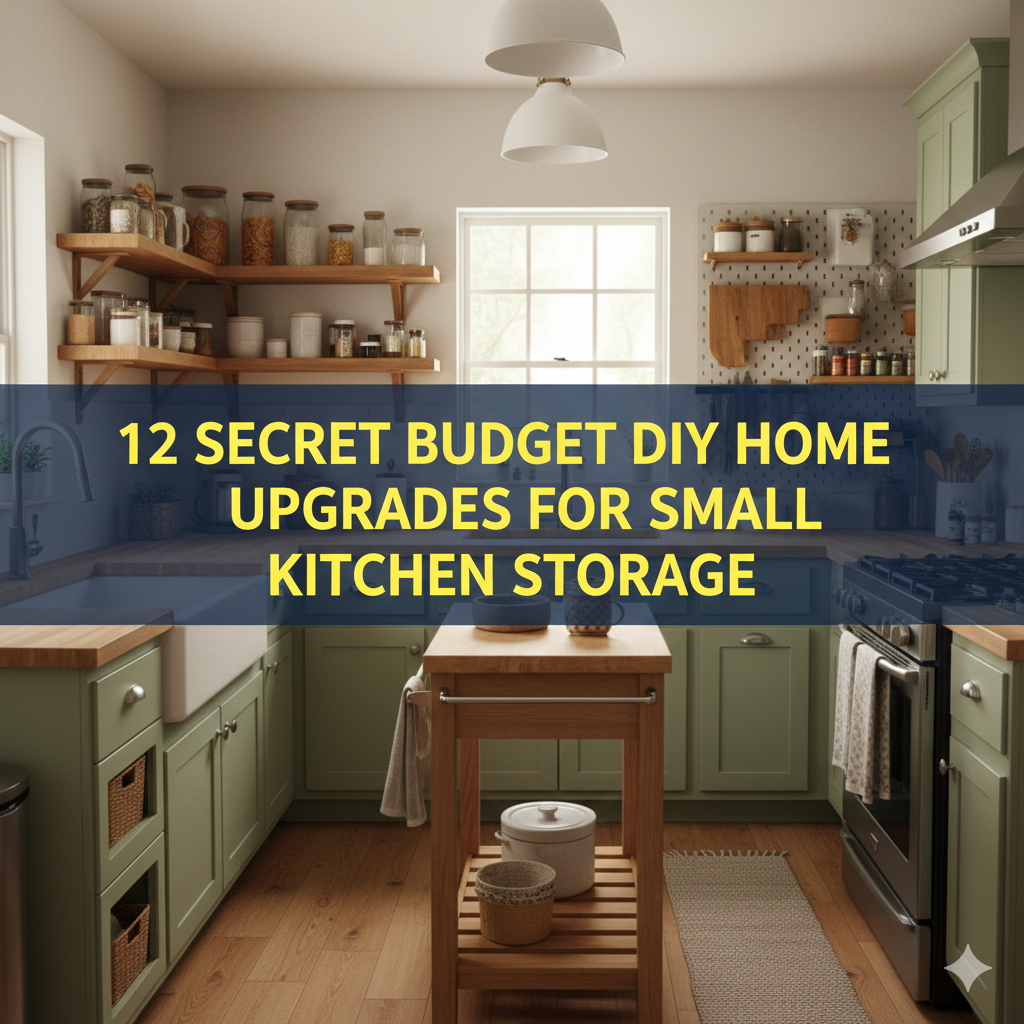
12 Secret Budget DIY Home Upgrades Designers Swear By
Your Home Can Look a Million Bucks — Without Spending It
You feel it as soon as you step into a beautifully designed house. Something just works. The colors, the textures, the tiny details — everything feels deliberate.
The truth that your favorite designers probably won’t share with you: a large part of that “expensive” look is achieved using clever, low-cost hacks. Not by blowing a budget on high-end furnishings or hiring a full renovation crew.
Interior designers do it all the time, and they are working within a budget. They have created a toolbox of clever, inexpensive improvements that pack a wallop for their price. And the best part? The majority of them are 100 percent DIY-friendly.
This guide highlights 12 of those pro-level upgrades. Whether you’re renting, buying, or already sick of the same blah walls, these ideas will help you re-envision your home — and how your home makes you feel.
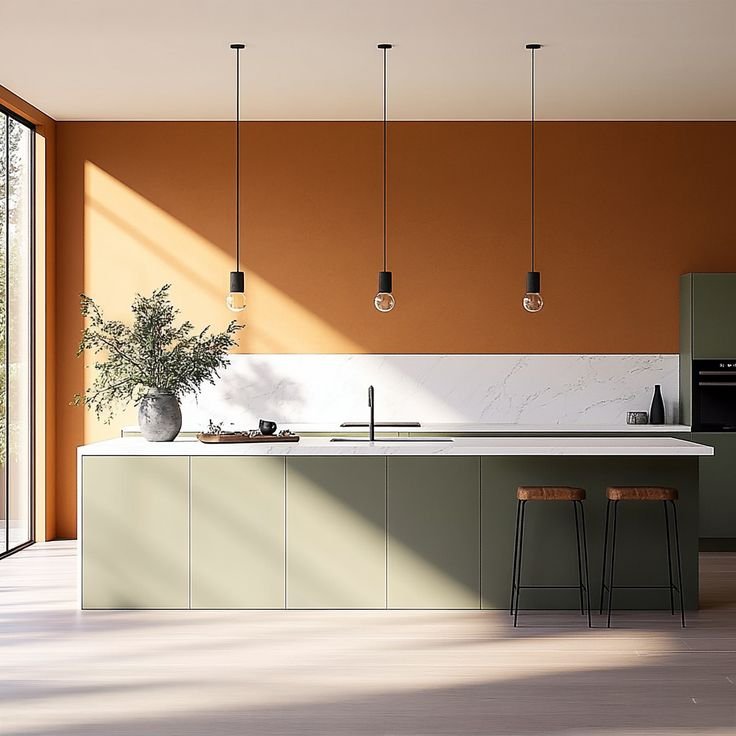
1. Add a New Color to the Ceiling (Yes, Really)
The majority of people paint their ceilings white and never think about them again. This is what designers call a missed opportunity.
A colored ceiling — even a subtle one — immediately gives a room more of a designed feel. It adds texture and character without moving a single piece of furniture.
What Colors Work Best?
- Dark ceilings (navy, forest green, charcoal) make a room feel cocooning and dramatic
- Warm tones (blush, terracotta) bring softness and intimacy
- A slightly deeper shade of your wall color suddenly ties the entire room together
One can of ceiling paint alone costs $20–$40. The effect is far larger than that price would suggest.
Pro Tip: Start by painting only the ceiling in a dining room or bedroom first. These spaces benefit most from the “cozy envelope” effect a colored ceiling creates.
2. Swap Out Builder-Grade Light Fixtures
Nothing screams “this is the original 1998 fixture” more than a basic boob light or a brass chandelier with fake candle bulbs.
Lighting is among the quickest ways for designers to change a space — and you don’t need an electrician for most swaps.
What to Look For
| Old Fixture | Upgraded Option | Average Cost |
|---|---|---|
| Basic flush mount | Drum shade or rattan pendant | $30–$80 |
| Brass chandelier | Matte black or aged bronze | $50–$120 |
| Recessed can lights | Retrofit LED trims | $10–$20 each |
| Bare bulb | Edison or globe bulb | $5–$15 |
Most light fixture replacements take less than 30 minutes and require only a basic screwdriver. Switch off the breaker, match wires by color, and follow the included instructions.
The bulb matters too. Use warm white bulbs (2700K–3000K). Cool white light (4000K+) makes the space feel sterile and flat.
3. Add Trim Where There Was None
Crown molding, board and batten, wainscoting — these architectural flourishes distinguish a plain box of a room from something that appears custom-built.
The trick? You don’t have to be a carpenter.
The Easiest DIY Trim Upgrades
Board and Batten: Mount flat boards vertically on the lower wall with a horizontal cap rail at the top. Paint it all the same color. It looks like it came with the house.
Picture Rail Molding: Place a simple strip of molding around the room at about door-frame height. Paint it the same color as the wall and it reads as architectural detail, not DIY.
Chunky Baseboards: Ditch your thin builder-grade baseboard and upgrade to something 4–5 inches tall. The difference is instant and apparent.
Single-room cost: $50–$150 in materials. Tools needed: a miter saw (or ask the hardware store to cut for you), a nail gun or finishing nails, and painter’s caulk.
4. Regrout Your Tile Without Replacing It
Stained grout can make even pretty tile look dingy. Fresh grout makes old tile look brand new — and it’s not expensive.
Two Options Depending on Your Situation
Option 1 — Grout Paint/Stain: If your grout is structurally fine but stained, opt for a grout stain or colorant. Apply with a small brush and wipe off the excess. One afternoon. Under $20.
Option 2 — Regrout: If the grout is crumbling or cracked, use a grout saw (a $10 tool) to remove the old grout, then apply fresh grout. A little more work, but still completely DIY-able.
This upgrade works wonders in bathrooms and kitchens — the two rooms buyers (and guests) evaluate most.
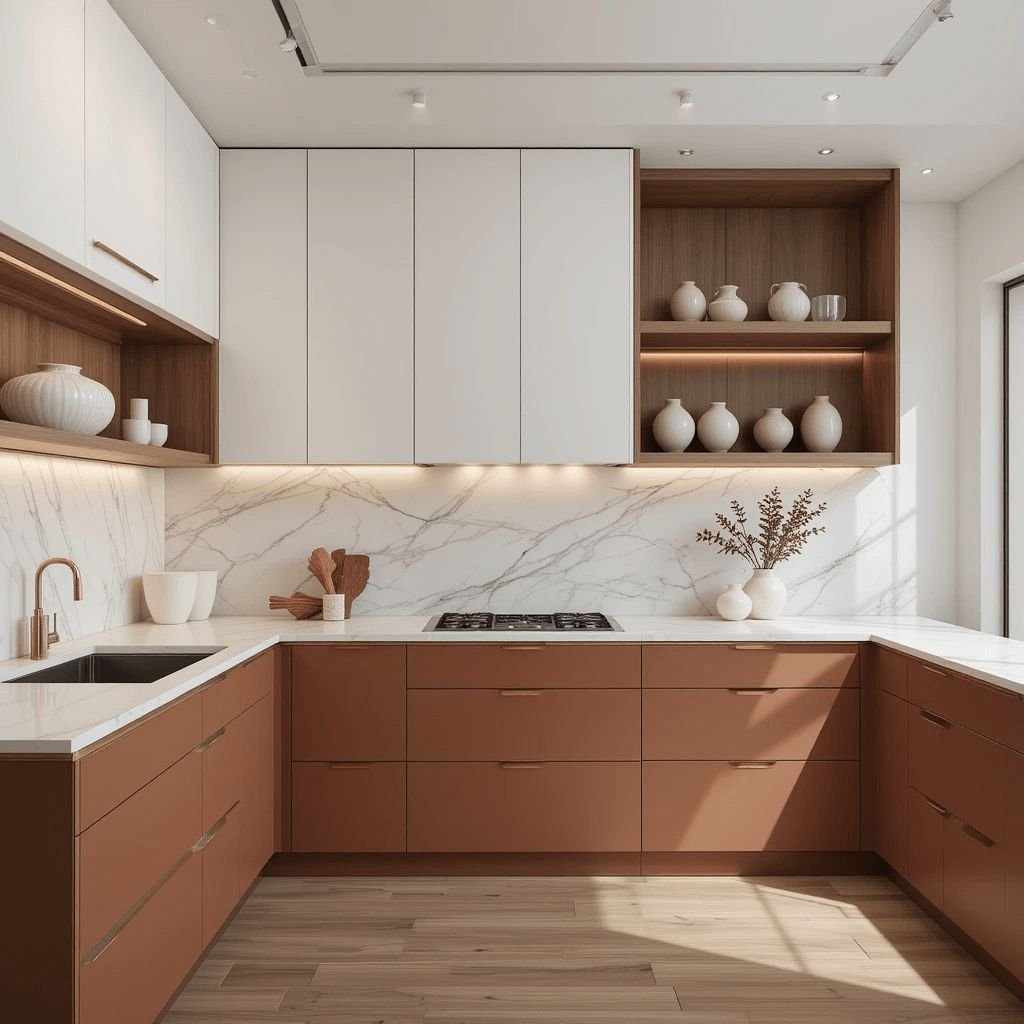
5. Install Open Shelving in the Kitchen
Designers love open shelving because it encourages you to curate your space. You can no longer hide clutter — so you stop having clutter.
Removing one or two upper cabinet doors (or replacing them entirely with open shelves) visually opens up a kitchen and gives it a radically more modern, editorial look.
How to Do It Right
- Use thick wood shelves (1.5 inches or more) — thin ones look cheap
- Limit what you display to three categories max: dishes, glassware, greenery
- Leave breathing room between items — negative space is intentional, not empty
- Anchor brackets into studs. No shortcuts here.
Floating shelf brackets start at around $15–$30 each. A solid wood board cut to size: $20–$50. Total for two shelves: under $120 in most cases.
For more money-saving ideas on kitchen upgrades and beyond, check out Frugal Home Renovator — a great resource for budget-conscious DIYers at every skill level.
6. Use Peel-and-Stick Wallpaper Strategically
Full-room wallpaper can feel overwhelming and costly. Designers use it differently — as an accent.
A single accent wall, the inside of a bookcase, the back of a closet, or even a bathroom ceiling can be transformed with peel-and-stick wallpaper.
Best Spots for Peel-and-Stick
| Location | Effect | Difficulty |
|---|---|---|
| Accent wall behind bed | Dramatic focal point | Easy |
| Inside bookcase | Adds depth and color | Very Easy |
| Bathroom ceiling | Unexpected and luxe | Easy |
| Stair risers | Graphic pattern detail | Moderate |
| Kitchen backsplash | Temporary tile alternative | Easy |
Peel-and-stick wallpaper runs $1–$4 per square foot. A single accent wall could run around $40–$80 total.
Important: Measure carefully and buy 10–15% extra. Pattern matching wastes material.
7. Refinish (Don’t Replace) Your Kitchen Cabinet Doors
A full kitchen cabinet replacement costs $5,000–$20,000 or more. But refinishing — painting or staining your existing doors — costs a fraction of that.
The Right Way to Paint Cabinets
- Remove all doors and hardware
- Clean with TSP or a degreaser — this step is non-negotiable
- Sand lightly (120-grit) to scuff the surface
- Apply a bonding primer
- Use a mini foam roller for smooth, brush-mark-free coverage
- Apply 2–3 thin coats of cabinet-specific paint
- Reinstall with new hardware
New hardware alone — swapping brass pulls for matte black or brushed nickel — transforms the entire kitchen mood for around $2–$5 per piece.
Total cost for a medium kitchen: $150–$400. Total cost with a contractor: $2,000+.
8. Layer Your Lighting (The 3-Light Rule)
Most rooms have only one overhead light. Designers always work with three layers:
- Ambient — the general overhead light
- Task — directed light for work areas (reading lamps, under-cabinet lights)
- Accent — decorative light that sets the mood (table lamps, LED strips, candles)
By layering light, you control how the room feels at different times of day. One switch doesn’t have to do everything.
Easy Ways to Add Layers on a Budget
- Plug-in sconces (no electrician needed) — $25–$60 each
- Under-cabinet LED puck lights — $15–$30 for a set
- LED strip lights behind a TV or under a floating shelf — $10–$25
- A quality table lamp from a thrift store with a new shade — under $30
This single upgrade is the one designers say makes the most dramatic difference for the least amount of cash.
9. Make Your Windows Look Taller Than They Are
Here’s a classic designer trick: hang your curtain rod close to the ceiling, not above the window frame.
When curtains start at ceiling height, even a small window looks tall and grand. The room feels bigger. The ceiling feels higher.
The Formula
- Mount the rod 4–6 inches below the ceiling (or even at the ceiling)
- Choose curtains long enough to reach the floor — or even puddle slightly
- Make sure the rod extends 8–12 inches past each side of the window so curtains stack off the glass when open, letting in maximum light
Curtain rods: $15–$40. Curtain panels: $20–$60 per pair. Total for one window: under $100.
Avoid: Curtains that stop at the windowsill, curtains that hover just above the floor, or rods mounted right above the trim. These all compress the space visually.
10. Add Limewash or Roman Clay to One Wall
If you want texture without wallpaper — and want something that looks truly lavish — limewash paint is your answer.
Limewash creates a layered, aged, organic-looking finish. It’s been used in European homes for hundreds of years. Recently, it’s become a go-to design trend in the U.S. because it photographs beautifully and feels artisanal in spirit.
How to Apply Limewash Paint
- Prep the wall (clean, lightly sand if glossy)
- Apply the first coat with a wide brush in X-shaped strokes
- Before it fully dries, apply a damp cloth or second coat to blend and create variation
- Let it dry — the color will lighten significantly as it cures
Brands like Portola Paints and Roman Clay by Behr offer DIY-friendly versions. One gallon covers 250–350 square feet and costs $30–$90.
One limewash accent wall becomes the most-complimented thing in any room.
11. Create a Built-In Look With IKEA Hacks
Designers charge thousands for custom built-ins. IKEA’s BILLY bookcase and KALLAX unit are the open secrets of the design world.
The Most Popular Built-In Hacks
BILLY Bookcase Wall: Line up multiple BILLY bookcases side by side, anchor them to the wall and each other, add crown molding on top, and paint everything the same color as the wall. Instant library wall. Cost: $400–$800 depending on size.
KALLAX as a Kitchen Island: Add legs or a base, top with butcher block, paint to match cabinets. Functional and looks custom. Cost: $150–$300.
SEKTION as Custom Cabinetry: IKEA’s kitchen cabinet line can be configured to look high-end with the right doors (check Semihandmade or Reform for upgraded fronts).
The key to making IKEA look custom is always the same: fill the gaps, add molding, and paint everything one cohesive color.
12. Fake More Space and Light With Mirrors
A well-placed mirror doesn’t just show your reflection. It bounces light around the room and makes the space feel twice as large.
Designers use mirrors the way painters use highlights — as a way to suggest more.
Placement Strategies That Actually Work
- Across from a window: Reflects natural light deep into the room
- At the end of a narrow hallway: Makes the hall feel longer and wider
- Leaning large on a wall: Casual but visually expands any room
- Grouped in odd numbers: Creates gallery wall drama with reflected light
Thrift stores and Facebook Marketplace are goldmines for large, quality mirrors. A $10 mirror with a $5 can of spray paint in the right color beats a $200 mirror from a big box store every time.
How These 12 Upgrades Stack Up
| Upgrade | Estimated Cost | Skill Level | Visual Impact |
|---|---|---|---|
| Ceiling paint | $20–$40 | Beginner | High |
| Light fixture swap | $30–$120 | Beginner | Very High |
| Trim addition | $50–$150 | Intermediate | High |
| Regrout tile | $10–$50 | Beginner | High |
| Open shelving | $80–$120 | Intermediate | Medium-High |
| Peel-and-stick wallpaper | $40–$80 | Beginner | High |
| Cabinet refinish | $150–$400 | Intermediate | Very High |
| Layered lighting | $50–$150 | Beginner | Very High |
| Curtain height trick | $35–$100 | Beginner | High |
| Limewash wall | $30–$90 | Beginner–Intermediate | Very High |
| IKEA built-in hack | $150–$800 | Intermediate | Very High |
| Strategic mirrors | $10–$100 | Beginner | High |
The Designer Mindset That Drives All of This
Every single upgrade on this list works for the same essential reason: it alters how a space is perceived, not simply how it looks.
Ceiling paint shifts the spatial impression of a room. High curtains influence how the eye reads height. Mirrors multiply what’s already there. Lighting layers dial up mood and energy.
Designers aren’t spending more money. They are investing it wisely — in things with high visual return and low cost.
An expensive-looking home isn’t about expensive materials. It’s about thoughtful choices, clean execution, and knowing which details the eye actually notices.
You now know what those details are.
FAQs
How Much Does It Cost to Do DIY Home Upgrades?
Even spending $200–$500 across a few of these upgrades in the right spots can make all the difference in how a room feels. Start with one high-impact change like lighting or cabinet hardware before investing more.
Are There Special Skills Needed to Make These Upgrades?
Most things on this list require nothing more than simple tools, patience, and reading instructions. Painting, hanging curtains, and applying peel-and-stick wallpaper are all true beginner projects. Trim work and cabinet refinishing require a bit more care but remain very DIY-friendly.
Which Upgrade Provides the Most Value for Your Money?
Lighting is consistently rated the highest-impact, lowest-cost upgrade by professional designers. Swapping a single fixture and adding one plug-in lamp or LED strip can make a room feel completely redesigned for less than $75.
Can I Make These Upgrades if I’m Renting?
Yes — many of them work for renters. Peel-and-stick wallpaper is removable. Curtains and rods come with you when you move. Plug-in sconces require no wiring. Mirrors and lighting layers (with lamps) are fully portable. Just consult your lease before painting or installing anything into walls.
How Do I Choose Which Upgrade to Do First?
Walk through your home and ask: what’s the first thing that bothers me? If your space is dark and gloomy, start with lighting. If the kitchen feels tired, start with cabinet hardware or open shelving. Fix your biggest visual pain point first — the improvement will inspire the rest.
Is Limewash Paint Permanent?
It can be painted over with standard latex paint, so it’s not irreversible. However, it’s more of a commitment than regular paint. If you’re unsure, try it inside a closet first to see if you like the technique before committing to a full wall.
Where Can I Buy Materials for These Projects?
Home Depot and Lowe’s for paint, trim, and hardware. IKEA for furniture-based built-ins. Amazon for lighting and curtain rods. Thrift stores, Facebook Marketplace, and Habitat for Humanity ReStores for mirrors, light fixtures, and lumber at a fraction of retail price.
Wrap It Up: Little Steps, Big Changes
Budget DIY home upgrades work best when they’re intentional. You’re not trying to do everything at once. You’re choosing the changes that matter most and executing them well.
Designers don’t have a magic wand. They have a framework — a way of seeing which details carry the most visual weight and which changes bring the biggest return.
Now you have that same framework.
Pick one upgrade from this list. Do it this weekend. Then step back and notice how your home — and how you feel in it — shifts. That feeling is addictive. And the next upgrade comes naturally.
Your home doesn’t need a renovation. It needs intention. And now you know exactly where to begin.