10 Proven DIY Home Planning Tips for Perfect Layouts
There’s a moment in every home planning journey when ideas stop being exciting and start feeling overwhelming. Floor plans, furniture placement, lighting angles, storage decisions—everything seems interconnected. Change one thing, and ten others feel off. I’ve been there, sketching layouts on scrap paper late at night, moving imaginary couches around like puzzle pieces that refused to fit.
What changed everything wasn’t a single “perfect” method. It was a collection of small, practical strategies—simple habits and clever tricks that gradually transformed confusion into clarity. This guide brings those lessons together in a way you can actually use.
This isn’t just theory. You’ll find mini exercises, checklists, layout sketches in text form, and practical scenarios so you can actively shape your space instead of passively reading about it.
tip 1: start with how you live, not how it looks
Most layout mistakes begin with copying what looks good instead of what works.
Before drawing anything, take a day to observe your routine. Where do you naturally sit? Where do you drop your keys? Which areas feel crowded, and which feel empty?
Try this quick exercise:
Daily movement map
Morning → Where do you go first?
Afternoon → Where do you spend most time?
Evening → Where do you relax?
Night → What path do you take before bed?
Now sketch a rough “flow line” through your home. This becomes your foundation.
Example:
Door → shoe area → sofa → kitchen → dining → bedroom
Your layout should support this flow, not interrupt it.
tip 2: define zones before placing furniture
Think of your home as a set of zones rather than rooms.
Even a small space can contain multiple zones:
- relaxing zone
- working zone
- eating zone
- storage zone
Instead of placing furniture randomly, assign each area a purpose first.
Mini layout example:
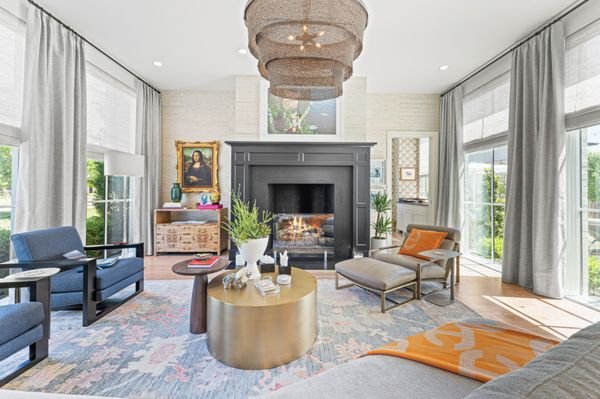
Living room (small apartment)
Left corner → reading chair + lamp (quiet zone)
Center → sofa + table (social zone)
Right wall → shelf + desk (work zone)
When zones are clear, furniture naturally falls into place.
tip 3: measure everything twice, then once more
Guesswork ruins layouts faster than anything else.
You don’t need fancy tools—just a measuring tape and a notebook.
Create a simple measurement sheet:
Space width: ______
Space length: ______
Door swing radius: ______
Window height: ______
Then list furniture sizes.
Sofa: ______
Table: ______
Bed: ______
Now match them realistically.
Quick rule:
Leave at least 2–3 feet of walking space between major furniture pieces.
If you can’t walk comfortably in your plan, it won’t work in real life.
tip 4: use the “anchor piece” method
Every room needs a starting point.
This is your anchor piece—the largest or most important item:
- living room → sofa
- bedroom → bed
- dining area → table
Place this first.
Then build around it.
Example:
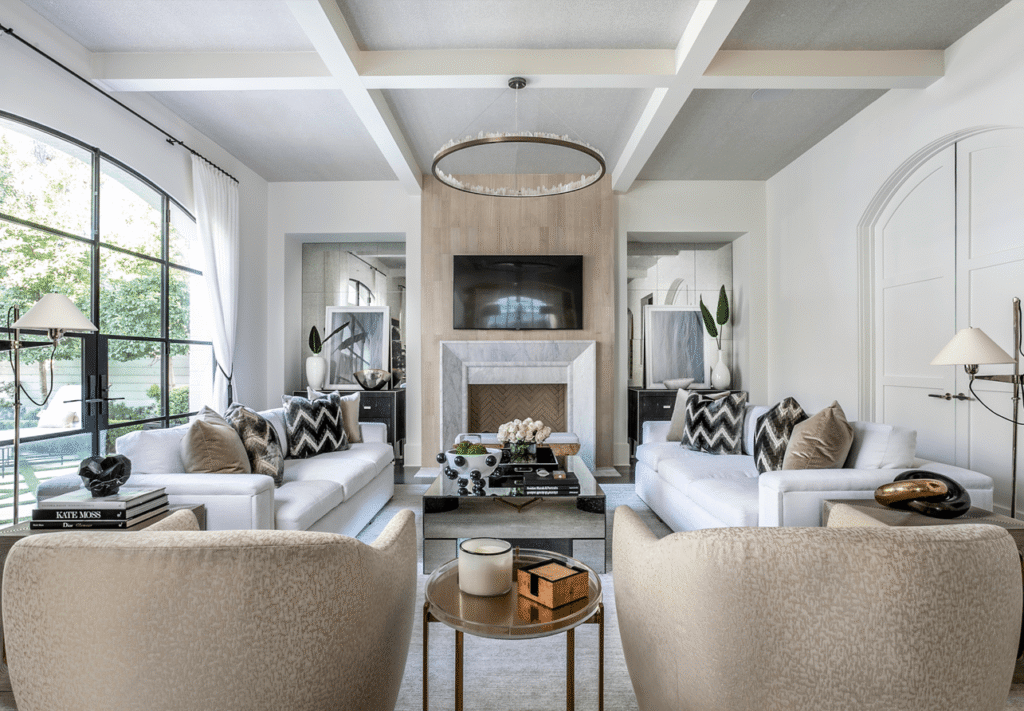
Sofa placement options
A. against wall (max space)
B. floating center (modern feel)
C. L-shape corner (cozy layout)
Once the anchor is placed, everything else becomes easier.
tip 5: design for movement, not just placement
A layout isn’t static—it’s something you move through.
Bad layouts look fine on paper but feel frustrating in reality.
Walk your layout mentally:
Can you:
- enter without bumping into something?
- move freely between zones?
- access storage easily?
Try this test:
Close your eyes and imagine walking from the entrance to each key area. If anything feels awkward, it probably is.
tip 6: balance open space and filled space
Too much furniture makes a room feel tight. Too little makes it feel empty.
Think in terms of balance.
Visual balance checklist:
[ ] Is one side heavier than the other?
[ ] Is there breathing space around key items?
[ ] Does the room feel crowded or hollow?
A simple trick:
Leave one area intentionally empty. This creates visual relief and makes the rest of the layout feel organized.
tip 7: think vertically, not just horizontally
Most people plan layouts only on the floor level.
That’s a missed opportunity.
Use walls to expand your space:
- shelves
- hooks
- vertical storage
- tall cabinets
Example:
Instead of:
Cluttered floor with storage boxes
Try:
Wall-mounted shelves + clear floor space
Result:
Same storage, better layout flow
tip 8: use lighting as part of the layout
Lighting isn’t decoration—it shapes how a space works.
Divide lighting into three layers:
- ambient (overall light)
- task (focused light)
- accent (mood light)
Layout example:
Reading corner
Chair + small table + floor lamp
Work desk
Desk + overhead light + task lamp
Lighting defines zones even without walls.
tip 9: test layouts before committing
You don’t have to move heavy furniture blindly.
Try temporary testing:
Method 1: tape layout
Use masking tape on the floor to outline furniture sizes.
Method 2: paper cutouts
Draw furniture shapes on paper and move them around.
Method 3: digital apps
Use simple layout tools or even grid paper.
This step alone can save hours of effort and regret.
tip 10: refine, don’t rush perfection
Perfect layouts don’t happen instantly.
They evolve.
Live in your space for a few days and observe:
- what feels natural
- what feels off
- what you avoid using
Then adjust.
Think of your layout as a living system, not a final product.
practical layout scenario
Let’s put everything together with a simple example.
Small one-room layout:
Step 1: define zones
Sleeping | working | relaxing
Step 2: anchor piece
Bed placed against wall
Step 3: layout plan
Top-left → bed
Bottom-left → desk
Right side → sofa + table
Step 4: walking path
Clear line from door → desk → bed
Step 5: vertical space
Shelf above desk
Hooks near door
Step 6: lighting
Desk lamp + soft room light
Result:
Functional, balanced, and comfortable
quick reference checklist
Before finalizing your layout, review:
[ ] Does the layout match your daily routine?
[ ] Are zones clearly defined?
[ ] Is there enough walking space?
[ ] Is the anchor piece placed correctly?
[ ] Does movement feel natural?
[ ] Is there visual balance?
[ ] Are vertical spaces used?
[ ] Is lighting functional?
[ ] Have you tested the layout?
[ ] Have you allowed time to adjust?
common mistakes to avoid
Even with good planning, a few common mistakes can ruin a layout.
Ignoring scale
Oversized furniture in small rooms creates congestion.
Blocking natural light
Avoid placing tall items in front of windows.
Overfilling the space
More furniture doesn’t mean better design.
Forgetting storage
A clean layout needs hidden storage solutions.
Copying trends blindly
What works in photos may not work in your home.
a short reflection exercise
Take five minutes and answer:
What do I want my home to feel like?
Calm? Cozy? Open? Functional?
Now ask:
Does my layout support that feeling?
If not, adjust until it does.
faq section
- how do i plan a layout for a very small room?
Focus on multi-functional furniture and vertical storage. Keep pathways clear and avoid oversized items. Define at least two zones, even in a tiny space.
- should furniture always be placed against walls?
Not always. Floating furniture can create better flow and define zones, especially in larger spaces.
- how often should i change my home layout?
There’s no fixed rule. Adjust whenever your needs change or when the space starts feeling uncomfortable or inefficient.
- what is the biggest mistake in diy home planning?
Ignoring how you actually use the space. A layout should serve your lifestyle, not just look good.
- do i need expensive tools or software for planning?
No. A measuring tape, paper, and simple sketches are more than enough for effective planning.
- how can i make my layout feel more spacious?
Use lighter furniture, keep open pathways, add mirrors, and avoid clutter. Vertical storage also helps free up floor space.
A good layout doesn’t just organize your home—it quietly improves your daily life. You move easier, think clearer, and feel more at ease without even realizing why. And the best part? You don’t need to be a professional to achieve it. Just a bit of patience, observation, and willingness to adjust along the way.