Meta Description: Budget DIY home upgrades don’t have to break the bank. Discover 9 powerful, affordable projects that every first-time homeowner can tackle with confidence and creativity.
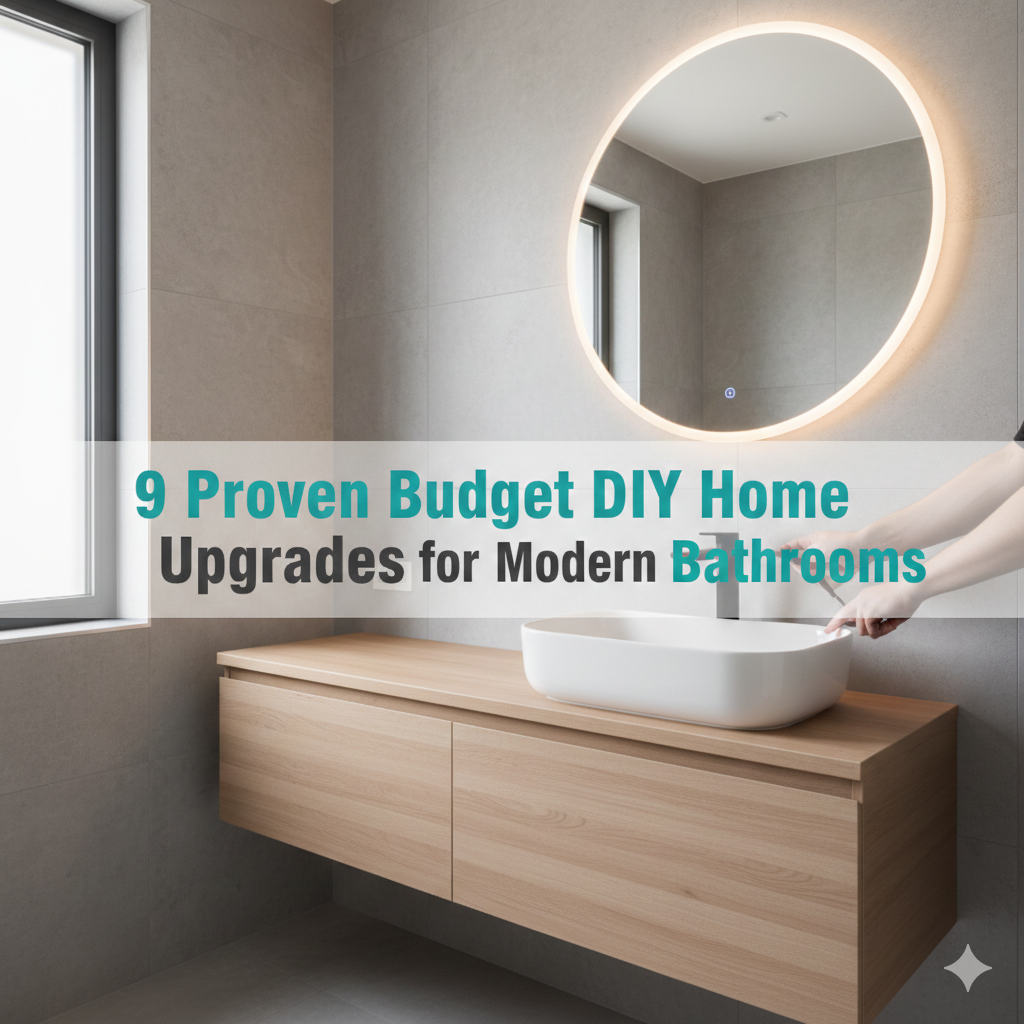
9 Budget DIY Home Upgrades for First-Time Homeowners
Budget DIY Home Upgrades that Won’t Break the Bank — 9 affordable home renovation projects every first-time homeowner can tackle with confidence.
Well, you just purchased your first home. Congrats! And then comes the fun part — and also the slightly scary part — of making it feel like yours.
The good news? You don’t have to break the bank for a huge renovation project to give your space some life. With budget DIY home upgrades, you can really value up your home — in comfort and style — for little to no cost.
This guide breaks down 9 of the most impactful, wallet-friendly upgrades any first-time homeowner can achieve — even if your DIY experience begins and ends with putting together flat-pack furniture.
Let’s get into it.
Why DIY Home Budget Upgrades Are a Wise First Move
Before we get into the projects, let’s talk about why this matters.
When you purchase your first home, money is typically tight. You’re now the owner of a home, having made the largest purchase of your life. Hiring contractors for every minor enhancement can run into the thousands — sometimes even tens of thousands — of dollars.
DIY changes that. If you do the work yourself, you primarily pay for materials. Labor — which can be 40–60% of any renovation or repair cost — comes free with your two hands.
And budget DIY home upgrades create a skill set. You learn something new on every project. You gain confidence, you develop skill, and suddenly you’re so much less reliant on high-priced professionals.
Here’s a snapshot of how DIY compares to hiring out:
| Upgrade Type | DIY Cost (Avg.) | Contractor Cost (Avg.) | Savings |
|---|---|---|---|
| Fresh coat of paint (room) | $50–$100 | $300–$800 | Up to $700 |
| Cabinet hardware swap | $30–$80 | $150–$300 | Up to $220 |
| Bathroom caulking | $10–$20 | $100–$200 | Up to $180 |
| Lighting fixture swap | $40–$120 | $200–$400 | Up to $280 |
| Backsplash install (peel & stick) | $50–$150 | $400–$900 | Up to $750 |
The savings are real. And every dollar you save goes toward your next upgrade.
💡 Looking for more ways to save on your home projects? Frugal Home Renovator is packed with practical tips, budget breakdowns, and project inspiration for homeowners who want great results without the big price tag.
Upgrade #1 — Add a Fresh Coat of Paint to Every Room
Nothing — and we mean nothing — changes a space more than paint.
Without a doubt, painting is the most impactful budget DIY home improvement you can make. It is low-cost, accessible to beginners, and results are immediate and stark.
What You’ll Need
- Paint (1 gallon covers approximately 400 sq. ft.)
- Primer (for dark walls or fresh drywall)
- Painter’s tape
- Drop cloths
- Paint rollers, brushes, and a paint tray
Tips to Get It Right
Start by cleaning your walls. Paint won’t adhere properly with dust and grease. Prepare your surfaces with painter’s tape along edges, trim, and outlets before you begin.
For best results, use two coats. Allow the first coat to dry fully before applying the second.
Color tip: Use lighter colors to make small rooms feel larger. Darker, moody tones bring warmth and elegance to larger spaces.
Cost: $50–$150 per room | Time: 1–2 days
Upgrade #2 — Replace Old Cabinet Hardware
It’s not that your kitchen or bathroom cabinets are drab — the cabinets themselves could still be perfectly fine. It could be a hardware issue.
Swapping out old, dated knobs and pulls is one of the most affordable and simple budget DIY home upgrades available. An entire kitchen takes less than an hour, and the visual difference is surprisingly significant.
How to Do It
- Measure the hole spacing on your current hardware (most standard pulls are either 3″ or 3.75″ apart)
- Select new hardware that fits those measurements — or patch old holes and drill new ones
- Unscrew the old pieces
- Screw in the new ones
That’s it. Seriously.
Style Options to Consider
| Style | Best For | Look |
|---|---|---|
| Brushed nickel | Modern/contemporary | Sleek, clean |
| Matte black | Industrial or farmhouse | Bold, dramatic |
| Brass/gold | Vintage or maximalist | Warm, luxurious |
| Ceramic knobs | Cottage or eclectic | Charming, unique |
Approximate cost: $30–$100 | Time: 30 minutes–2 hours
Upgrade #3 — Put Up Peel-and-Stick Backsplash Tiles
A backsplash can take a kitchen from “plain rental” to “wow, this looks custom.” But traditional tile work? That can cost $400–$1,000+ once you factor in grout, adhesive, and labor.
Enter: peel-and-stick backsplash tiles.
These are pressure-sensitive panels that adhere directly to your wall. They are gorgeous, waterproof, and most first-time DIYers can put up an entire kitchen backsplash in one afternoon.
Step-by-Step Installation
- Clean the wall surface completely — grease or dust will reduce stickiness
- Measure the area and plan your layout prior to peeling anything
- Begin in the middle and work outward for a balanced appearance
- Peel off the backing, press firmly against the wall, and smooth out any air bubbles
- Cut edge and corner tiles with scissors or a utility knife
Things to Watch Out For
- Steer clear of textured walls — tiles won’t adhere well
- Stay near heat sources, but not directly behind a burner
- Press firmly at all edges to avoid peeling over time
Estimated cost: $50–$150 for a standard kitchen | Time: 2–4 hours
Upgrade #4 — Re-Caulk Your Bathtub and/or Shower
This one may not sound glamorous, but old, cracked, or moldy caulk is among the first things people notice in a bathroom — even if they don’t know it.
Re-caulking around your tub, shower, sink, and toilet base makes the whole bathroom look cleaner and more like new. It also avoids moisture damage, which can be an expensive issue later on.
What You’ll Need
- Caulk removal tool or a putty knife
- Mold-resistant silicone caulk
- Caulk gun
- Painter’s tape
- A damp cloth
How to Do It
Clean out all of the old caulk first. Scrape it with a caulk remover tool or putty knife. Scrub the surface with a mildew cleaner and let it dry thoroughly — this step is key.
Use painter’s tape on either side of the joint for a clean line. Load a caulk gun, squeeze out a smooth, steady bead along the joint, and smooth it with a wet finger or a caulk smoothing tool.
Peel away the tape before the caulk sets. Allow it to cure for 24 hours before the shower or tub is used.
Estimated cost: $10–$30 | Time: 1–3 hours
Upgrade #5 — Replace Your Light Fixtures
One of the most overlooked aspects in any house is lighting. Poor lighting can turn even a beautifully decorated room into a flat, uninviting space. Great lighting? It makes even a standard room look like it’s straight out of a magazine spread.
The best part — replacing a light fixture is one of the easiest budget DIY home upgrades there is, and new fixtures can be found for $30–$100 at most hardware stores.
The Most Impactful Fixtures
- Dining room: Adding a pendant light or chandelier immediately makes the space feel more polished
- Bathroom: Swap out bare bulb fixtures for a contemporary vanity bar light
- Bedroom: Replace the builder-grade ceiling globe with a flush-mount fixture that has personality
- Kitchen: LED strips under the cabinets provide task lighting and a contemporary vibe
Safety First
Always check that the circuit breaker is switched off before working on any electrical fixture. Use a voltage tester to verify no power is present before touching any wires. If the wires seem complex or unfamiliar, don’t hesitate to call an electrician for that section.
Approximate cost: $30–$120 per fixture | Time: 30 minutes–1.5 hours per fixture
Upgrade #6 — Install Crown Molding or Trim Work
Crown molding sounds fancy. And it looks fancy. But it’s also one of the more easily attainable budget DIY home upgrades for beginners — particularly if you use lightweight foam or MDF molding (medium-density fiberboard) instead of traditional wood.
Installing crown molding or door/window trim gives a space a more polished and complete look. It’s the sort of detail that makes guests believe you spent a lot more than you actually did.
Two Beginner-Friendly Options
Option 1 — Foam crown molding: Lightweight, easy to cut, and can be installed using construction adhesive only. No nailing required. Great for first-timers.
Option 2 — MDF trim: A little trickier to work with but extremely budget-friendly. You’ll want a miter saw and a nail gun, but when done well, it looks incredibly clean.
Pro Tips
- Measure twice, cut once. Seriously.
- Use a miter box for neat 45° corner cuts
- Fill nail holes and gaps with paintable caulk before painting
- Apply primer before painting for a clean, professional finish
Cost estimate: $1–$3 per linear foot (materials only) | Time: 1 day for an average room
Upgrade #7 — Refinish or Paint Old Furniture
Here’s an oft-overlooked budget DIY home upgrade: your furniture doesn’t have to be new to look new.
Refinishing or painting old furniture pieces — dressers, nightstands, dining tables, bookshelves — can transform tired, outdated pieces into trendy accents. This is particularly useful if you’re furnishing your first home on a budget.
What Works Best
- Wood furniture: Sand it down, apply a stain or paint, then seal with polyurethane
- Laminate furniture: Use a bonding primer before painting — regular paint won’t stick
- Metal furniture: Sand off rust, prime with a metal primer, and spray paint with metal-specific paint
The Basic Refinishing Process
- Clean the piece thoroughly
- Lightly sand to roughen the surface
- Apply primer (always — especially on non-wood surfaces)
- Apply the paint or stain of your choice in thin, even coats
- Let dry between coats
- Apply a top coat to protect your finish
Approximate cost: $20–$60 per piece | Time: 1–3 days (including drying time)
Upgrade #8 — Boost Your Curb Appeal on a Budget
First impressions are everything. The exterior of your home is the first impression anyone has — including potential buyers if you ever decide to sell.
You don’t need to hire a landscaping crew or spring for an expensive renovation to make your exterior look great. A few well-placed budget DIY home upgrades outside can go a long way.
According to the National Association of Realtors, curb appeal improvements consistently rank among the top projects for return on investment — making them a smart first stop for any new homeowner.
Quick Wins for Curb Appeal
Paint your front door. A fresh paint job on the front door is one of the highest-ROI moves you can make. Deep red, navy blue, hunter green, and classic black are all timeless options.
Add house numbers. Install large, modern house numbers to replace faded or tiny ones. Brushed metal looks especially sharp.
Plant low-maintenance greenery. Boxwood shrubs, ornamental grasses, or simple flowering plants along your walkway bring color and life without much maintenance.
Power wash your driveway and siding. Rent a pressure washer for $40–$60 per day. The results are shocking — in a good way. Years of dirt vanish in a few hours.
Install outdoor lighting. Solar-powered pathway lights or a new porch light fixture present your home as welcoming and well-kept.
| Curb Appeal Project | Est. Cost | Time Required |
|---|---|---|
| Front door painting | $20–$50 | Half a day |
| New house numbers | $15–$50 | 30 minutes |
| Potted plants/landscaping | $30–$100 | 1–2 hours |
| Power washing | $40–$60 (rental) | 2–4 hours |
| Solar pathway lights | $20–$60 | 1 hour |
Total estimated cost: $125–$320 for all five | Time needed: 1–2 weekends
Upgrade #9 — Seal Gaps and Add Weather Stripping
This one involves saving money — not just prettying things up.
Gaps around windows, doors, and other openings allow air to escape in winter and sneak in during summer. That means your HVAC system has to work harder and your energy bills increase.
One of the most cost-effective budget DIY home upgrades any homeowner can make is also one of the easiest: add weather stripping and fill gaps with caulk. It’s not glamorous, but it pays for itself quickly.
Where to Seal
- Around all exterior door frames
- Around the edges of windows (particularly old ones)
- Where walls meet floors in drafty rooms
- On pipes that penetrate walls or floors
What You’ll Need
- Foam tape (for door gaps)
- V-strip weather stripping (for door and window sides)
- Expanding foam spray (for wider spaces around piping)
- Silicone caulk (for window edges)
A well-sealed home can reduce heating and cooling costs by about 10–20% a year. At an average $1,500/year energy bill, that’s about $150–$300 back in your pocket each year.
Cost: $20–$60 | Time: 2–4 hours
How to Allocate Your Budget for DIY Home Upgrades
With great choices on the table, where do you even start? Here’s a simple priority framework:
Fix before you fancy. Fix functional issues — leaking caulk, drafty gaps, bad lighting — before cosmetic improvements. These affect your day-to-day life and the real-world value of your home.
High-visibility wins first. Paint, hardware, and curb appeal provide the best visual value for your money. Tackle these early for immediate gratification.
Plan around your weekends. The majority of these projects take 1–2 days to complete. Schedule them out so you’re not living in chaos.
Frequently Asked Questions About Budget DIY Home Upgrades
Q: Do I need prior skills to do these projects? No. All nine upgrades on this list are perfect for beginners. Focus on the easier ones — cabinet hardware or caulking, for example — and build confidence from there.
Q: Do DIY upgrades really add value to my home? Yes — particularly paint, curb appeal upgrades, and lighting. These are some of real estate agents’ very best tips for preparing to sell, and they add perceived value even if you’re not selling.
Q: What tools do I really need to get started? A basic toolkit will do for most of these projects: a cordless drill, tape measure, putty knife, caulk gun, painter’s tape, and utility knife. You can buy a decent starter kit for $50–$100.
Q: How can I prevent common DIY pitfalls? The two most common errors are skipping prep work and rushing. Wipe surfaces clean before painting or caulking. Allow things to dry completely between steps. Measure carefully before cutting anything. And watch a YouTube tutorial before trying something new.
Q: Is peel-and-stick backsplash worth it, or does it look cheap? Quality matters here. Cheaper sets can look plastic. Mid-range options ($2–$5 per tile) look surprisingly realistic and perform well in kitchens and bathrooms. Read reviews and view real-life installation pictures before purchasing.
Q: Which of these upgrades can renters do? A few — like refinishing furniture, lighting (if you keep the originals), and weather stripping — are renter-friendly. Always consult your lease before altering walls, floors, or fixtures.
Conclusion — Start Small, Build Something You’re Proud Of
Your first home is a blank canvas. And budget DIY home upgrades are how you claim it as your own — room by room, weekend by weekend.
You don’t have to do it all at once. Pick one project this weekend. Maybe it’s painting the living room or replacing cabinet hardware. Get that win under your belt. Then move to the next one.
Bit by bit, those little changes build up to something amazing — a home that looks beautiful, feels cozy, and perfectly represents who you are. All without blowing your budget.
The best part? You will have built it with your own hands. And that’s something no contractor-delivered result could ever match.
Start with what you have. Improve with what you learn. Build the home you deserve.