7 Budget DIY Home Planning Ideas That Changed My Home
I didn’t start with a grand vision. I started with a problem: my home felt cluttered, disconnected, and oddly expensive to maintain. Every room had potential, but nothing felt intentional. Hiring a professional designer wasn’t an option, so I leaned into something far more practical—budget-friendly DIY planning.
What surprised me wasn’t just how much money I saved, but how dramatically these small, deliberate changes transformed the way my home looked and functioned. These weren’t Pinterest-perfect overhauls. They were thoughtful adjustments, tested through trial and error, and refined over time.
Below are seven DIY home planning ideas that didn’t just improve my space—they changed how I live in it.
- zoning each room with purpose, not furniture
Before, I arranged furniture based on what “looked right.” A couch went against a wall, a table sat in the middle, and that was it. But the space didn’t work.
So I tried something different. I stopped thinking about furniture and started thinking about function.
I asked simple questions:
- Where do I actually spend time?
- What do I do in this room daily?
- What feels awkward or underused?
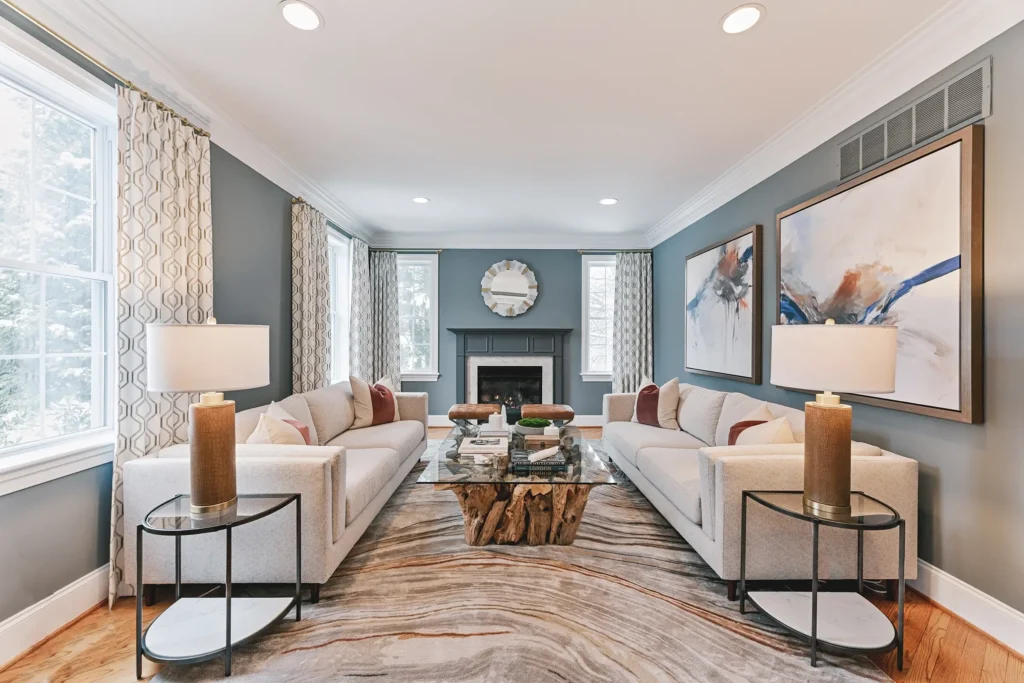
Instead of one vague “living room,” I created zones:
- A reading corner with a chair and lamp
- A conversation area with seating facing each other
- A small workspace tucked near a window
Quick layout sketch (what I used on paper):
Room Shape: Rectangle
Zone A: Relaxation (sofa + rug)
Zone B: Work (small desk)
Zone C: Storage (vertical shelves)
The cost? Almost nothing. I reused what I had and just rearranged it.
The impact? Massive. Suddenly, the room had intention. It felt bigger without adding space.
- the “move before you buy” rule
This one rule saved me more money than anything else.
Every time I felt like buying something—a shelf, a cabinet, a new table—I paused. Instead, I experimented with what I already owned.
I would:
- Move furniture between rooms
- Repurpose items (a side table became a nightstand)
- Rotate unused pieces into active use
Example:
I almost bought a shoe rack. Instead, I repurposed an old wooden crate, stacked two of them, and added a cushion on top. It became both storage and seating.
Mini comparison:
| Option | Cost | Functionality |
|---|---|---|
| New shoe rack | High | Storage only |
| DIY crate bench | Low | Storage + seating |
This mindset shift made me realize that most “needs” are actually planning problems, not purchasing problems.
- vertical space changed everything
I used to ignore walls beyond eye level. Big mistake.
When floor space is limited, going vertical is the smartest move you can make.
I added:
- Floating shelves above desks
- Hooks behind doors
- Tall, narrow storage units instead of wide cabinets
Simple DIY shelf idea:
Materials:
- Wooden plank
- L-brackets
- Screws
Steps:
- Measure wall space
- Fix brackets
- Place plank
- Style with books or baskets
Total cost: minimal
Value: huge increase in usable space
Unexpected benefit: The room looked cleaner because clutter moved upward instead of spreading outward.
- lighting as a design tool, not an afterthought
Lighting used to be purely functional for me. One ceiling light per room. Done.
But lighting can completely reshape how a room feels—without expensive renovations.
I experimented with:
- Warm vs cool bulbs
- Multiple light sources instead of one
- Floor lamps and table lamps in corners
Before:
One harsh overhead light → flat, uninviting space
After:
Layered lighting:
- Soft lamp near seating
- Dim light in corners
- Focused light for tasks
Result: the same room felt cozy, larger, and more intentional.
Budget trick:
Instead of buying new lamps, I changed bulbs and repositioned existing lights. Sometimes, small shifts create big differences.
- creating “drop zones” to control clutter
Clutter doesn’t appear randomly. It accumulates in predictable places—usually where you enter or transition.
So instead of constantly cleaning, I designed for the mess.
I created “drop zones”:
- A tray near the entrance for keys and wallet
- A basket for daily-use items
- Hooks for bags and jackets
Simple drop zone setup:
Area: Entryway
Items:
- Wall hooks
- Small shelf
- Storage basket
Rules:
- Everything must have a spot
- No item stays loose
This reduced daily mess dramatically. It’s not about discipline—it’s about making organization effortless.
- using color strategically instead of everywhere
I used to think more color meant more personality. It didn’t. It created chaos.
So I simplified.
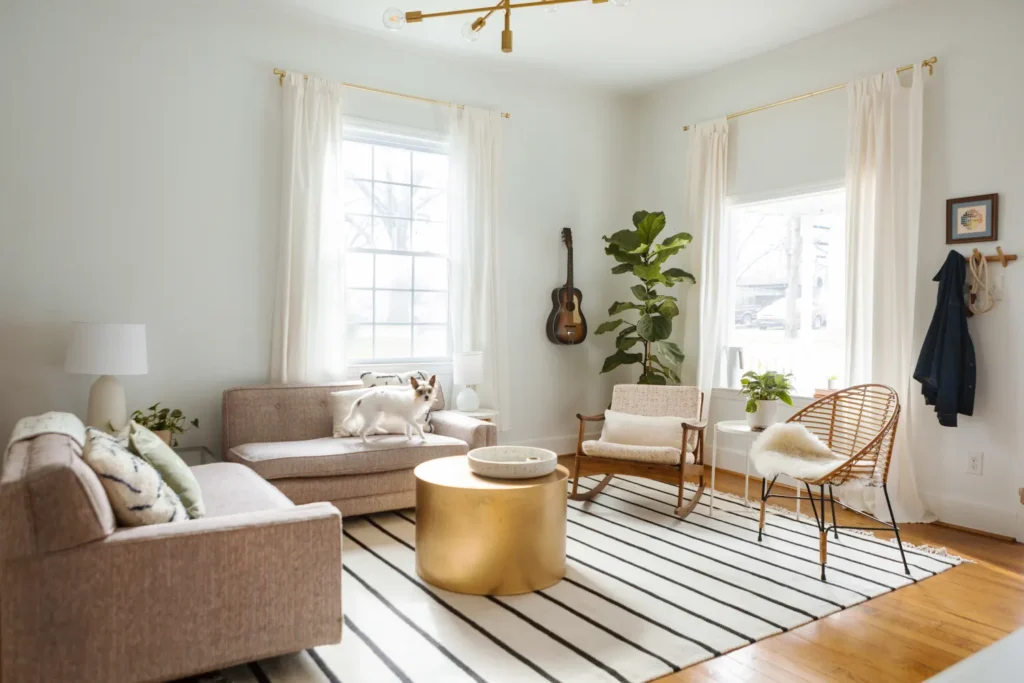
I chose:
- A neutral base (walls, large furniture)
- 2–3 accent colors repeated across rooms
Example palette:
- Base: white / beige
- Accent 1: muted green
- Accent 2: warm wood tones
Then I repeated those accents through:
- Cushions
- Rugs
- Small decor items
Visual planning note:
Room A → green cushions
Room B → green plant pots
Room C → green artwork
This created flow between spaces without spending much.
Budget win: Instead of repainting entire rooms, I updated small, affordable items.
- planning on paper before touching anything
This might sound basic, but it changed everything.
Before moving a single item, I started sketching layouts.
Nothing fancy—just rough drawings.
Example:
Room dimensions
Door placement
Window location
Furniture blocks
Then I experimented:
- What if the sofa goes here?
- What if I rotate the table?
- What if I remove one piece entirely?
This prevented:
- Unnecessary purchases
- Heavy lifting multiple times
- Layout mistakes
Simple planning template I used:
Room Name: _______
Main Purpose: _______
Must-have items: _______
Optional items: _______
Problems to fix: _______
Even 10 minutes of planning saved hours of effort later.
what actually changed
These ideas weren’t dramatic on their own. But together, they reshaped how my home worked.
Here’s what improved:
- I stopped buying things I didn’t need
- Every room felt intentional
- Cleaning became easier
- I used more of my space
- My home felt calmer
Most importantly, I realized that good design isn’t about money—it’s about clarity.
a realistic weekly diy planning routine
If you’re wondering how to apply this without getting overwhelmed, here’s a simple routine that worked for me:
Day 1: Observe one room
Day 2: Identify problems
Day 3: Sketch layout ideas
Day 4: Rearrange furniture
Day 5: Adjust lighting
Day 6: Add small storage fixes
Day 7: Review what works
Repeat for each room.
No rush. No big spending.
common mistakes I made (so you don’t have to)
- Trying to fix everything at once
- Buying before planning
- Ignoring lighting
- Keeping furniture I didn’t actually use
- Over-decorating instead of simplifying
Each mistake cost me time or money—or both.
frequently asked questions
- can I really improve my home without buying new furniture?
Yes. Rearranging, repurposing, and removing items often creates more impact than adding new ones. Many homes feel better simply by using existing pieces more intentionally. - how do I know if a layout is right?
Live with it for a few days. A good layout feels natural—you move easily, use spaces often, and don’t feel blocked or cramped. - what’s the cheapest way to make a room look better?
Focus on lighting and decluttering. Changing bulb warmth and reducing visible clutter can transform a space almost instantly. - how do I avoid clutter coming back?
Design systems, not just solutions. Use trays, hooks, and baskets so every item has a designated place. - should I follow trends or create my own style?
Trends fade quickly. Build around what you actually use and enjoy. A functional space will always feel better than a trendy one. - how long does it take to see results?
You can notice changes in a single day, especially with layout and lighting. But refining your home is an ongoing process.
In the end, the biggest shift wasn’t visual—it was mental. I stopped seeing my home as something to decorate and started seeing it as something to design around my life.
That’s where real change begins.