6 smart DIY home planning ideas that actually work
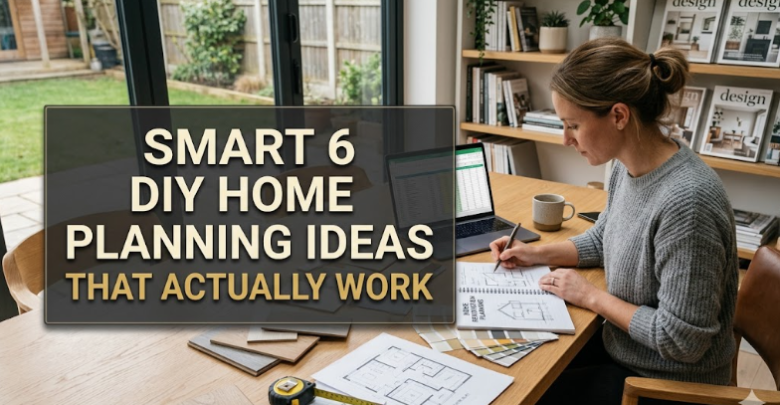
There’s a quiet kind of satisfaction in planning your home yourself. Not the glossy, magazine-perfect version—but the real one. The one where you measure a wall twice, still get it slightly wrong, adjust, learn, and move forward anyway. DIY home planning isn’t just about saving money (although that’s a nice bonus). It’s about shaping a space that genuinely reflects how you live, think, and move through your day.
Over time, I’ve noticed something interesting: the ideas that actually work are rarely the most complicated ones. They’re practical, flexible, and rooted in everyday habits. Below are six smart DIY home planning ideas that go beyond theory and actually hold up in real life.
idea 1: plan around your daily flow, not your furniture
Most people start with furniture placement. Sofa here, bed there, table in the corner. It seems logical—but it often leads to awkward layouts that look good but feel wrong.
A better starting point is your daily flow.
Think about your morning routine. Where do you walk first? Where do you pause? Where do things pile up? The same applies to evenings—where do you unwind, charge your phone, drop your bag, or sit the longest?
Grab a notebook and sketch a rough map of your space. Not a perfect blueprint—just a loose drawing. Then trace your movement throughout the day like a path. You’ll start to see patterns.
For example:
- If you constantly cross the room to grab something, that’s a signal.
- If a corner stays unused, it’s either poorly planned or unnecessary.
- If you bump into furniture, the layout is fighting you.
Once you understand flow, rearranging becomes intuitive. Furniture stops being decoration and starts becoming support.
A simple exercise:
Stand at your main doorway and walk through your usual routine without changing anything. Notice where your steps slow down or feel blocked. Those are your planning weak points.
This idea works because it adapts to real behavior—not idealized living. And that’s where most DIY plans go wrong.
idea 2: create “zones” instead of rooms
Especially in small homes or apartments, rigid room definitions don’t work well anymore. One room often needs to serve multiple purposes—work, rest, eating, storage, sometimes all at once.
Instead of thinking in terms of rooms, think in zones.
A zone is simply a dedicated function area, even if it shares space with others.
Examples:
- A reading zone (chair + light + small table)
- A work zone (desk + storage + power access)
- A drop zone (hooks + tray for keys + shoes)
- A rest zone (bed or sofa + minimal distractions)
You don’t need walls to define zones. You can use:
- Rugs
- Lighting
- Furniture orientation
- Shelves or dividers
- Even color changes
Here’s the key: each zone should have a clear purpose and minimal overlap. If your work desk is also your dining table, things get messy—physically and mentally.
Try this:
Pick one room and divide it into 2–3 zones based on how you actually use it. Then assign one “anchor item” per zone. For example, a desk defines the work zone, a chair defines the reading zone.
Once anchors are in place, everything else becomes easier to arrange.
This approach works because it reduces clutter in decision-making. Instead of asking “where should this go?” you ask “which zone does this belong to?”
idea 3: plan storage before you plan style
This is where many DIY projects fall apart. People focus on colors, textures, and aesthetics first. Storage comes later—and usually feels like an afterthought.
But in real homes, storage is what keeps everything functional.
Before choosing paint colors or decor, ask:
- Where will everyday items live?
- How often do I use them?
- Do I need quick access or hidden storage?
Break your items into three categories:
- Daily use (must be easy to reach)
- Weekly use (accessible but not in the way)
- Rare use (can be stored out of sight)
Now assign storage accordingly.
For example:
- Daily items → open shelves, hooks, trays
- Weekly items → drawers, cabinets
- Rare items → high shelves, boxes, under-bed storage
Here’s a small trick that makes a big difference:
Use “micro-storage” in key areas. That means small, intentional storage spots exactly where clutter tends to build.
Examples:
- A bowl near the entrance for keys
- A tray on your desk for loose items
- A basket near the sofa for remotes or books
These tiny solutions prevent big messes.
Once storage is sorted, styling becomes easy. You’re not decorating clutter—you’re enhancing a clean, functional base.
idea 4: use temporary setups before committing
One of the smartest DIY habits is testing before finalizing.
Instead of immediately installing shelves, drilling holes, or buying expensive furniture, create temporary setups first.
This could mean:
- Using cardboard to simulate furniture size
- Moving existing items around instead of buying new ones
- Using tape on the floor to outline layouts
- Trying a setup for a week before deciding
Why this works:
Your first idea is rarely your best one. Living with a setup—even a rough version—reveals flaws you wouldn’t notice on paper.
For instance:
A desk might look perfect against a wall, but after a few days, you realize the lighting is wrong. Or a shelf might feel too high once you actually use it.
Temporary planning gives you feedback without cost.
A practical method:
Create a “7-day test layout.” Rearrange your space and commit to using it as-is for a week. Don’t adjust immediately—observe first. Take notes:
- What feels convenient?
- What feels annoying?
- What do you avoid using?
At the end of the week, refine the setup.
This iterative approach saves money, time, and frustration.
idea 5: plan lighting like it’s a feature, not an afterthought
Lighting is one of the most underestimated elements in DIY home planning. Yet it completely changes how a space feels and functions.
Instead of relying on a single overhead light, think in layers.
Three basic types:
- Ambient lighting (overall illumination)
- Task lighting (focused light for activities)
- Accent lighting (adds mood and depth)
Even with a small budget, you can layer lighting effectively.
For example:
- A floor lamp in a corner creates a cozy zone
- A desk lamp improves focus
- Warm bulbs make a room feel more relaxed
Here’s something most people overlook:
Lighting affects how you use a space. A poorly lit area naturally becomes unused.
Try this experiment:
Turn off your main light and use only lamps in the evening. Notice how the room feels different—more intentional, more comfortable.
Also consider light direction:
- Upward lighting softens a room
- Downward lighting sharpens focus
- Side lighting adds texture
Planning lighting early helps avoid awkward fixes later, like adding extension cords or cluttering surfaces with lamps.
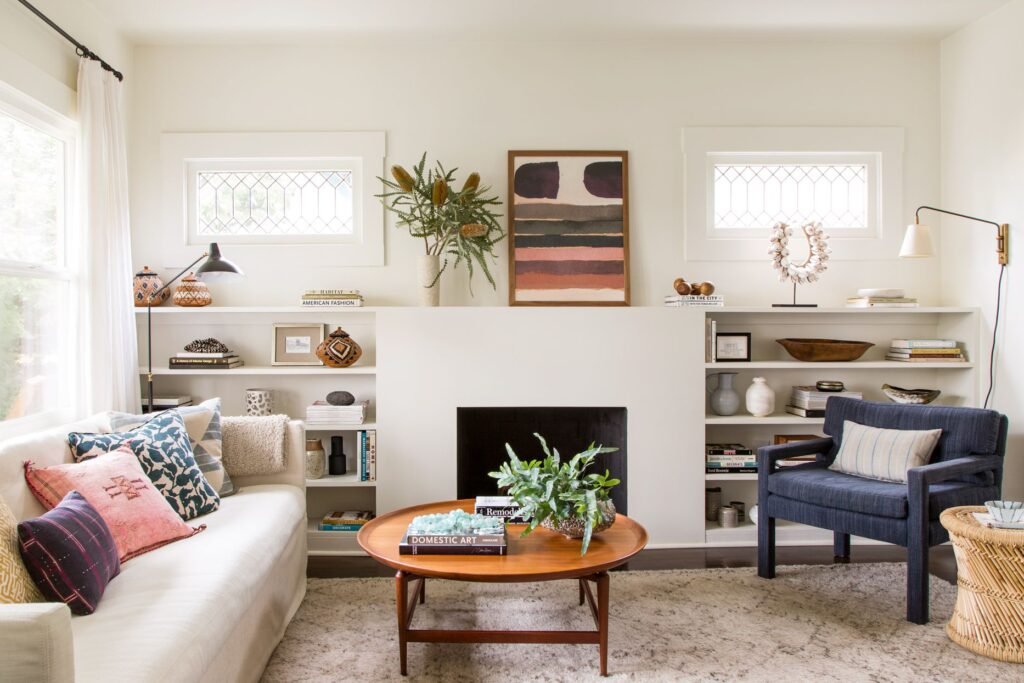
idea 6: build flexibility into your plan
The best DIY home plans aren’t rigid—they evolve.
Life changes. Work shifts. New habits form. What works today might not work in six months.
So instead of designing a “perfect” fixed setup, aim for flexibility.
How to do this:
- Choose lightweight, movable furniture
- Avoid over-permanent installations unless necessary
- Use modular storage (stackable, adjustable)
- Leave some empty space intentionally
Empty space isn’t wasted—it’s potential.
Another useful idea is “multi-use design.” That means one item serves more than one purpose.
Examples:
- A bench with storage inside
- A foldable table
- A bed with drawers underneath
- A shelf that doubles as a divider
Flexibility also reduces decision pressure. You don’t need to get everything right the first time because your space can adapt.
Think of your home as a system, not a finished product.
bringing it all together
If you step back, these six ideas share a common theme: practicality over perfection.
- Planning around flow keeps your space natural
- Creating zones adds clarity without needing more space
- Prioritizing storage prevents clutter before it starts
- Testing setups reduces costly mistakes
- Layered lighting improves both function and mood
- Flexibility ensures your home grows with you
You don’t need a big budget or professional tools to apply these. What you need is awareness—of your habits, your space, and what truly works for you.
Start small. Pick one idea and apply it to a single room. Observe the results. Then build from there.
Over time, your home won’t just look better—it will feel easier to live in.
And that’s the real goal.
frequently asked questions
- how do I start DIY home planning if I have no experience?
Start with observation, not action. Spend a few days noticing how you use your space—where clutter builds, where movement feels blocked, and which areas you naturally gravitate toward. Then begin with small changes like rearranging furniture or adding simple storage solutions. You don’t need advanced skills to improve functionality.
- what is the biggest mistake people make in DIY home planning?
The most common mistake is focusing on appearance before function. People often choose decor, colors, or furniture based on looks without considering daily use. This leads to spaces that look good but feel inconvenient. Always plan layout and storage first, then style.
- how can I plan a small home more effectively?
Use zoning instead of dividing rooms strictly. Create functional areas within the same space using furniture, rugs, or lighting. Also, prioritize vertical storage and multi-purpose furniture to maximize limited space without overcrowding.
- is it necessary to buy new furniture for better planning?
Not at all. In many cases, rearranging what you already have can significantly improve your space. Before buying anything new, experiment with different layouts and temporary setups. Only invest in new items if there’s a clear need that existing furniture can’t meet.
- how long should I test a layout before finalizing it?
A good rule is to live with a layout for at least 5–7 days. This gives you enough time to experience it during different routines—morning, evening, work, and rest. Take note of what works and what doesn’t before making permanent decisions.
- how do I balance flexibility with stability in home planning?
Focus on semi-permanent solutions. For example, use modular storage, movable furniture, and adjustable shelving. Keep essential structures stable (like major furniture placement), but allow smaller elements to change over time. This gives you both consistency and adaptability.