12 Powerful DIY Home Planning Ideas for Beginners
There’s something quietly satisfying about planning your home yourself. Not in a chaotic, “buy everything at once” way, but in a thoughtful, intentional process where each decision feels like it belongs. If you’re new to DIY home planning, it can feel overwhelming at first—too many ideas, too many styles, too many decisions.
But here’s the truth: you don’t need to be an interior designer to create a home that works beautifully. You just need a system, a bit of patience, and a willingness to experiment.
This guide isn’t just a list of tips. It’s a practical, experience-driven walkthrough filled with mini frameworks, visual thinking tools, and real-life examples you can adapt immediately.
Let’s begin.
- Start with a “living map” instead of a floor plan
Most beginners jump straight into measuring walls and sketching layouts. That’s useful, but incomplete. Before drawing anything, build a “living map.”
A living map is a simple breakdown of how you actually use your space during the day.
Example:
Time | Activity | Space Used | Problem Noticed
Morning | Getting ready | Bathroom | No storage for essentials
Afternoon | Working | Living room | Poor lighting
Evening | Relaxing | Bedroom | Feels cluttered
This exercise reveals something critical: your home isn’t just space—it’s behavior.
Once you understand your habits, planning becomes easier and more meaningful.
- Use the “3-layer planning method”
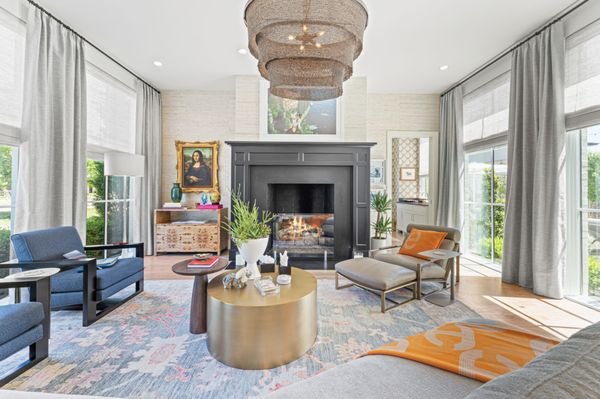
Instead of planning everything at once, break your home into three layers:
Layer 1: Function (what the space does)
Layer 2: Structure (furniture and layout)
Layer 3: Style (colors, textures, décor)
Most beginners mix all three and get stuck.
Here’s a smarter sequence:
Step 1 → Define purpose (work, relax, eat)
Step 2 → Place furniture for movement and flow
Step 3 → Add visual elements
Think of it like building a house—you don’t paint before laying the foundation.
- Create a “budget personality”
Budgeting isn’t just about numbers—it’s about behavior.
Ask yourself:
• Do I prefer saving slowly or spending upfront?
• Am I okay with second-hand items?
• Do I value durability over trends?
Then define your budget personality:
Type A: Minimal spender (DIY, reuse, low-cost hacks)
Type B: Balanced planner (mix of budget + investment items)
Type C: Comfort investor (spend more on key areas)
Write it down:
“My home planning style = Balanced planner. I invest in lighting and storage but save on décor.”
This keeps you from impulsive purchases later.
- Build a “no-regret zone” first
Every home has areas you use daily. Focus on those first.
Examples:
• Bed (sleep quality matters)
• Work desk (productivity)
• Kitchen counter (daily usage)
Instead of spreading your budget thin, upgrade one “no-regret zone” completely.
Mini checklist:
☐ Comfortable
☐ Functional
☐ Easy to maintain
☐ Visually calming
This creates immediate satisfaction and motivation to continue.
- Plan with movement, not just placement
A common beginner mistake is placing furniture based on walls, not movement.
Try this instead:
Stand in your room and walk your usual paths.
Ask:
• Do I bump into anything?
• Is there enough walking space?
• Can two people move comfortably?
A simple rule:
Minimum walking space = 2.5 to 3 feet
Draw arrows on your plan showing movement flow. If it looks messy on paper, it will feel worse in real life.
- Use “temporary setups” before committing
You don’t need to finalize everything immediately.
Try this experiment:
• Rearrange furniture temporarily
• Use tape on the floor to mark positions
• Live with it for 2–3 days
This prevents costly mistakes.
Example:
You think a sofa belongs in the corner → test it → realize it blocks light → adjust before buying anything new.
Planning becomes flexible instead of stressful.
- Design storage before decoration
Clutter isn’t a decoration problem—it’s a storage problem.
Before buying décor items, answer:
• Where will daily items go?
• Where will seasonal items go?
• Where will “temporary clutter” go?
Create a simple storage plan:
Zone | Storage Type | Purpose
Bedroom | Under-bed boxes | Extra clothes
Living room | Closed cabinets | Electronics
Kitchen | Wall shelves | Daily items
Once storage is solved, decoration becomes easier and cleaner.
- Apply the “one change per week” rule
Trying to do everything at once leads to burnout.
Instead, slow down:
Week 1 → Lighting
Week 2 → Furniture arrangement
Week 3 → Storage setup
Week 4 → Décor additions
This approach gives you time to evaluate each decision.
It also reduces regret and unnecessary spending.
- Work with light, not against it
Lighting can make or break your home.
Observe:
• Which areas get natural light?
• Which corners feel dark?
• How does light change during the day?
Simple upgrades:
• Use mirrors to reflect light
• Choose light-colored curtains
• Add warm lamps in darker corners
Quick comparison:
Poor lighting → feels smaller, dull
Good lighting → feels open, welcoming
Light is free—use it wisely.
- Create a “flexible space mindset”
Your needs will change over time.
Instead of fixed setups, think flexible:
• Foldable tables
• Multi-use furniture
• Stackable storage
Example:
A dining table that becomes a work desk
A bench that doubles as storage
Ask yourself:
“Can this item serve at least two purposes?”
If yes, it’s a smart choice.
- Use visual anchors to guide design
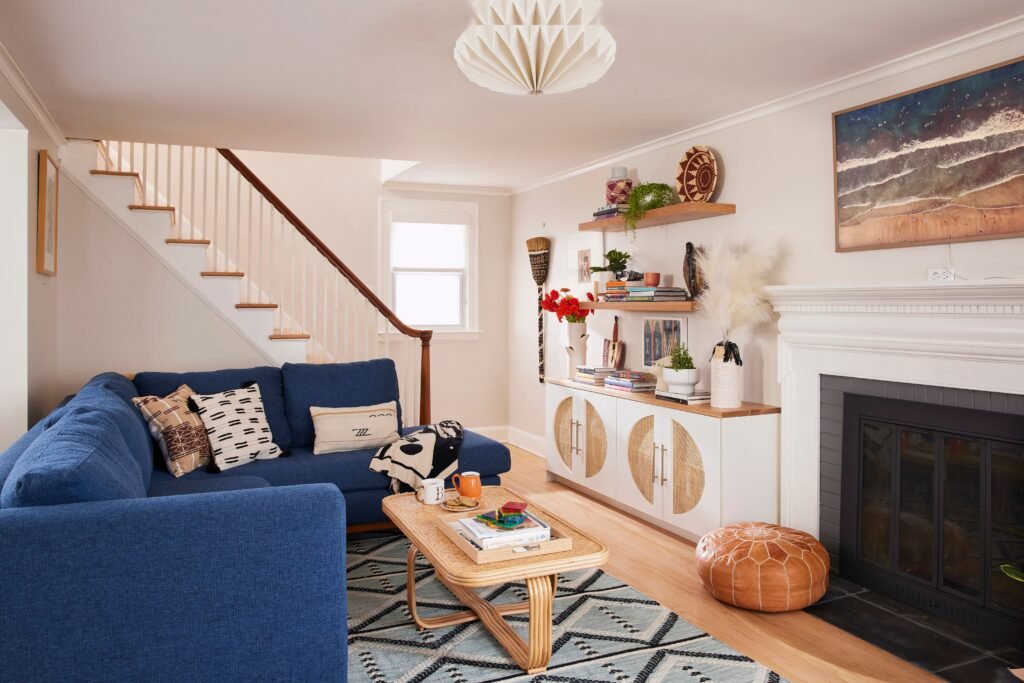
A visual anchor is one standout element that defines the room.
Examples:
• A bold rug
• A statement wall
• A unique piece of furniture
Instead of decorating everything equally, build around one anchor.
This creates balance and avoids clutter.
Mini formula:
Anchor + Supporting elements + Empty space = harmony
- Keep a “planning journal”
This might sound simple, but it’s powerful.
Use a notebook or digital file to track:
• Ideas
• Measurements
• Budget
• Mistakes
• Improvements
Example entry:
“Moved desk near window → better light → improved focus.”
Over time, this becomes your personal design guide.
Practical DIY planning toolkit (quick reference)
Tool | Purpose
Measuring tape | Accurate layout
Masking tape | Temporary marking
Notebook | Planning journal
Phone camera | Before/after tracking
Boxes/bins | Storage testing
You don’t need expensive tools—just consistency.
A beginner’s sample 7-day home planning plan
Day 1 → Observe and create living map
Day 2 → Define budget personality
Day 3 → Identify no-regret zone
Day 4 → Rearrange furniture (temporary setup)
Day 5 → Plan storage
Day 6 → Improve lighting
Day 7 → Add one visual anchor
By the end of one week, your home will already feel different.
Common mistakes beginners make (and how to avoid them)
Mistake 1: Buying before planning
Fix: Always map first, buy later
Mistake 2: Ignoring storage
Fix: Storage first, décor second
Mistake 3: Following trends blindly
Fix: Focus on your lifestyle
Mistake 4: Overcrowding space
Fix: Leave breathing room
Mistake 5: Rushing decisions
Fix: Test setups before committing
A small mindset shift that changes everything
Instead of asking:
“How do I make my home look good?”
Ask:
“How do I make my home work well?”
Good design follows function naturally.
FAQs
- How do I start DIY home planning with no experience?
Start by observing your daily routine and creating a living map. Focus on how you use your space rather than how it looks. Begin with one area instead of the whole house. - What is the most important part of home planning?
Function comes first. If a space works well for your daily needs, everything else—layout, décor, style—becomes easier to manage. - How can I plan my home on a low budget?
Reuse existing furniture, shop second-hand, and follow the “one change per week” rule. Focus spending on high-impact areas like lighting and storage. - How do I avoid making mistakes while planning?
Test everything temporarily before making permanent changes. Use tape, rearrange furniture, and live with the setup for a few days. - How long does DIY home planning take?
It depends on your pace, but a basic transformation can begin within a week. A complete, well-thought-out plan may take a few months. - Do I need to follow trends in home design?
No. Trends change quickly. Focus on comfort, usability, and your personal preferences. A functional home always feels better than a trendy one.
In the end, DIY home planning isn’t about perfection. It’s about awareness, experimentation, and gradual improvement. Your home will evolve with you—and that’s exactly how it should be.