When you’re diving into the world of DIY home upgrades, especially on a tight budget, it’s easy to get swept up in the excitement. You picture that fresh coat of paint transforming your living room or a clever storage hack turning your cluttered garage into a functional space. But let’s be real—I’ve been there, hammer in hand, only to realize halfway through that I missed something crucial. Those little oversights can turn a fun weekend project into a costly headache. That’s why talking about the planning mistakes to avoid is so important. Over the years, I’ve chatted with friends who’ve renovated their homes on a shoestring, and we’ve all learned the hard way that skipping steps in the planning phase is like building a house on sand.
This isn’t just about listing errors; it’s about understanding why they happen and how to sidestep them. Budget DIY upgrades are all the rage these days, with social media flooded with before-and-after shots that make it look effortless. But behind those polished images are hours of trial and error. If you’re aiming to spruce up your place without breaking the bank, knowing these 13 pitfalls can save you time, money, and a lot of frustration. We’ll walk through each one, drawing from real-life examples and practical tips, so you can approach your next project with confidence. Remember, the goal is to enhance your home’s value and comfort, not to create more problems down the line.
Let’s start with the basics. Home upgrades on a budget often involve simple things like repainting walls, installing shelves, or even updating fixtures. But even these can go awry if you’re not careful. Think about it: a mismatched paint job or a wobbly shelf isn’t just an eyesore; it can lead to rework that eats into your savings. Planning isn’t glamorous, but it’s the backbone of any successful DIY endeavor. By avoiding these mistakes, you’ll not only complete your projects smoothly but also enjoy the process more. So, grab a cup of coffee, and let’s dig in.

One common trap is jumping in without a clear vision of what you want to achieve. You might see a trendy backsplash on Pinterest and decide to replicate it, but without considering how it fits your overall home aesthetic or daily needs. This leads to disjointed upgrades that feel out of place. Take my neighbor, for instance—he installed sleek modern cabinets in his vintage kitchen, only to regret it because they clashed with the rest of the house. The fix? Spend time sketching out your ideas or creating a mood board. List out your must-haves versus nice-to-haves, and prioritize based on functionality. This way, every upgrade ties into a cohesive plan, making your home feel more put-together without extra costs.
Another issue is underestimating hidden costs. Budget DIY often focuses on material prices, but what about disposal fees for old items or unexpected repairs that crop up? I once budgeted $200 for a bathroom vanity swap, but ended up spending another $150 on plumbing fixes I hadn’t anticipated. To avoid this, do a thorough walkthrough of your space. Inspect for issues like water damage or outdated wiring that might need addressing first. Factor in a 20% contingency fund—it’s a lifesaver. Research local recycling options to cut disposal costs, and shop around for deals on tools you might need to rent instead of buy.
Now, let’s talk about the first major mistake: not setting a realistic budget from the get-go. It’s tempting to lowball your estimates to make the project seem feasible, but that optimism can backfire. Say you’re planning to refresh your backyard deck with new stain and minor repairs. You figure $100 will cover it, but then you discover rot in the boards, pushing costs to $300. Suddenly, you’re dipping into savings meant for something else. The key here is detailed budgeting. Break down every expense: materials, tools, potential rentals, and even small things like sandpaper or painter’s tape. Use apps or spreadsheets to track it all. Compare prices from multiple stores—online retailers often have better deals than big-box chains. And don’t forget labor if you end up needing help; even budget DIY sometimes requires a pro for complex bits.
I’ve seen folks get burned by impulse buys too. They spot a clearance sale on tiles and snag them without measuring their space properly. Result? Leftover materials gathering dust or not enough to finish the job. Always measure twice, buy once. Calculate square footage accurately, adding a bit extra for waste. This mistake ties into poor inventory management—know what you already have at home before shopping. That half-can of paint in the garage might be perfect for touch-ups, saving you a trip and cash.
Moving on, the second mistake is skipping proper research on techniques and materials. In the age of YouTube tutorials, it’s easy to think you’ve got it all figured out after a quick video watch. But not all advice is created equal. Some channels gloss over key steps, leading to subpar results. For example, if you’re tackling a budget flooring upgrade like vinyl planks, researching the right underlayment is crucial to prevent bubbling or uneven wear. Dive deeper: read forums like Reddit’s r/DIY for real user experiences, check manufacturer guidelines, and even test small samples. This upfront time investment pays off in durability and satisfaction.
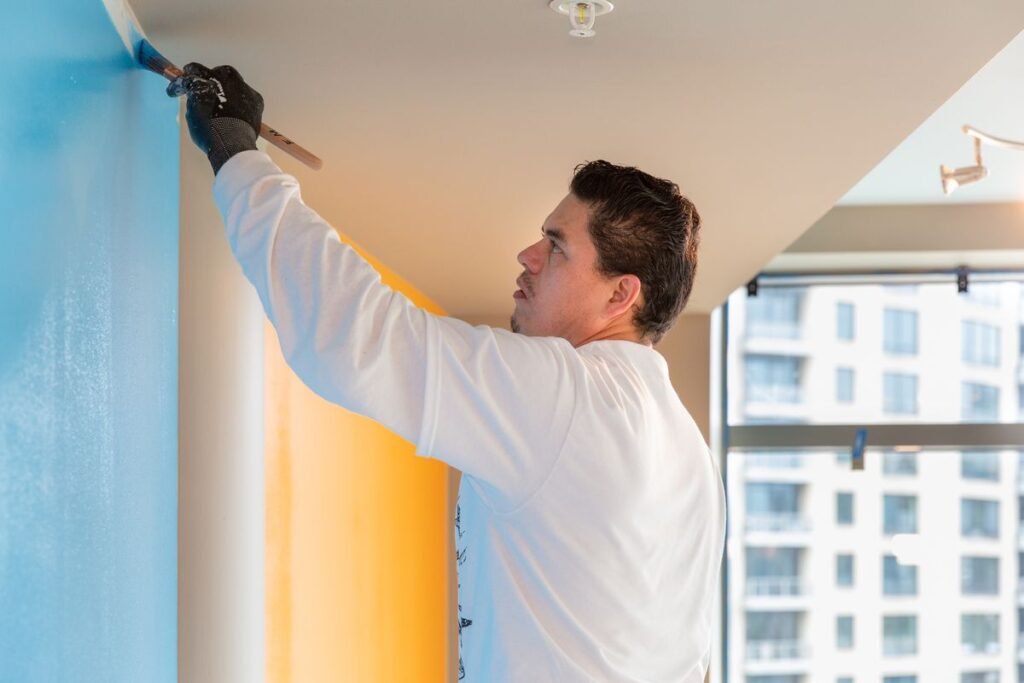
Research also extends to eco-friendly options. On a budget, you might grab the cheapest paint, but low-VOC alternatives aren’t much more expensive and are better for your health. I learned this when repainting my bedroom— the fumes from bargain paint gave me headaches for days. Look for certifications like Greenguard to ensure quality without premium prices. Plus, understanding material compatibility avoids disasters, like using the wrong adhesive that ruins your new countertop.
The third pitfall is ignoring the structural integrity of your home. Budget upgrades often involve cosmetic changes, but if the foundation isn’t sound, you’re wasting effort. Imagine adding heavy shelving to a wall without checking for studs; it could collapse under weight. Always use a stud finder or knock test walls before drilling. For older homes, inspect for signs of settling or cracks that might indicate bigger issues. Consulting a free online structural guide or even a quick call to a local inspector can prevent costly fixes later.
This mistake hit home for a friend who installed a budget ceiling fan without verifying the electrical box’s rating. It wobbled dangerously until he reinforced it. Safety and stability should never be compromised, even on a dime. Prioritize load-bearing assessments, especially for additions like built-in furniture or lighting fixtures.
Fourth, overlooking permits and local regulations can turn a simple upgrade into a legal nightmare. Many assume small DIY projects don’t need approval, but rules vary by area. Painting? Fine. But rewiring a light fixture or altering plumbing? You might need a permit. Skipping this could lead to fines or having to undo work. Check your city’s building department website—it’s usually straightforward. For budget-friendly compliance, opt for projects that stay cosmetic, like organizing closets or updating hardware, which rarely require paperwork.
I recall a story from a DIY group where someone added a deck extension without a permit, only to face inspection demands when selling the house. It cost them thousands to retroactively approve. Plan ahead: factor in permit fees (often under $100 for minor work) and timelines.
The fifth mistake is choosing the cheapest materials without considering quality. Bargain bins are tempting, but flimsy items wear out fast, leading to replacements. For instance, cheap caulk might crack after a season, letting moisture in and causing mold. Invest in mid-range options with good reviews—think store brands over no-names. Durability saves money long-term. When upgrading kitchen counters on a budget, laminate can mimic granite affordably if you pick a reputable brand.
Balance cost with lifespan. Read labels for warranties; a slightly pricier faucet with a 5-year guarantee beats a $10 one that leaks in months. This approach keeps your upgrades looking fresh without frequent redos.
Sixth, underestimating the time required is a classic blunder. Weekend warriors often plan for a quick job, but reality hits with drying times, multiple coats, or learning curves. A simple wall patch and paint might take a full day if you include prep and cleanup. Block out extra time—double your estimate if you’re new to it. This prevents rushed work that looks sloppy.
Life gets in the way too. Factor in breaks, family interruptions, or weather for outdoor projects. I once started staining furniture on a sunny day, but rain delayed drying for hours. Schedule flexibly, and break big upgrades into phases: demo one day, install the next.
Seventh, not having the right tools or knowing how to use them properly. Borrowing or renting is smart on a budget, but using the wrong tool can damage materials or injure you. For cutting trim, a miter saw beats a handsaw for precision. Invest in basics like a level, tape measure, and drill set—these pay for themselves over multiple projects.
Learn through practice on scrap pieces. Online classes or library books can teach techniques without cost. Avoid the trap of buying fancy gadgets; stick to essentials.
Eighth, neglecting safety measures. Budget DIY shouldn’t mean skimping on protection. Skipping gloves or goggles can lead to injuries that halt progress. Always use dust masks for sanding, and ensure good ventilation. For electrical work, turn off power at the breaker—I’ve heard horror stories of shocks from forgotten circuits.
Keep a first-aid kit handy, and know your limits. If a task feels risky, call a pro. Safety gear is inexpensive; hospital bills aren’t.
Ninth, poor measurement and cutting accuracy. “Measure twice, cut once” is cliché for a reason. Inaccurate cuts waste materials, inflating costs. Use quality measuring tools and mark clearly. For irregular spaces, make templates from cardboard.
This mistake amplifies in tiling or flooring, where off measurements create gaps or overlaps. Patience here saves resources.
Tenth, rushing the entire project. Haste leads to mistakes like uneven paint or loose fittings. Take breaks to assess progress. Quality over speed ensures lasting results.
Eleventh, not testing ideas on a small scale first. Before committing to a full room repaint, test colors on a wall section. This reveals how light affects shades, avoiding regrets.
For custom builds, prototype with cheap materials. It refines your plan without big waste.
Twelfth, ignoring energy efficiency in upgrades. Budget-friendly LEDs over incandescents cut bills long-term. Seal drafts during window treatments for savings.
Choose insulating materials for added value. It’s eco-smart and wallet-friendly.
Thirteenth, forgetting about maintenance and longevity. Upgrades need upkeep plans. Waterproof sealants on wood prevent rot, extending life.
Think ahead: easy-to-clean surfaces reduce future effort.
In wrapping up, avoiding these 13 mistakes turns budget DIY into rewarding successes. Your home becomes a reflection of smart choices, not hasty regrets. Start small, learn as you go, and enjoy the transformation. With careful planning, even modest upgrades can make a big impact.