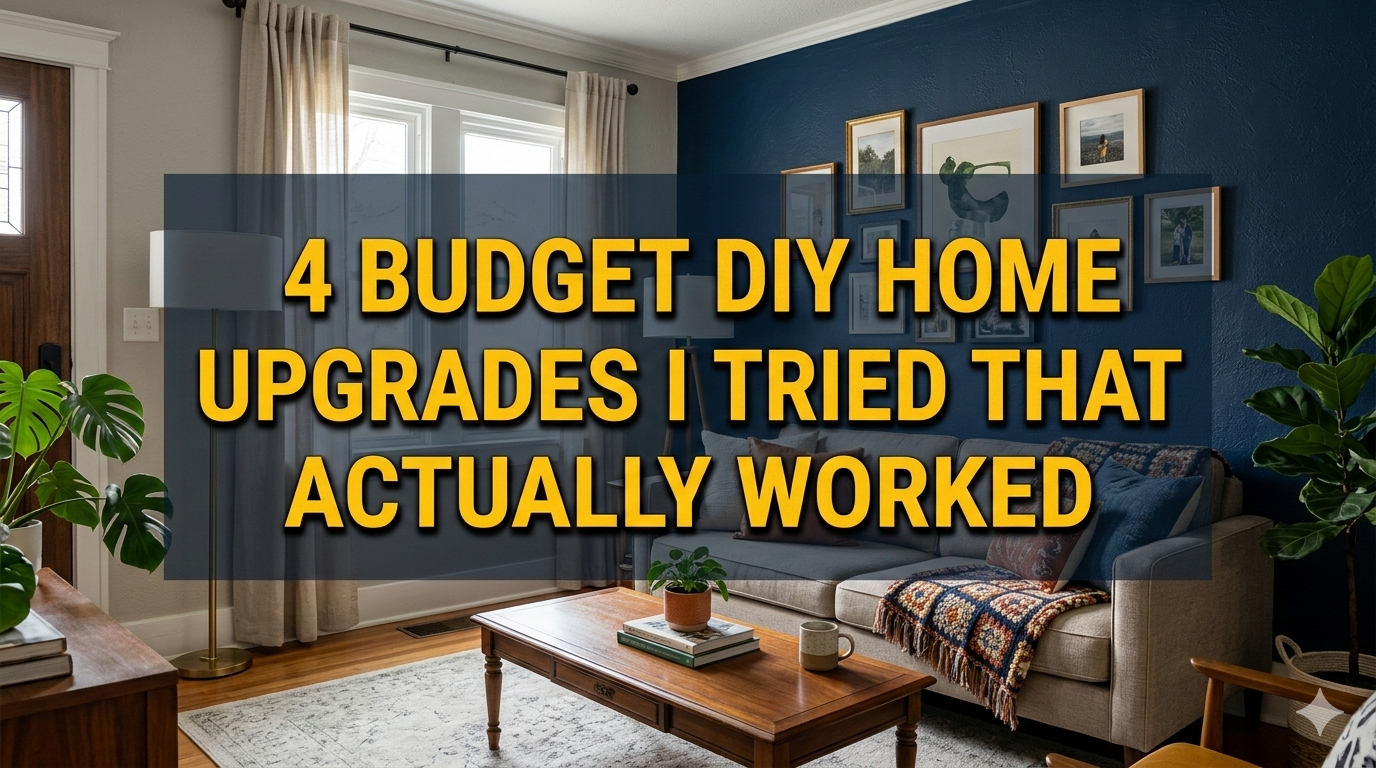
4 Budget DIY Home Upgrades I Tried That Actually Worked
Let me tell you, a few years back I was staring at my walls and cabinets thinking, man, this place needs something but I’m not about to drop thousands on contractors who’ll charge an arm and a leg just to slap on some paint. I’ve got a regular job, two kids who treat the house like their personal playground, and a budget that laughs at fancy renovation shows. So I started small, scrolling through YouTube at night after the kids were in bed, jotting down ideas that looked doable without a PhD in carpentry. What surprised me most wasn’t that some projects turned out okay – it was that four of them actually transformed rooms in ways I still notice every single day. No fancy tools, no huge time sinks, and definitely no regret. I’m talking real upgrades that added comfort, style, and even a bit of resale sparkle without emptying the savings account. I’ll walk you through each one exactly how it happened for me, mistakes and all, because if I can do it after a long week at work, anyone can. These weren’t Pinterest-perfect moments; they were sweaty, “why did I start this at 8 p.m.” kind of evenings, but the results stuck.
The first one I tackled was the kitchen backsplash. Our old tiles were these beige squares from the 90s that had grout turning gray no matter how much I scrubbed. Every time I cooked, I’d catch myself grimacing at the stains and thinking, this is the heart of the house but it looks tired. I wanted something fresh without ripping everything out – that would’ve meant dust everywhere and weeks of eating takeout. After watching a couple of late-night videos, I landed on peel-and-stick tiles. They were cheap, removable if we ever moved, and promised no mortar mess. Total cost for my 8-by-4-foot wall? About $45 including a few extra sheets in case I messed up. I grabbed them from the local hardware store in a soft gray subway pattern that looked way more expensive than it was.
Saturday morning rolled around and I cleared the counter, moved the toaster and coffee maker to the dining table, and wiped the wall down with rubbing alcohol like the instructions said. My wife kept peeking in asking if I knew what I was doing, and honestly I didn’t 100 percent, but I measured twice and marked a level line with a pencil and a long ruler. The first tile went on crooked – I pressed too hard on one side and it stuck at an angle. Cue me muttering under my breath while prying it off with a plastic scraper. Lesson learned: peel slowly and use a level app on my phone for the first row. After that it got easier. I cut the edge pieces with a utility knife and a straight edge, nothing fancy. By lunch I had the whole thing done, and when the sun hit it later that afternoon the gray looked clean and modern against our white cabinets. The best part? No grout lines to clean ever again. Six months later it still looks brand new even after spilled curry and kids banging pots around. The whole project took four hours and saved me at least $800 compared to a professional tile job. If you’re nervous about sticking something permanent, start with a small section behind the sink like I did. It gave me confidence to keep going.
After the backsplash win, I couldn’t stop there. Those cabinets that now popped against the new wall suddenly looked even more dated – dark oak with brass handles that screamed “old rental.” Painting them seemed risky because I’d heard horror stories about peeling paint, but I found a method using regular latex paint with a bonding primer that people swore by in the comments sections. I picked a soft white called “Alabaster” or something close from the discount rack – $18 a gallon on sale. New handles were $2 each from the same store, brushed nickel this time. Total spend under $70 for the whole kitchen.
I started on a Friday night after work, which was probably dumb because I was already tired. First step was emptying every single cabinet and drawer – the kids thought it was a game and kept “helping” by hiding my screwdrivers. I removed all the doors and hardware, labeled them with tape so I’d know where everything went back. Then came the sanding. I used 220-grit paper by hand, not a power sander because I didn’t own one and didn’t want to buy one for one job. My arms ached after the first door, but the surface got smooth enough for the primer to grip. Two coats of primer, light sand between each, then three thin coats of the white paint. I used a foam roller for the flat parts and a small brush for the edges. The trick nobody tells you is to paint in the direction of the grain and keep a wet edge so you don’t get lines. I messed up one door and had to redo it the next morning after it dried weird, but that’s okay – nobody’s perfect.
Reattaching the new handles was the fun part. I drilled fresh holes because the old ones didn’t line up, and suddenly the doors looked crisp and expensive. We put everything back on Sunday afternoon and stepped back. The kitchen felt brighter, bigger, and honestly more like ours. The paint has held up through two monsoons and countless greasy fingers. One tip I learned the hard way: don’t rush the drying time. I tried closing a door too soon once and left a fingerprint that I had to touch up later. If your cabinets are laminate instead of real wood, this still works – just make sure the primer is made for slick surfaces. I’ve had friends ask me to help with theirs after seeing mine, and every time I tell them the same thing: it’s tedious but worth every sore muscle.
Once the kitchen felt fresh, I turned my attention to the living room. We had this big empty wall above the couch that always looked bare no matter how many photos I hung. Floating shelves seemed like the answer – they’d hold books, plants, and some decor without taking up floor space. I’d seen them in magazines for hundreds of dollars, but I figured I could build my own for under $30 total. Picked up three 8-foot pine boards from the lumber section, each about 8 inches wide. They were $8 apiece. Some L-brackets, wood screws, and a can of walnut stain later, I was set.
Measuring was key because our walls aren’t perfectly straight – old house things. I used a stud finder (borrowed from a neighbor) to mark where the brackets would hit solid wood. Then I cut the boards to 48 inches each with a handsaw because my jigsaw battery was dead. Staining took place outside on some cardboard so the fumes wouldn’t bother the kids. I applied two coats with a rag, letting it dry overnight. The next day I mounted the brackets level, about 12 inches apart vertically. Sliding the shelves on and securing them from underneath with screws felt like magic. I arranged some books, a couple of thrifted vases, and a trailing pothos plant, and suddenly that wall had personality. The shelves have held up to the kids climbing on the couch and grabbing stuff, no wobbles after a year. Cost breakdown: boards $24, brackets $4, stain $8, screws I already had. Time: one full Saturday. The biggest mistake was not sanding the edges smooth enough before staining – I had to go back with sandpaper and touch up a couple rough spots. If you’re doing this, buy pre-sanded boards or spend extra time on the edges. It makes the difference between looking homemade and looking intentional.
The fourth upgrade was probably the one that surprised me most because it was so simple yet made the biggest daily difference: adding under-cabinet lighting in the kitchen. We used to turn on the big overhead light for everything, which felt harsh and made shadows on the counters while chopping vegetables. I’d seen LED strip lights online for cheap and thought, why not. Total investment was around $25 for two 16-foot rolls with a remote and power supply. I chose warm white so it wouldn’t look like a hospital.
Installation was easier than I expected but required patience. First I cleaned under the cabinets really well – those crumbs from years of cooking were everywhere. I stuck the strips along the front edge using the 3M adhesive they came with. For extra security I added a few small staples from my staple gun, making sure not to pierce the wiring. Running the wire along the back of the cabinets and down to an outlet took some creativity – I used cable clips and hid everything behind the fridge where nobody looks. The remote was the game-changer; now I can dim it for morning coffee or brighten it for late-night snacks. The first night we used it, my wife said it felt like we’d upgraded to a whole new house. No more squinting at recipes or missing spots while cleaning. It even makes the new backsplash glow a little, which was a bonus I didn’t plan. One hiccup: the adhesive started peeling on one strip after a couple humid weeks, so I reinforced it with clear packing tape as a quick fix. Lesson learned – in damp climates, add extra hold right away. These lights have been on almost every evening for over a year and haven’t flickered once. Energy use is tiny too; my electric bill didn’t even notice.
Looking back, these four projects took me maybe 25 hours total spread over a few months. The money saved was ridiculous – easily $2,000 or more if I’d hired people. But the real win was how the house started feeling like a home we actually chose instead of just lived in. The kids got involved painting little test swatches on scrap wood, my wife stopped complaining about the kitchen, and I gained this weird confidence that I could fix things myself. There were moments I wanted to quit – like when paint dripped on the floor or a shelf bracket wouldn’t line up – but pushing through taught me patience and problem-solving in ways my day job never did.
If you’re sitting there thinking your space needs a lift but the budget is tight, start with whatever bothers you most. Measure twice, watch a couple videos from regular people not influencers, and buy a little extra material for mistakes. I still walk into the kitchen some mornings, flick on those lights, and smile because it was my hands that made it better. The living room shelves hold family photos now instead of just books, and every time someone visits they ask where we got them. I just shrug and say I made them. That feeling beats any store-bought upgrade.
Of course not everything was smooth. With the cabinet painting I underestimated how long drying would take in our humid weather, so I had doors stacked in the hallway for two extra days. The kids kept bumping them and I had to touch up a corner. With the shelves, I originally planned three but only did two because the third board had a huge knot I didn’t notice until staining. Live and learn. The backsplash taught me that cheap tiles can look high-end if you take your time aligning them. And the lighting? I wish I’d done it years earlier. These weren’t Instagram moments captured in five minutes; they were real evenings with pizza on paper plates because the kitchen was half-torn apart.
I’ve since helped my sister do the backsplash in her place and my neighbor borrowed my staple gun for his own lighting project. Turns out people notice when your home feels cared for, even on a budget. If I had to pick one piece of advice for anyone reading this, it’s this: don’t wait for the perfect weekend or the perfect tools. Just start small, accept that it won’t be flawless, and enjoy the process. The satisfaction of flipping a switch or opening a cabinet and knowing you did it yourself – that’s the upgrade nobody puts a price tag on.
Let me dive a bit deeper into the backsplash because I think a lot of people get scared off by the idea of anything permanent in the kitchen. When I first unboxed those tiles, they felt flimsy, like stickers for a kid’s bedroom. I almost returned them. But after sticking the first few and stepping back, the texture and slight sheen made the whole counter area feel custom. I even added a thin bead of clear caulk along the bottom edge where it met the countertop to keep crumbs from sneaking behind. That little step took ten minutes but saved me from future headaches. Over time I’ve wiped it down hundreds of times and the color hasn’t faded. In fact, when we had family over for dinner last month, three different people asked who did our renovation. When I said “me, with $45 worth of tiles,” their jaws dropped. That reaction alone made every crooked tile worth it.
The cabinet project expanded beyond just paint once I got going. After the doors were done I realized the inside shelves looked sad, so I lined them with contact paper in a fun marble pattern – another $12 investment. It took an afternoon but now opening any drawer feels organized and clean. I also swapped the hinges on two cabinets that squeaked; turns out a drop of oil and new screws fixed that forever. Small details like that add up. The whole kitchen now flows together – white cabinets, gray backsplash, new handles catching the light. On busy mornings when I’m rushing to make lunches, the brightness actually makes the chaos feel manageable. I’ve read that white kitchens can show dirt, but with the right semi-gloss paint it wipes clean with a damp cloth. No special cleaners needed.
Floating shelves opened up a whole new way of thinking about storage for me. After the first two went up, I realized the wall could handle one more shorter shelf above the TV for remotes and coasters. I used the leftover board piece and it matched perfectly. Now the room feels balanced instead of top-heavy. I stained everything the same day so the color was consistent, and I lightly sanded between coats for that smooth furniture feel. Plants love the light on those shelves too; my monstera has tripled in size since moving there. If your walls have texture like mine did, sand the bracket area lightly first so the screws sit flush. I skipped that on one and it bugged me for weeks until I fixed it. Little things.
The under-cabinet lights turned out to be the gift that keeps giving. I added a motion sensor to the power strip for $8 extra, so now they turn on automatically when I walk in at night. No more fumbling for switches with full hands. The warm glow makes the whole space feel bigger at night, almost like a coffee shop corner. My wife uses the dim setting for her morning tea routine and swears it makes the coffee taste better – probably not true but I’m not arguing. Installation wise, I routed the wires through existing cabinet holes where the power cords already ran, so no new drilling. If your kitchen layout is different, just take your time hiding the cords; it’s worth the extra five minutes. These LEDs run cool too, so no heat on the underside of the cabinets like old puck lights would have.
Beyond the four main projects, I picked up little habits that made everything easier going forward. I started keeping a “project box” in the garage with painter’s tape, extra screws, sandpaper, and a notebook for measurements. Nothing fancy, just a plastic bin. It saved me multiple trips to the store mid-project. I also learned to take progress photos on my phone – not for social media, but so I could remember what the space looked like before. Flipping through them now still gives me a boost on tough days. And honestly, the confidence spill-over has been huge. Last month I fixed a leaky faucet using a YouTube video and parts that cost $6. Before these upgrades I would’ve called a plumber without thinking twice.
The financial side still blows my mind. Professional kitchen backsplash installation in my area starts at $900 minimum. I spent $45 and four hours. Cabinet painting quotes were $1,200 for labor alone. My version: $70 and a weekend. Custom floating shelves from a furniture store? Easily $300 for three. Mine: $30. Under-cabinet lighting pro install? $400. DIY: $25. Adding it up, I kept over $2,500 in my pocket while making the house more comfortable. That money went straight into a family vacation fund instead. If you track every receipt like I did, you’ll see the savings stack up fast.
Of course there were costs I didn’t plan for at first – my time, a couple of sore muscles, and one ruined t-shirt covered in paint. But those feel like nothing now. The kids still talk about “the weekend Dad turned the kitchen white” like it was an adventure. They helped hold the level and picked the shelf stain color (even if I overruled their neon purple choice). Family involvement made it less of a chore and more of a memory.
If I could go back and give myself advice before starting, I’d say buy twice as many gloves because paint gets everywhere, test every light and tile in the actual room lighting before committing, and celebrate each finished step with something small like takeout on the new-looking counters. Also, tell your spouse exactly how long it will really take – not the optimistic version. Mine still teases me about the “quick Saturday project” that stretched into Sunday dinner time.
These upgrades didn’t turn our house into a magazine spread. The couch is still a little worn, the yard needs work, and there’s always something on the to-do list. But the parts we changed feel intentional and cared for. That matters more than perfection. When friends come over now they linger in the kitchen instead of heading straight to the living room. The shelves get compliments every visit. The lights make evening conversations last longer because nobody wants to leave the cozy glow. It’s those small daily improvements that add up to a happier home.
I’ve shared these stories with coworkers who are stuck in the same “someday I’ll fix it” loop I used to be in. A couple have already texted me photos of their own peel-and-stick victories. One guy sent a before-and-after of his painted cabinets and said he can’t believe how easy it was once he started. That feedback feels better than any professional approval. If you’re reading this and thinking your budget or skill level isn’t there, trust me – mine wasn’t either. I’m the guy who once glued his own finger to a table trying to fix a chair. These projects worked because I kept them simple and focused on one room at a time.
The last thing I’ll say is this: homes aren’t finished projects; they’re living spaces that evolve with the people in them. These four upgrades gave me permission to experiment without fear of ruining anything permanent. The peel-and-stick can come off if we ever move. The paint can be repainted. The shelves can be restained. The lights can be unplugged. That flexibility took the pressure off and let me enjoy the process. So grab a measuring tape, make a list, and pick one thing that’s been bugging you. You might surprise yourself with how good “good enough” can look when it’s made by your own hands. I know I did. And every morning when I walk into that brighter, cleaner, more personal space, I’m reminded that sometimes the best upgrades are the ones you do yourself on a budget, one careful step at a time.