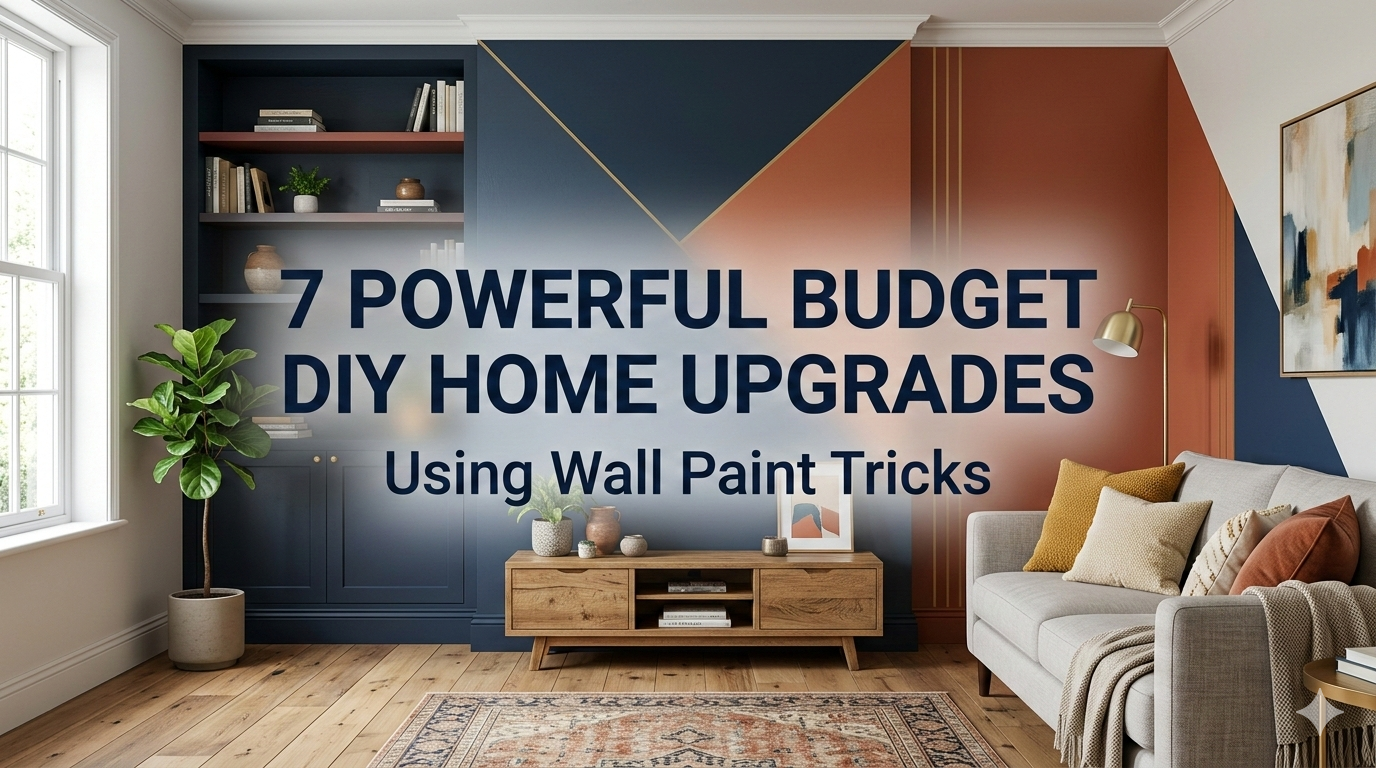
Meta Description: Budget DIY home upgrades using wall paint tricks can completely transform your space without draining your wallet. Discover 7 powerful techniques to refresh any room today.
7 Powerful Budget DIY Home Upgrades Using Wall Paint Tricks
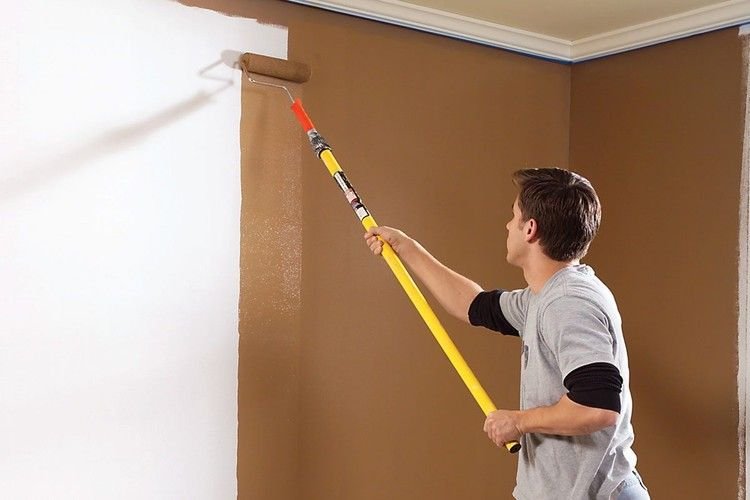
Your home doesn’t need a full renovation to look good. Sometimes, all you need is a can of paint, a steady hand, and a few smart tricks. Wall paint is one of the cheapest, most effective weapons any homeowner or renter can employ. It can make a tiny room feel spacious, a dark hallway feel bright, and an unadorned wall into art.
The best part? Many of these suggestions come in under $50. And you don’t have to be a pro painter to make them work.
In this guide, you will learn about 7 different budget DIY home upgrades that are done with wall paint tricks that are so easy to do, look amazing, and cost less. Whether you’re upgrading a bedroom, living room, or kitchen, there is something for every area.
Let’s get into it.
The No. 1 Tool for Budget Home Upgrades? Wall Paint
It is good to understand why paint is so powerful before diving into the tricks.
Paint is cheap. A gallon usually ranges from $20 to $50. Compare that to new furniture, flooring, or lighting fixtures, and it’s a no-brainer. Paint is also easy to undo. If you don’t like the outcome, it’s easy to repaint. Most home improvement projects don’t have that kind of flexibility.
Paint also affects mood. Research in color psychology indicates that particular shades diffuse stress, elevate energy levels, or lend warmth to a room. That means you must make the right choice of color — not just for looks, but for how your home feels as a living space.
Lastly, wall paint tricks can help make a room feel more spacious, taller, deeper, and textured. These are the same visual effects that designers use in costly renovations. You can achieve the same thing for a fraction of the price.
If you’re looking for more inspiration before you begin, check out Frugal Home Renovator — a fantastic resource packed with budget-friendly renovation ideas and paint tips for every type of home.
Trick #1 — The Two-Tone Wall Divide That Gives Height to Any Room
What It Is and How It Works
This technique features painting the bottom half of your wall one color and the top another. The division is typically marked with painter’s tape at chair rail height — about 32 to 36 inches above the floor.
The trick is being savvy with color selection. Paint the lower half a darker shade and the upper half a lighter one. This pulls the eye up and gives the sense that your ceiling is higher than it actually is.
How to Do It
Begin with two colors from the same color family. A warm beige on top and a medium tan on the bottom, for instance. Or a pale sky blue above with navy below.
Mark your dividing line with painter’s tape. Just ensure it’s level — use a spirit level or a laser level tool. Do the top half first, wait for it to dry fully, and only then do the bottom. For a crisp edge, remove the tape slowly while the paint is still slightly wet.
You could even run a thin strip of wood trim along the split line to make it look really polished. This is known as a chair rail, and it costs just a few dollars at any hardware store.
Cost Breakdown
| Item | Estimated Cost |
|---|---|
| 1 gallon paint (top) | $25–$35 |
| 1 gallon paint (bottom) | $25–$35 |
| Painter’s tape | $5–$8 |
| Chair rail trim (optional) | $10–$20 |
| Total | $65–$98 |
Trick #2 — The Right Way to Do Accent Walls
More Than Just One Bold Color
Accent walls have been around for years, but they’re rarely done right. Most people simply paint one wall a color they consider dark, and move on. The real secret is in deciding which wall to accent and what tone to pair it with.
The accent wall should ideally be the first one you see upon entering a room. This is typically the wall behind a bed, sofa, or fireplace. It should hold ground in the room — it shouldn’t fight everything else that’s in it.
Color Matching Tips
Choose an accent color that is already present somewhere in your room — perhaps in your curtains, throw pillows, or a piece of art. It gives a consistent look that seems purposeful rather than haphazard.
If your room has neutral furniture (white, gray, or beige), then you have the most latitude. Think deep emerald green, dusty rose, and burnt terracotta. These tones are trending right now and also photograph beautifully.
Quick Tip Table
| Room | Best Accent Wall | Suggested Color |
|---|---|---|
| Bedroom | Behind the headboard | Deep navy or forest green |
| Living room | Behind the sofa or TV | Warm terracotta or charcoal |
| Home office | The wall you face while working | Sage green or slate blue |
| Dining room | Behind main seating | Mustard yellow or burgundy |
Trick #3 — Stripes That Deceive the Eye
Horizontal vs. Vertical — What to Go For
Painted stripes are among the oldest optical tricks in the book. And they still work like a charm.
Vertical stripes make your ceiling look higher. Horizontal stripes make your room look wider. Pick the one your space needs most.
Vertical stripes are helpful in narrow rooms with low ceilings. Horizontal ones help wide rooms that feel flat and boring.
How to Paint Perfect Stripes
Measure the width of your wall and determine how many stripes you would like. An odd number generally looks better than an even one. For a 12-foot wall, maybe you do seven or nine stripes.
Pencil your lines in lightly. Use a long level to keep everything straight. Apply painter’s tape along each stripe edge, pressing it down well so no paint will smear underneath.
Use a small foam roller for smooth, even coverage. Remember, two thin coats work a lot better than one thick coat.
For a subtle, sophisticated approach, opt for tone-on-tone stripes. Paint your stripes in a slightly different sheen of the same color — say, a flat finish base and satin stripes. The contrast in sheen creates a stunning effect in natural light without being too attention-grabbing.
Tools You’ll Need
- Tape measure
- Pencil
- Spirit level
- Painter’s tape
- Small foam roller
- Paint in one or two colors
Total cost: approximately $30–$60 depending on what materials you already own.
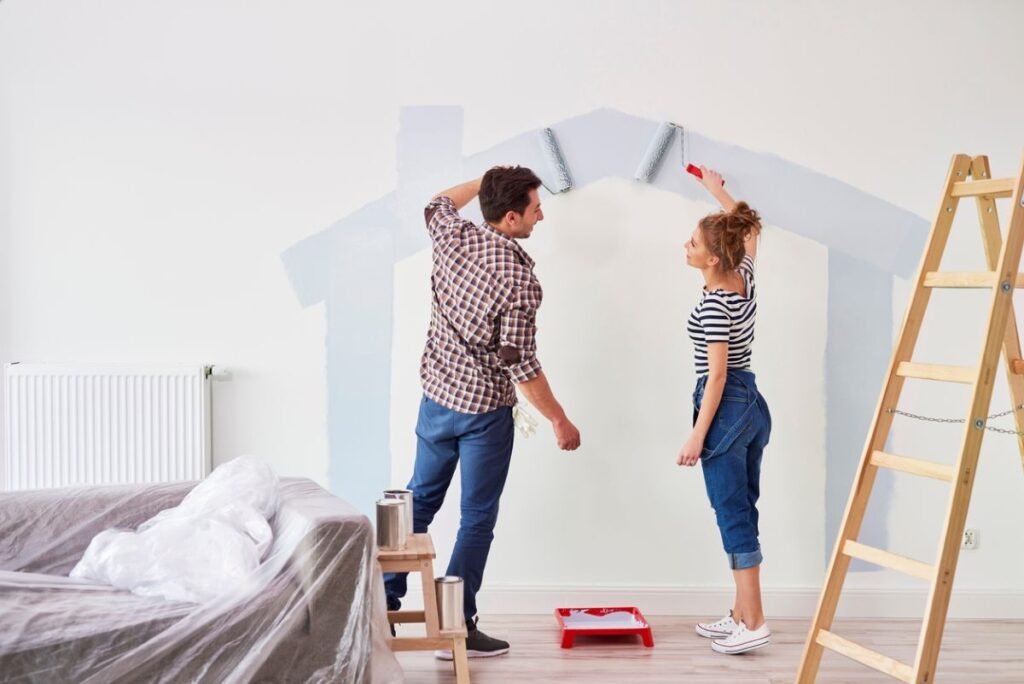
Trick #4 — Color Blocking for a Contemporary, Gallery-Like Effect
What Is Color Blocking?
Color blocking is a bold design technique where you paint large, geometric shapes directly onto your wall. Think punchy rectangles, arched shapes, or even asymmetric panels.
This style was huge on social media in the past few years, and it’s not hard to see why. It turns a monotonous flat wall into a work of wall art. And you’re achieving that with just paint and tape.
Step-by-Step Guide
Plan your shapes on paper first. Sketch your wall and draw the shapes you want. Keep it simple — one or two shapes are better than a hodgepodge.
Popular options include:
- A big arch or half-circle behind a bed or chair
- A rectangular panel that mimics the look of high-quality wall paneling
- Two complementary colors split diagonally across the wall
Once you have your design, use pencil and tape to transfer it to the wall. For curves like arches, use a piece of string and a pencil to create a homemade compass. Tack the string to a nail at the midpoint, hold a pencil on the other end, and drag it across the wall.
Paint within the taped zone, wait for it to dry, and pull off the tape. The outcome resembles something from a design magazine.
Color Pairing Ideas
| Base Wall Color | Block Color | Vibe |
|---|---|---|
| White | Terracotta | Warm and modern |
| Light gray | Dusty pink | Soft and elegant |
| Cream | Olive green | Earthy and organic |
| White | Cobalt blue | Bold and energetic |
Trick #5 — Ceiling Paint That Changes Everything
Stop Ignoring Your Ceiling
Most people paint their walls and forget all about the ceiling. But your ceiling is the fifth wall of any room. What you do with it has a big influence over how the entire space feels.
Painting your ceiling a darker hue than your walls creates a warm and intimate atmosphere. It lowers the apparent height in a pleasant way — like the room is wrapping around you. This is especially effective in bedrooms and dining rooms.
Painting your ceiling a lighter color than your walls does just the reverse. It lifts the room up, makes it feel larger, and works wonderfully in small spaces.
The “Halo” Trick
Here’s a lesser-known technique: paint the ceiling and about 6 to 12 inches down the top of each wall in the same color. This creates a halo effect that makes the ceiling appear even higher and the room feel more expansive.
It might sound counterintuitive, but it works because it eliminates the strong line where wall meets ceiling, making the upper part of a room feel continuous and open.
What Colors Work Best for Ceilings?
- Sky blue: Gives any room the impression it opens to the sky. Great for kids’ rooms or sunrooms.
- Warm white: A slightly softer tone than stark white. More welcoming and easy on the eyes.
- Pale blush or lavender: Imparts a dreamy, soft feel — perfect for bedrooms.
- Deep navy or charcoal: Adds drama and sophistication to dining rooms or home offices.
Trick #6 — Faux Texture Techniques That Feel Expensive
You Don’t Need Wallpaper
Textured walls give any room depth, character, and a high-end feel. But real texture — actual plaster or stone — is expensive and messy. Faux texture effects created using paint can be done quickly and cheaply in one afternoon.
Three Easy Faux Texture Methods
Sponge Painting Soak a natural sea sponge in paint, blot off the excess, and press it against your wall in an irregular pattern. For a rich, layered look, use two or three shades of the same color. This works great for Mediterranean or Tuscan-style interiors.
Rag Rolling Crumple a cotton rag and roll it through wet paint on your wall. This imparts a velvety, organic texture that looks like weathered plaster. It is one of the most beginner-friendly techniques out there.
Dry Brushing Dip a wide brush in just a small amount of paint. Wipe most of it off onto a paper towel. Then run the nearly dry brush over your wall in long, sweeping strokes. The effect resembles soft brushstrokes layered over a base color — kind of like a watercolor wash.
According to Bob Vila’s guide on faux painting techniques, these methods have been used by interior designers for decades to add visual depth to walls without the cost of specialty materials.
Cost Comparison: Wallpaper vs. Faux Paint Texture
| Method | Cost per 100 sq. ft. | Difficulty | Reversibility |
|---|---|---|---|
| Wallpaper | $80–$200+ | Medium–High | Hard to remove |
| Faux sponge texture | $15–$30 | Easy | Paintable anytime |
| Rag rolling | $10–$20 | Easy | Paintable anytime |
| Dry brushing | $10–$25 | Easy | Paintable anytime |
Trick #7 — The Dark Room Rescue: Bring Low-Light Spaces to Life
Why Dark Rooms Feel Depressing (And How Paint Fixes It)
Not every room receives a lot of natural light. Basements, north-facing rooms, narrow hallways — these spaces can feel gloomy no matter what you place in them. Paint can’t substitute for sunlight, but it can bounce available light around in a way that makes the room feel considerably brighter.
The Best Colors for Dark Rooms
The obvious answer is white, although not all whites are created equal. Cool whites with blue or green undertones can feel cold and harsh in low-light spaces. Warmer whites with yellow or pink undertones are much more welcoming.
Some of the best shades for dark rooms include:
- Off-white or cream: Bounces back light while still looking soft and cozy
- Light yellow: Beautifully mimics the warmth of sunlight
- Pale peach: Adds warmth without looking too pink
- Soft greige (gray + beige): Neutral but warm, works in almost any dark room
The Reflective Finish Trick
Paint sheen matters just as much as color in dark rooms. Satin and semi-gloss finishes reflect significantly more light than flat or matte finishes. In a dim hallway or basement, switching from flat to satin paint in the same color will make a noticeable difference in how bright the space feels.
Also consider painting the trim, baseboards, and ceiling in a glossy white. The contrast between a warm wall and bright glossy trim pulls the whole room into focus.
How to Plan Your Budget DIY Paint Project
Before You Buy a Single Can of Paint
Planning prevents regret and saves money. Here’s a simple step-by-step process to follow before you start:
Step 1 — Pick your space. Start with one room. Don’t attempt to tackle your entire home in one go.
Step 2 — Find the problem. Is the room too dark? Too cramped? Too boring? The answer tells you which trick to use.
Step 3 — Choose your colors. Get sample pots (typically $3–$5 each) and paint large swatches on your wall. Take a day or two to live with them before committing.
Step 4 — Calculate how much paint you need. One gallon covers approximately 350–400 square feet. Measure your wall space and do the math.
Step 5 — Collect your supplies. You need more than just paint. Don’t forget primer (for dark colors or unpainted surfaces), painter’s tape, drop cloths, rollers, brushes, and a small edging brush.
Estimated Budget for a Full Room Makeover
| Supply | Cost Estimate |
|---|---|
| Paint (2 gallons) | $50–$80 |
| Primer | $15–$25 |
| Painter’s tape | $5–$10 |
| Roller set | $10–$20 |
| Drop cloth | $5–$15 |
| Brushes | $8–$15 |
| Total | $93–$165 |
That is a complete room makeover for less than $200. No contractor required.
FAQs — Budget DIY Home Upgrades Using Wall Paint Tricks
Q: Is primer always a must before painting? A: Not always. If you’re painting over a similar hue or using a paint-and-primer two-in-one, you can skip it. But if you’re transitioning from dark to light, or painting on a new drywall surface, primer is key to ensuring proper coverage.
Q: How long does a DIY paint job generally take? A: A standard bedroom can be completed in one weekend. The first day is for prep and the first coat, and the second day is for the second coat and cleanup. More intricate techniques like color blocking or stripes will take an additional day.
Q: What is the best paint finish for living rooms? A: Eggshell or satin. These finishes are durable, easy to clean, and reflect just enough light to feel polished without being overly shiny.
Q: Can renters use these wall paint tricks? A: Always review your lease first. A lot of landlords allow painting, as long as you return the walls to white before moving out. Tricks like faux texture with paint are entirely reversible with another coat of paint.
Q: What should I do if I make a mistake while painting? A: The beauty of paint is that most mistakes are easily correctable. Once dry, touch up with the wall paint color. If a line isn’t clean, re-tape and repaint. Patience is your best tool.
Q: Is expensive paint worth it over budget brands? A: Often, yes. Better-quality paint offers better coverage, better longevity, and is easier to work with. You’ll probably use less of it, which can balance your total outlay. Brands such as Benjamin Moore and Sherwin-Williams tend to appeal to both pros and DIYers.
Q: What’s the easiest trick for a complete beginner? A: The accent wall. It’s only one wall, one color, and needs almost no prep. Start there, build your confidence, and then tackle a more complex technique.
Wrapping It All Up
Budget DIY home upgrades using wall paint tricks are proof that you don’t need a huge budget to create a beautiful home. From two-tone wall splits that add visual height to faux textures that imitate pricier materials, these techniques are available to anyone willing to spend one weekend on a DIY project.
The key is to start small. Pick one room. Pick one trick. Grab your sample pots, swatch your colors, and just go for it. You’ll be surprised at how much a fresh coat of paint — properly applied — can completely transform the way your space looks and feels.
Your home should reflect who you are. And with just a handful of paint cans and the tips in this guide, you can make that happen without breaking the bank.