Meta Description: Budget DIY home upgrades don’t have to look cheap. Discover 9 stylish, designer-inspired ideas that transform your space without draining your wallet.
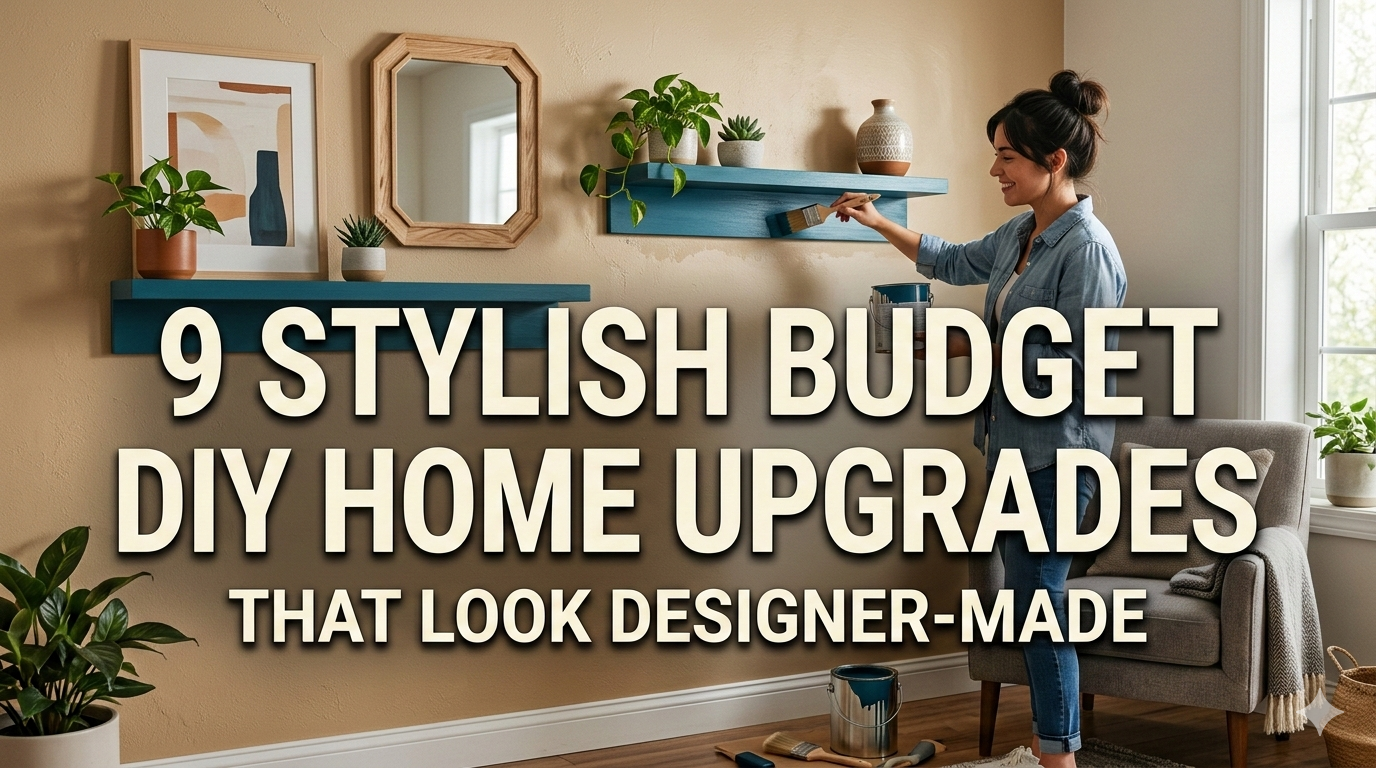
9 Chic Budget DIY Home Improvements That Seem Made by Designers
Your home should look beautiful. But a full renovation? That’s likely tens of thousands of dollars. The good news is you don’t have to spend a huge amount of money on decor in order to create a space that looks like it could come out of the pages of an interior design magazine.
With the right ideas — and a bit of elbow grease — you can achieve budget DIY home upgrades that don’t just trick the eye. These projects rely on inexpensive materials and simple tools, as well as innovative thinking, to achieve results that appear far more costly than they are.
Whether you are a renter, a first-time homeowner, or simply someone who loves a good weekend project, there’s something here for you. Let’s get into it.
Why It’s Worth Your Time to Upgrade Your Home Your Way
Before we jump into the projects, let’s consider why this approach makes so much sense today.
The price of home improvement has increased considerably in recent years. Labor alone can account for 40–60% of a project’s total budget. If you do the work yourself, that immediately cuts that cost in half — or better.
But more than saving you money, DIY lets you control the outcome completely. You select the materials, the colors, the finish. No contractor choosing for you.
And the best part: with proper techniques, your completed work can look as polished as anything you’d see in a design magazine.
What Makes a DIY Upgrade Look “Professional”?
Not every DIY job looks custom. Some feel rough, rushed, or simply homemade. The difference often boils down to three things:
Care — Clean edges, straight lines, and a good amount of prep work.
Materials — Choosing the right finish, texture, or color palette.
Cohesion — Ensuring that each upgrade is coherent with the overall style of your space.
Remember these three principles while working through the projects below.
The 9 Budget DIY Home Upgrades
1. Peel-and-Stick Wallpaper Accent Walls
Why It Works
An accent wall can change a whole room. It gives the space depth, personality, and a clear design focal point. The problem? Regular wallpaper costs a fortune and is hard to install.
Peel-and-stick wallpaper changes everything.
These detachable panels are available in hundreds of patterns — from classic marble to exuberant botanical designs. No glue, no paste, no pro needed. And if you mess up, just peel it off and reposition it.
How to Do It Right
First, clean your wall really well. The paper cannot adhere well if there is dust or grease anywhere. Measure your wall and cut panels a few inches longer than needed — you can trim the top and bottom for a perfect fit.
Make sure your lines are straight by using a level. Work from the center of the wall and outward for symmetrical patterns. Smooth out air bubbles with a credit card or rubber squeegee as you go.
A standard accent wall usually costs between $40 and $100, depending on the pattern.
| Project | Average Cost | Time Needed | Skill Level |
|---|---|---|---|
| Peel-and-Stick Accent Wall | $40–$100 | 2–4 hours | Beginner |
| Cabinet Hardware Swap | $20–$60 | 1–2 hours | Beginner |
| DIY Limewash Paint | $50–$120 | 4–6 hours | Intermediate |
| Floating Shelves | $30–$80 | 2–3 hours | Beginner |
| Herringbone Tile Backsplash | $60–$150 | 6–8 hours | Intermediate |
| Linen Curtain Panels | $40–$100 | 1–2 hours | Beginner |
| Wooden Shiplap Wall | $80–$200 | 6–10 hours | Intermediate |
| Mirror Gallery Wall | $50–$150 | 3–5 hours | Beginner |
| Painted Ceiling Detail | $20–$60 | 3–5 hours | Intermediate |
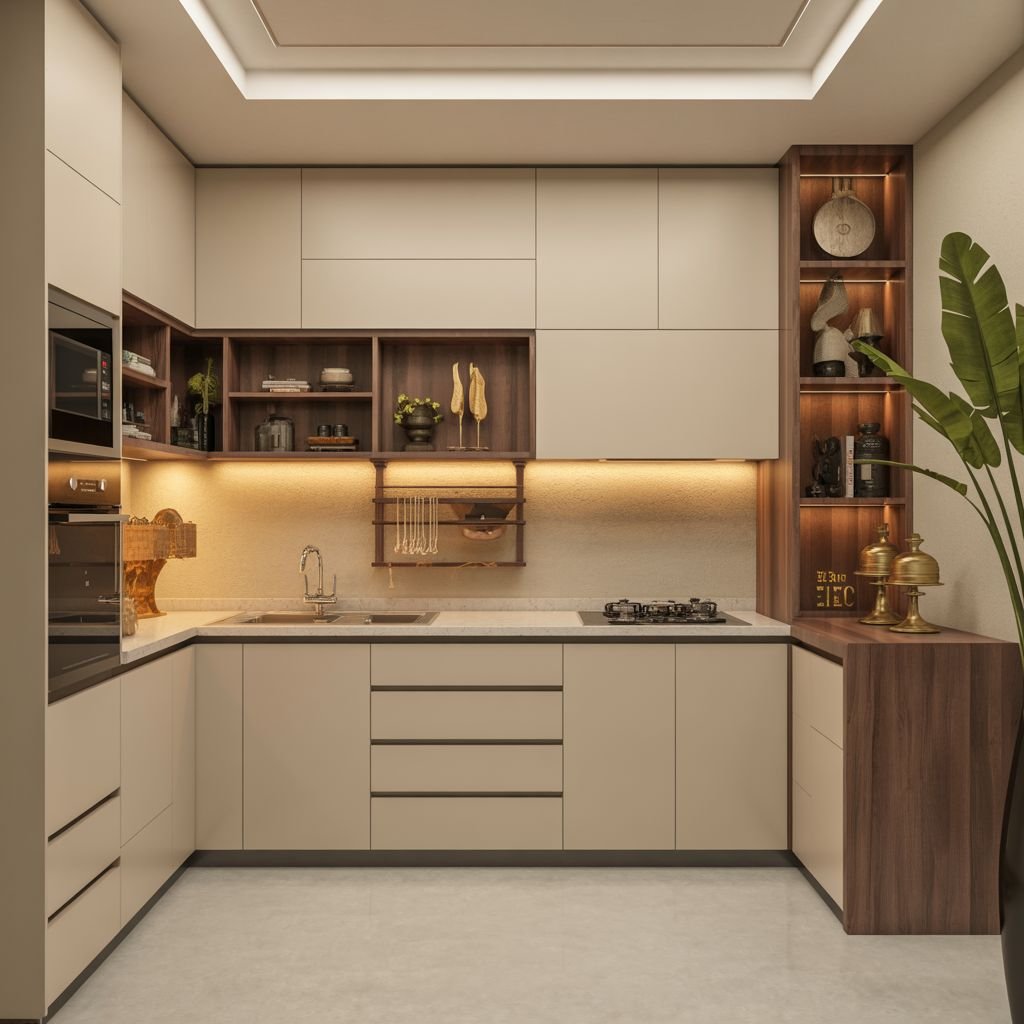
2. Replace Cabinet Hardware to Make Your Kitchen Feel Brand-New
This Is the Easiest Upgrade You’re Probably Missing Out On
Cabinet hardware is like the jewelry for your kitchen. Old, outdated knobs and pulls can date an entire kitchen, making it feel tired and cheap. New ones might make those same cabinets look like they were bought at an expensive showroom.
This is one of the quickest budget DIY home upgrades you can make. In the vast majority of cases, it is completed in less than two hours and costs less than $60.
Choosing the Right Hardware
The type of hardware that you choose matters a whole lot. Below are several popular choices that tend to have a designer look:
Matte black pulls nicely contrast with white or light gray cabinets. They’re bold and contemporary without being trendy.
Brushed brass knobs provide warmth and a note of vintage glamour. Great for cream-colored or dark wood cabinets.
Brushed nickel bar pulls are simple and sleek. They fit in almost any style of kitchen.
When purchasing new hardware, make sure you know the hole spacing on your existing cabinets first. Most pulls have a common center-to-center spacing of either 3 inches or 3.75 inches. Getting the right match means no patching or drilling new holes.
Installation Tips
Use a small piece of painter’s tape and mark each cabinet door in the center before drilling. This keeps everything perfectly aligned. A template cut from cardboard can spare you hours of effort and a lot of frustration.
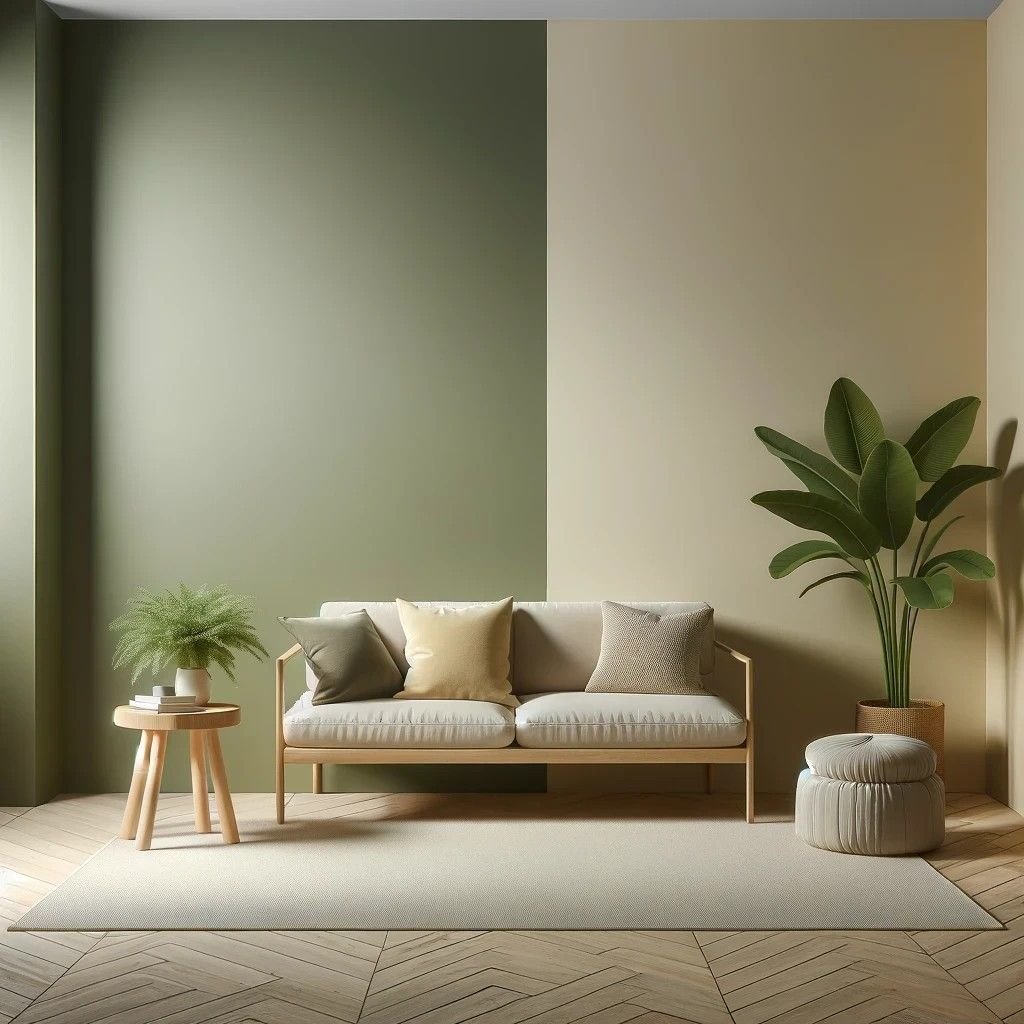
3. Limewash Paint for Rustic, Textured Walls
What Is Limewash Paint?
Limewash paint is made from limestone. It produces a soft, layered, slightly uneven finish that is simply beautiful in person. You may have noticed it in Italian villas or high-end boutique hotels.
The good news: you can do it yourself for less than $120 for a medium-sized room.
How to Apply It
Limewash paint is actually more forgiving than traditional paint. The imperfect, lived-in look is the whole point.
You’ll use a big chip brush or a thick-bristle wall brush to apply it. Dab, swipe, and blend as you work. Don’t fret over exactness — the natural variability is part of what makes it beautiful.
Work in two-foot by two-foot sections. Apply one coat, let it dry a little, and then go over it with a damp brush to soften the edges and minimize texture.
Two coats are usually enough. Others add a third to add depth and richness.
Any number of soft or neutral colors work well — warm whites, classic gray, dusty sage green, or soft terracotta. All of those feel deliberate and elevated.
4. Floating Shelves That Look Custom-Built
Function Meets Style
Floating shelves are one of the most commonly searched budget DIY home upgrades on the internet — and for good reason. They provide storage, display space, and aesthetic interest all at once.
When done right, they can appear to be integrated into the home from the very beginning.
If you’re looking for more creative frugal ideas beyond shelving, Frugal Home Renovator is a fantastic resource packed with budget-friendly renovation tips and tricks for every room in your house.
Building vs. Buying
You have two options here. You can buy a floating shelf kit from the hardware store, or you can make your own out of raw lumber.
Raw lumber allows for greater flexibility in size and finish. A 6-foot length of 1×10 pine board is generally about $10–$15. Sand it smooth, stain it a warm walnut or white oak color, and hang it with hidden brackets — the effect is clean and custom.
For a designer look, use brackets that are fully concealed inside the shelf. These create a genuine floating effect, since no hardware is visible underneath.
Styling Your Shelves
Odd numbers look best. Group your items in threes or fives. Combine textures — a ceramic vase, a stack of hardcover books, a small plant, a woven basket. Leave some empty space so the shelf doesn’t feel overrun.
This is where many DIYers go wrong. They construct beautiful shelves and then cram them full. Less is more.
5. Peel-and-Stick or Traditional Herringbone Tile Backsplash
A Kitchen or Bathroom Game-Changer
A backsplash can completely transform the look of a kitchen or bathroom. The herringbone pattern, specifically, carries a timeless, luxurious feel that never goes out of style.
Peel-and-stick tile sheets in a herringbone pattern can be found for as little as $3–$5 per square foot. For a standard kitchen backsplash of around 15–20 square feet, your total material cost is under $100.
Getting Clean Results
The secret to a backsplash that looks polished is prep work and clean cuts. Before you begin, scrub the surface with a degreaser. Oil or grease will make the tiles lift after some time.
If you’re using real mosaic tiles, use tile spacers. They keep your grout lines uniform and consistent. If using peel-and-stick types, most sheets include built-in spacing, making the job a lot easier.
Use a tile cutter or a wet saw to create clean, precise edges on cut tiles, particularly around outlets and corners. Take your time on these cuts. They’re what set a DIY result apart from a professional one.
Once the adhesive has dried, grout the gaps. Pick a grout color to coordinate with your tile — warm white, soft gray, or even dark charcoal for contrast.
6. Linen Curtain Panels That Make Ceilings Look Higher
The Optical Illusion Designers Can’t Get Enough Of
Here’s a trick that interior designers use all the time: hang your curtain rod as high as possible — ideally just a few inches below the ceiling line — and use long panels that go all the way to the floor.
This one easy change makes ceilings appear much higher. It makes windows look bigger. And it gives the whole space a more sumptuous feel.
You don’t need fancy fabric to do this. Light or ivory linen-look curtains from budget shops such as IKEA and Amazon can be surprisingly chic if hung well.
According to Architectural Digest’s guide to window treatments, hanging curtains close to the ceiling is one of the simplest and most effective ways to make any room feel more expansive and polished.
Measuring and Hanging Tips
For a clean, tailored look, your panels should simply skim the floor — not puddle dramatically on it, and not hover above it. Aim for about a half-inch clearance from the floor.
Opt for a double curtain rod if you want to layer a sheer panel behind a heavier linen panel. This creates depth and makes windows feel much more dressed.
Curtain rings with clips allow you to hang panels without sewing a rod pocket. And they let you easily adjust the hang.
7. DIY Shiplap Accent Wall with Affordable Boards
The Rustic-Modern Look Everyone Loves
Shiplap has had a huge moment in interior design over the past decade. And it’s still going strong. The horizontal wood planks add texture, warmth, and a sense of craftsmanship that most walls simply don’t possess.
The best part? You don’t have to buy real shiplap lumber. You can recreate a similar look with 1×4 or 1×6 pine boards from any hardware store.
Building Your Shiplap Wall
Measure your wall carefully and calculate how many boards you need. Trim them to size and sand down any rough spots. Prime and paint them prior to installation — it will be much easier than trying to paint around the gaps afterward.
Use a nail gun for clean, quick installation. Attach boards directly to wall studs for strength. Maintain a narrow, consistent gap between each board — a nickel or quarter makes an excellent spacer.
Paint everything — including the boards and wall — the same color for a smooth, luxurious look. Bright white is the most popular option, but soft gray, navy, and even black shiplap can work beautifully in the right setting.
For a typical accent wall, your total cost should be between $80 to $200, depending on room size.
8. Gallery Wall of Mirrors for Depth and Light
Why Mirrors Are a Designer’s Secret Weapon
Mirrors do two impactful things: they reflect light, brightening and opening a room up; and they add visual interest without adding visual clutter.
A wall of mirrors, or combining mirrors with simple art prints, can look very curated and intentional.
How to Choose and Arrange Your Mirrors
A good mirror gallery wall is all about variety. Combine different shapes — round, arch-top, rectangular, sunburst. You don’t have to break the bank. Check thrift stores, yard sales, and discount home stores for interesting mirrors that cost just a few dollars apiece.
Plan your arrangement on the floor first. Take a picture of it so you have a guide. Then, before you drive a single nail, transfer the layout to your wall using paper templates.
Keep your mirrors spaced evenly — about 2–3 inches between each piece. Use a level on each one. Even an almost imperceptible tilt gives the whole arrangement a messy air.
A mirror gallery wall can cost $50–$150 total, depending on how many pieces you use and where you source them.
9. Painted Ceiling Details That Add Architectural Interest
The Fifth Wall That Nobody Thinks About
Interior designers call the ceiling “the fifth wall.” Most homeowners completely ignore it. That’s actually a huge opportunity.
Adding a painted detail to your ceiling — even something as simple as a contrasting color or a subtle pattern — adds instant architectural interest and steps up the design of a room.
Easy Ceiling Upgrades to Try
Two-tone ceiling: Use a slightly darker or more saturated version of your wall color on the ceiling. It gives a cozy, enclosed sensation that designers refer to as “enveloping.”
Painted ceiling beams: Use painter’s tape to outline the shape of faux beams and paint them in a contrasting color. From a distance, it appears to be real architectural detail.
Ceiling medallion: Install a foam or plaster medallion around a ceiling light fixture and paint it the same color as the ceiling for an understated, classic look. Most hardware stores sell these medallions for as little as $20.
None of these projects require pricey materials. Just a quart of paint and a steady hand are usually all it takes.
How to Prioritize Your Upgrades
Not sure where to start? Use this simple framework.
Consider where you spend the most time in your home and concentrate your time, effort, and budget there first. Then think about which upgrade will give you the greatest visual impact for the lowest cost.
Typically, the highest-impact, lowest-cost projects are cabinet hardware swaps, curtain changes, and accent walls. These are great starting points if you’re new to DIY.
Once you’re confident, tackle more elaborate projects like shiplap walls or tile backsplashes.
Budget Planning Guide
| Upgrade | Budget Option | Mid-Range | High-End DIY |
|---|---|---|---|
| Accent Wall | $40 | $75 | $120 |
| Cabinet Hardware | $20 | $45 | $80 |
| Limewash Paint | $50 | $85 | $130 |
| Floating Shelves | $30 | $55 | $90 |
| Tile Backsplash | $60 | $100 | $160 |
| Curtain Panels | $40 | $65 | $110 |
| Shiplap Wall | $80 | $140 | $220 |
| Mirror Gallery | $50 | $90 | $160 |
| Ceiling Detail | $20 | $40 | $75 |
| Total | $390 | $695 | $1,145 |
Even at the high end, all nine of these budget DIY home upgrades combined come in well below $1,200. Compare that with a professional renovation, which can normally cost $10,000–$50,000 or more.
Common Mistakes to Avoid
There are some simple mistakes that can ruin a fantastic project. Here’s what to watch out for.
Skipping prep work. Cleaning, sanding, and priming surfaces before you get started is non-negotiable. It’s what keeps a lasting result from peeling or chipping within months.
Ignoring scale. A small mirror over a large sofa looks odd. Match the scale of your decorative elements with your furniture and walls.
Choosing trendy over timeless. Trends fade. Timeless materials, neutral colors, and simple lines remain fresh for years.
Not finishing edges. Exposed edges on shelves, cut tiles, or shiplap boards are a dead giveaway. Invest the extra minutes to sand, caulk, or paint each edge properly.
FAQs About Budget DIY Home Upgrades
Q: Do I need lots of tools to do these projects?
Most of these budget DIY home improvements can be done with basic tools — a drill, a level, a tape measure, a paintbrush, and perhaps a saw for the shiplap or shelf projects. You probably already own most of what you need.
Q: Are peel-and-stick products really that durable?
Yes, if you purchase quality products and follow proper application techniques. To achieve the best adhesion, the surface needs to be clean, dry, and smooth. Good peel-and-stick wallpaper and tiles can last several years without peeling.
Q: Are any of these upgrades possible for renters?
Absolutely. Peel-and-stick wallpaper, removable tile, curtain panels, floating shelves (with appropriate anchors), and mirror gallery walls are all renter-friendly. Always consult your lease before making any permanent changes.
Q: What can I do to ensure my DIY project has a professional look?
Preparation and patience are the biggest factors. Take your time measuring, cleaning, and aligning before you commit. Also, use good materials — cheap brushes, low-grade paint, and poorly made tile can defeat even the best execution.
Q: Which of these improvements adds the most resale value?
Kitchen upgrades tend to net the biggest return. A tile backsplash and new cabinet hardware can go a long way toward improving a buyer’s perception of the kitchen, and they often return more than their cost at resale. Floating shelves and accent walls can help as well — so long as they’re done well and suit a wide range of tastes.
Q: How long do most of these projects take?
Many of the projects on this list can be done over a weekend. Simple upgrades such as hardware swaps and curtain installs are done in a couple of hours. More ambitious projects such as shiplap walls and tile backsplashes can take a full day or longer.
Wrapping It All Up
You don’t need a fat budget to make a beautiful home. It takes good thinking, a little work, and the courage to experiment.
These nine budget DIY home upgrades prove that style is not about how much you spend — it’s about how creatively you use what you have. Whether it’s as simple as a hardware swap or as involved as installing a shiplap accent wall, each project on this list has the potential to transform how your place looks and feels.
Start small. Pick one project this weekend. Be patient, go through the steps, and see what you can make. You’ll likely be hooked after the first one.
Your home is worth the effort. And so are you.