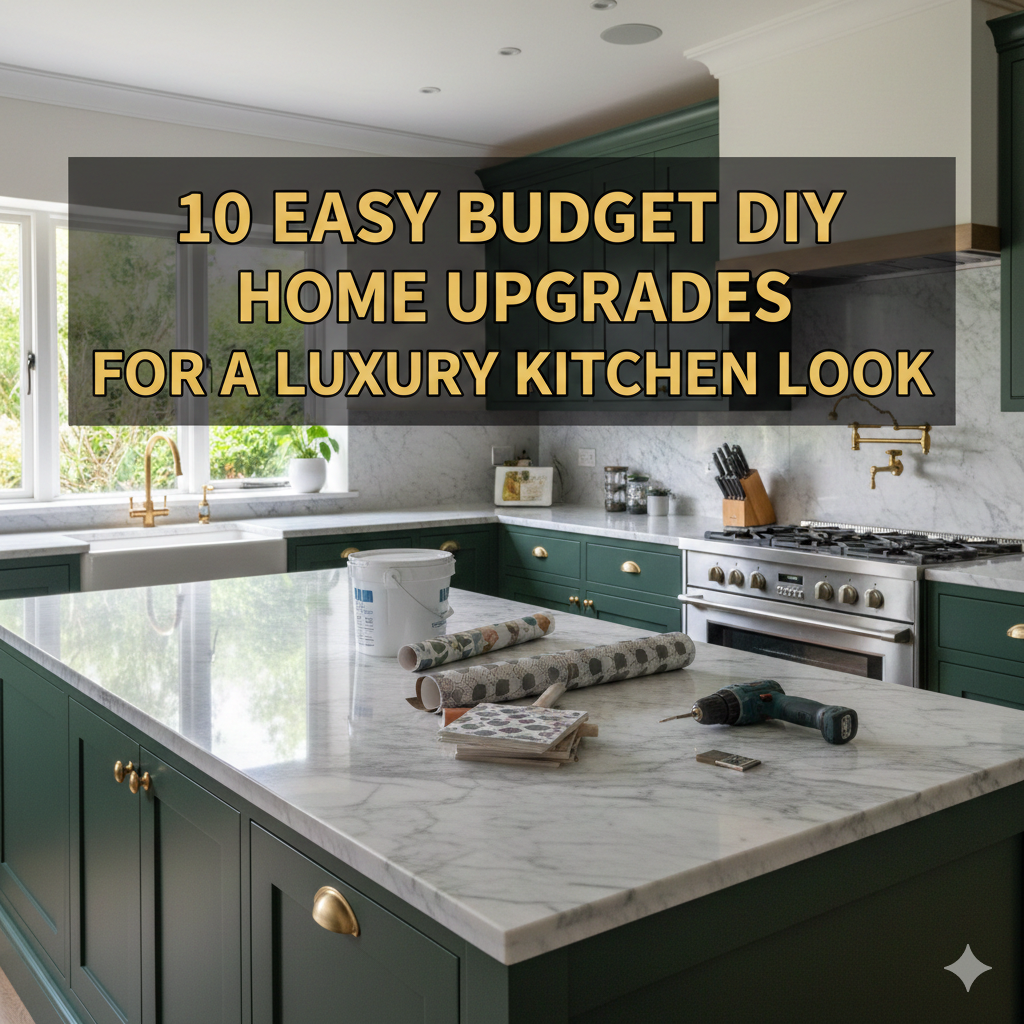
META TITLE: Budget DIY Home Upgrades to Make Your Kitchen Millionaire-Style META DESCRIPTION: Save big on kitchen style with these 10 simple, inexpensive tweaks.
10 DIY Budget Home Tips for a High-End Kitchen Look
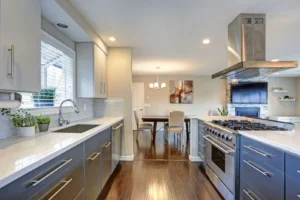
Your kitchen is the center of your home. It’s where morning coffee gets consumed, where family dinners are prepared and enjoyed, and where memories take place. But here’s the thing — most kitchens look … fine. Just fine. Nothing special.
The good news? You don’t need a $30,000 renovation to give your kitchen the look of one that belongs on a design magazine’s pages. With some clever planning, a bit of elbow grease, and a small budget, you can achieve an impressive kitchen transformation that will leave your guests wondering: “Wait — did you renovate?”
All of these budget DIY home upgrades are practical, beginner-friendly and designed to give you the most bang for your buck. Whether you’re a renter looking to revitalize an old apartment or a homeowner hoping to rekindle the romance with your kitchen, this guide has what you need.
Let’s get into it.
Why the Kitchen Should Be Your First Focus
Before diving into the updates, it’s useful to understand why the kitchen is still the room with the most upside to improve. Real estate experts repeatedly cite the kitchen as one of the top areas that contribute to a home’s perceived value. Even minor visual refinements can have a tremendous impact on the overall home environment.
Research has shown that a small kitchen remodel provides one of the best returns on any home project. And the best part? You don’t need to spend thousands of dollars to get results.
What a “Luxury Look” Actually Costs vs. What You Actually Need
Here’s a quick comparison to help put it all in perspective:
| Feature | High-End Renovation Cost | DIY Alternative | Estimated DIY Cost |
|---|---|---|---|
| New cabinet doors | $3,000 – $8,000 | Paint + new hardware | $100 – $300 |
| Stone counters | $2,000 – $5,000 | Contact paper or epoxy coating | $50 – $200 |
| Under-cabinet lighting | $500 – $1,500 installed | Peel-and-stick LED strips | $20 – $60 |
| Tile backsplash | $800 – $2,500 | Peel-and-stick backsplash tiles | $40 – $150 |
| New faucet | $300 – $900 installed | DIY faucet swap | $50 – $150 |
| Open shelving | $400 – $1,200 | Floating shelf brackets + wood | $30 – $100 |
The visual difference between a $10,000 reno and a $700 DIY upgrade? Smaller than you’d expect — if you know where to pay attention.
Upgrade #1 — A New Paint Job for Your Cabinets
Few things date a kitchen faster than dingy, old cabinet colors. Dark oak from the 1990s or yellowed white paint from 2005 can make even a spotless kitchen feel decrepit.
Hands down, painting your cabinets is the highest-impact, lowest-cost upgrade on this list.
What You’ll Need
You’ll want sandpaper (120 and 220 grit), a degreaser, wood primer, cabinet-specific paint (semi-gloss or satin finish is best) and a small foam roller plus a brush for details.
How to Do It Right
Remove all cabinet doors and hardware. Degrease every surface — this is an important step, as grease prevents paint from adhering. Lightly sand, add a coat of primer, let dry completely, then apply two coats of your chosen paint.
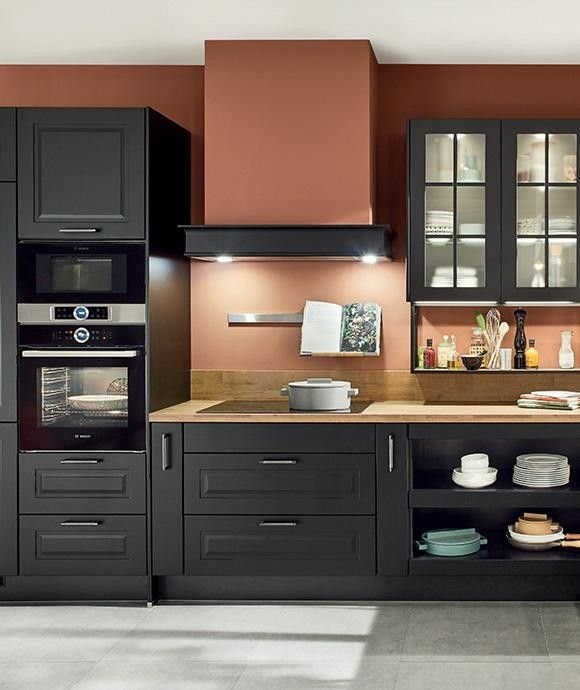
Currently trending color choices include warm whites, soft sage green, deep navy and matte black for an audacious statement.
Estimated cost: $80 – $200 | Time needed: One weekend
Upgrade #2 — Replace Cabinet Hardware for an Instant Update
This upgrade takes less than an hour, and makes a surprisingly large difference.
Old brass knobs and mismatched handles say “no.” Swapping them out with sleek, modern hardware is one of the simplest budget DIY home upgrades you can do.
What’s Trending in Hardware
In kitchen design right now, brushed gold and matte black are the two dominant finishes. Both look expensive without the price tag. Bar pulls (long horizontal handles) provide a sleek, contemporary appearance, while cup pulls offer a vintage or farmhouse feel.
Tips Before You Buy
Before buying, measure the hole spacing on your existing hardware. Most ordinary cabinets feature a hole spacing of either 3 inches or 3.75 inches. If you’re purchasing new knobs to replace pulls, for example, you might have to patch old holes with wood filler and drill new ones — completely doable for a beginner.
Estimated cost: $30 – $120 (depending on how many cabinets you have) | Time required: 1 – 2 hours
Upgrade #3 — Add Peel-and-Stick Backsplash Tiles
A tile backsplash is one of those things that says immediately: “this kitchen was designed — someone cared, not just assembled.” The thing is, traditional tile installation is costly and messy.
Enter: peel-and-stick backsplash tiles.
Why They Work So Well
Modern peel-and-stick options have evolved significantly. Modern versions closely resemble actual tile — you can find subway-tile patterns, herringbone designs, Moroccan-style prints and even faux marble options.
Installation Tips
Clean the wall surface thoroughly to remove dirt and debris. Begin at the center of the focal wall (most likely behind the stove) and work your way outward. Use a credit card or squeegee to smooth out air bubbles as you go. A sharp utility knife lets you trim the edges of tiles to size.
The end result is a clean, polished backsplash that you accomplished in one Saturday afternoon and for less than it costs to go out for dinner.
Estimated cost: $40 – $150 | Time required: 3 – 5 hours
Upgrade #4 — Install Under-Cabinet LED Lighting
Lighting is the thing that makes a kitchen look like a photo shoot — or like a utility room. And under-cabinet lighting is the most impactful lighting upgrade you can do.
The Magic of Under-Cabinet Lights
When light shines on your countertops from beneath the cabinets, it casts a warm, layered glow that makes everything feel intentional and luxurious. It also simplifies food prep — a practical plus.
LED Strip Lights or Puck Lights
The most popular choice for DIYers is LED strip lights. They’re thin and flexible, and they usually come with a remote that allows you to adjust color temperature (warm yellow vs. cool white). Puck lights are another option — small circular lights you place directly under the cabinet in intervals.
Both options are peel-and-stick with plug-in power — no wiring needed.
Estimated cost: $20 – $60 | Time needed: 1 – 2 hours
Upgrade #5 — Replace Your Kitchen Faucet
Your faucet is something you use dozens of times per day. A minimalist, modern faucet conveys quality in a way that’s difficult to explain but instantly recognizable.
Choosing the Right Style
At the moment, a tall single-handle pull-down faucet reigns supreme. It works well, it looks good and it fits most standard sink setups. Matte black and brushed nickel finishes photograph really nicely and stand the test of time.
Is This Actually DIY-Friendly?
Yes — changing a faucet is one of the most beginner-friendly plumbing projects. You’ll need a basin wrench, plumber’s tape and about two hours. Dozens of instructions are available on YouTube for every model of faucet. The most difficult part is often getting under the sink to pull out the old supply lines.
For more step-by-step budget renovation guides like this one, Frugal Home Renovator is an excellent resource packed with practical tips for doing more with less.
Estimated cost: $50 – $150 for the faucet | Time needed: 1.5 – 3 hours
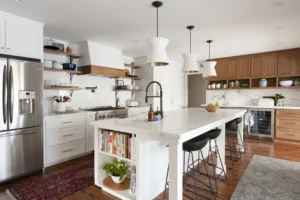
Upgrade #6 — Open Shelving Instead Of (Or In Addition To) Upper Cabinets
Open shelving has become one of the biggest kitchen design trends to emerge in the past decade — and for good reason. It makes kitchens feel larger, brighter and more personalized.
How to Pull It Off for Cheap
You don’t have to rip out your upper cabinets. Instead, consider one of these strategies:
Pop the doors off one or two upper cabinets. This achieves the open shelf look without getting rid of anything.
Or, install a floating shelf on an empty wall with basic metal brackets and a plank of wood from your neighborhood hardware store. Sand it, stain it and you have a beautiful display shelf for $30 – $80.
What to Display
Keep it curated. A few matching jars for dry goods, some green plants and a couple of clean dishes. The objective is “styled,” not “storage dump.”
Estimated cost: $30 – $100 | Time: 2 – 4 hours
Upgrade #7 — Contact Paper or Epoxy for Nicer Countertops
Kitchen countertops are one of the first things we see. Worn laminate or stained surfaces can drag down an otherwise stellar space.
Contact Paper: The Renter’s Best Ally
Good contact paper for countertops is now available in patterns including marble, granite, butcher block and concrete. When applied with care, it really tricks the eye — especially in photographs.
The trick is the right surface prep (clean, dry and smooth) and applying it with a squeegee to eliminate bubbles. Carefully cut around edges, applying heat from a hair dryer to help it conform to curves.
Epoxy Coating: A More Permanent Solution
If you own your home and are looking for something more permanent, countertop epoxy kits are a step up. These two-part kits allow you to pour a glossy, stone-like finish over your current counters. When the technique is executed well, the effect is strikingly close to that of real quartz. According to This Old House, proper surface preparation is the key to a long-lasting epoxy finish.
Estimated cost: $30 – $200 depending on the method | Time needed: Half a day to an entire weekend for epoxy
Upgrade #8 — Get a Kitchen Island or Rolling Cart
A kitchen island immediately makes a space more chic. It provides prep space, storage and a visual anchor that connects the entire room and makes it seem more thought-out.
Budget-Friendly Island Options
You don’t have to construct one from scratch. A butcher block rolling cart from a home goods store costs $100 – $250 and gives immediate function and visual gravitas. You can paint it to match your cabinets or leave the natural wood for contrast.
If you’re handy, a DIY island constructed from stock cabinets and a wood top is another great option — and you can build one for $200 – $400 depending on size.
Style It Right
Top it off with a small bowl of fruit, a plant or a cutting board. That turns the island from a piece of furniture into a stage.
Estimated cost: $100 – $400 | Time commitment: Buy the same day, or a weekend build
Upgrade #9 — Replace Your Lighting Fixture
If your kitchen still has a builder’s-basic flush-mount light, switching it out is one of the quickest ways to update the whole room.
What to Look For
An eye-catching statement pendant or a cluster of pendants hanging over an island draws the gaze as soon as one enters. In kitchens without islands, a semi-flush fixture with an interesting design — geometric shapes, mixed metals, textured glass — brings personality without overwhelming the room.
Is This DIY-Safe?
Replacing a light fixture is totally doable as a DIY job, as long as you first turn off the circuit breaker and carefully follow the wiring instructions. If the existing fixture is in a standard junction box, it’s easy to replace. When in doubt, hire a licensed electrician to do the install — the fixture itself can still be your low-cost pick.
Approximate cost: $40 – $150 for the fixture | Time needed: 1 – 2 hours
Upgrade #10 — Style Your Kitchen Like a Designer
This final upgrade costs next to nothing — and it ties everything else together.
Great kitchens aren’t just built. They’re styled. Once you’ve made the physical improvements, the last step is to treat your kitchen as a design project.
The Principles of Kitchen Styling
Edit ruthlessly. Clear off the countertop of anything that doesn’t need to be there. A clean counter appears bigger, crisper and more expensive.
Use matching containers. Trade out a hodgepodge of plastic canisters for a set of matching glass or ceramic ones. A set of three runs $20 – $40 and makes an immense visual impact.
Add one plant. A small potted herb, like basil or rosemary, on the windowsill or counter brings life and color. It also smells great.
Use a tray. Arrange your cooking oils, salt and pepper on a small wooden or marble tray. This “corrals” the clutter and makes it feel intentional.
Hang something on the wall. One simple piece of art, a chalkboard or a framed print can personalize blank wall space.
Cost: $20 – $80 | Time: An afternoon
Your DIY Kitchen Upgrade Checklist
| DIY Upgrade | Difficulty Level | Estimated Cost | Time Required |
|---|---|---|---|
| Paint the cabinets | Medium | $80 – $200 | 1 weekend |
| Replace hardware | Easy | $30 – $120 | 1 – 2 hours |
| Peel-and-stick backsplash | Easy | $40 – $150 | Half a day |
| Under-cabinet LED lights | Easy | $20 – $60 | 1 – 2 hours |
| Replace faucet | Medium | $50 – $150 | 1.5 – 3 hours |
| Open shelving | Easy–Medium | $30 – $100 | 2 – 4 hours |
| Contact paper / epoxy countertops | Easy–Hard | $30 – $200 | Half day – full weekend |
| Kitchen island or rolling cart | Easy–Medium | $100 – $400 | Same day – 1 weekend |
| Replace lighting fixture | Medium | $40 – $150 | 1 – 2 hours |
| Style your kitchen | Easy | $20 – $80 | An afternoon |
Frequently Asked Questions
Q: What is the #1 best DIY upgrade for a small kitchen? The biggest bang for your buck comes from painting your cabinets. This upgrade, paired with new hardware, can make a kitchen feel entirely refreshed.
Q: Can renters make any of these upgrades? Yes. Peel-and-stick backsplash tiles, LED lighting, contact paper countertops, floating shelves (with brackets that can be easily removed) and styling are all renter-friendly. Always consult your lease before making changes that might affect walls or plumbing.
Q: How can I ensure that my DIY upgrades look professional and not cheap? Preparation is everything. Clean and prime before painting. Use good-quality paint — especially for cabinets. Don’t rush. The difference between a DIY that looks amateur and one that looks professional usually comes down to patience.
Q: Do budget DIY home upgrades increase value? Yes, especially in the kitchen. Updated kitchens never go out of style when it comes to home appraisals and selling a property. Homes with updated kitchens sell faster than those without. Even cosmetic updates costing a few hundred dollars can significantly increase buyer appeal.
Q: How long do peel-and-stick backsplashes last? Quality peel-and-stick tiles can last 5 – 10 years with proper installation on a clean, smooth wall surface. Heat and steam around the stove can shorten a tile’s life, so look for tiles specifically rated for kitchens.
Q: What colors are kitchen designers using most often? Current kitchen color trends include soft whites, warm off-whites, sage green, navy blue and warm greige (gray-beige). Two-tone cabinets — light tops, dark bottoms — are also extremely popular.
Q: Should I do all 10 upgrades at once or spread them out? Spreading them out is often better, both financially and creatively. Begin with the upgrades that bother you most. In general, starting with cabinets and hardware and working outward from there is a solid approach.
Bringing It All Together
A kitchen that looks luxurious isn’t just for people with open-ended budgets. It’s accessible to anyone who is prepared to spend a weekend of effort and a few hundred dollars on smart buying.
These budget DIY home upgrades work because they address the very things the eye notices first — color, light, hardware and cleanliness. Nail those four things, and the kitchen reads expensive, curated and intentional — even if you did it all yourself.
Start with one project. Watch how it changes the space. Then keep going.
Your dream kitchen is nearer — and less expensive — than you think.