Meta Description: Budget DIY home upgrades for outdoor lighting can completely transform your yard without draining your wallet. Discover 12 creative, affordable ideas to brighten your outdoor spaces today.
12 Must-Try Budget DIY Home Upgrades for Your Outdoor Lighting
Budget-friendly ways to spruce up your outdoor lighting without the dent on your wallets. Read on for 12 nifty, inexpensive ways you can get your outdoor spaces blooming today.
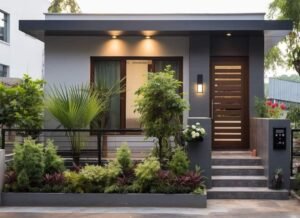
Your home’s outer layer is the first thing someone sees. And nothing makes a bolder statement than beautiful outdoor lighting. The good news? You don’t have to break the bank to make it happen.
DIY home improvements for outdoor lighting on a budget have never been easier. With a few gadgets, some ingenuity, and savvy shopping, you can illuminate your lawn, patio, or front porch like a pro.
This guide leads you through 12 easy, inexpensive upgrades. All are designed to enhance curb appeal, enhance safety, and make your outdoor spaces more usable — day or night.
Let’s get started.
Why You Need To Look At Outdoor Lighting
Before diving into the upgrades, it’s important to know why outdoor lighting is so essential.
Lighting does three crucial things for a home. The first is public safety, lighting pathways and entrances so that individuals do not trip or feel unsafe. Second, it enhances safety and security because it deters burglars and unwanted visitors. Third, it contributes serious curb appeal, making your home look polished and inviting even after the sun has set.
According to a 2022 survey conducted by the National Association of Realtors, exterior lighting is among the top features that homebuyers notice when touring a property. It increases perceived value without needing a large investment.
The best part? Many of these projects can be completed in a weekend with minimal tools.
What to Know Before You Start
Pick the Right Bulb Type
For outdoor usage, always opt for LED bulbs. They last longer, consume less energy, and are more resilient to changes in weather than traditional incandescent light bulbs. Seek bulbs that are rated for outdoor or damp locations.
Check Your Power Options
Some upgrades require electrical outlets. Some are powered by solar energy or batteries. If you’re not comfortable working with electrical wiring, stick to solar or battery-powered options — they are just as effective and far safer for beginners.
Set a Realistic Budget
You can complete the majority of these projects for anywhere from $10 to $150. Do not overspend — plan your budget before shopping.
12 Budget DIY Home Upgrades for Outdoor Lighting
1. Solar Path Lights Down Your Walkway
One of the easiest, cheapest upgrades you can make are solar path lights. They charge by day with sunlight and come alive at night.
A pack of eight to 12 solar path lights can generally be found for less than $25 at most hardware or home improvement stores.
How to install them: Push the stakes into the ground along your walkway, driveway, or garden border. Put them about 6 to 8 feet apart for a uniform glow. No wiring needed.
Pro Tip: Put them in a place that gets 6 or more hours of direct sunlight a day. This means they charge completely and light through the night.
Solar path lights are an excellent introduction to budget DIY home upgrades if you have never tried outdoor lighting before.
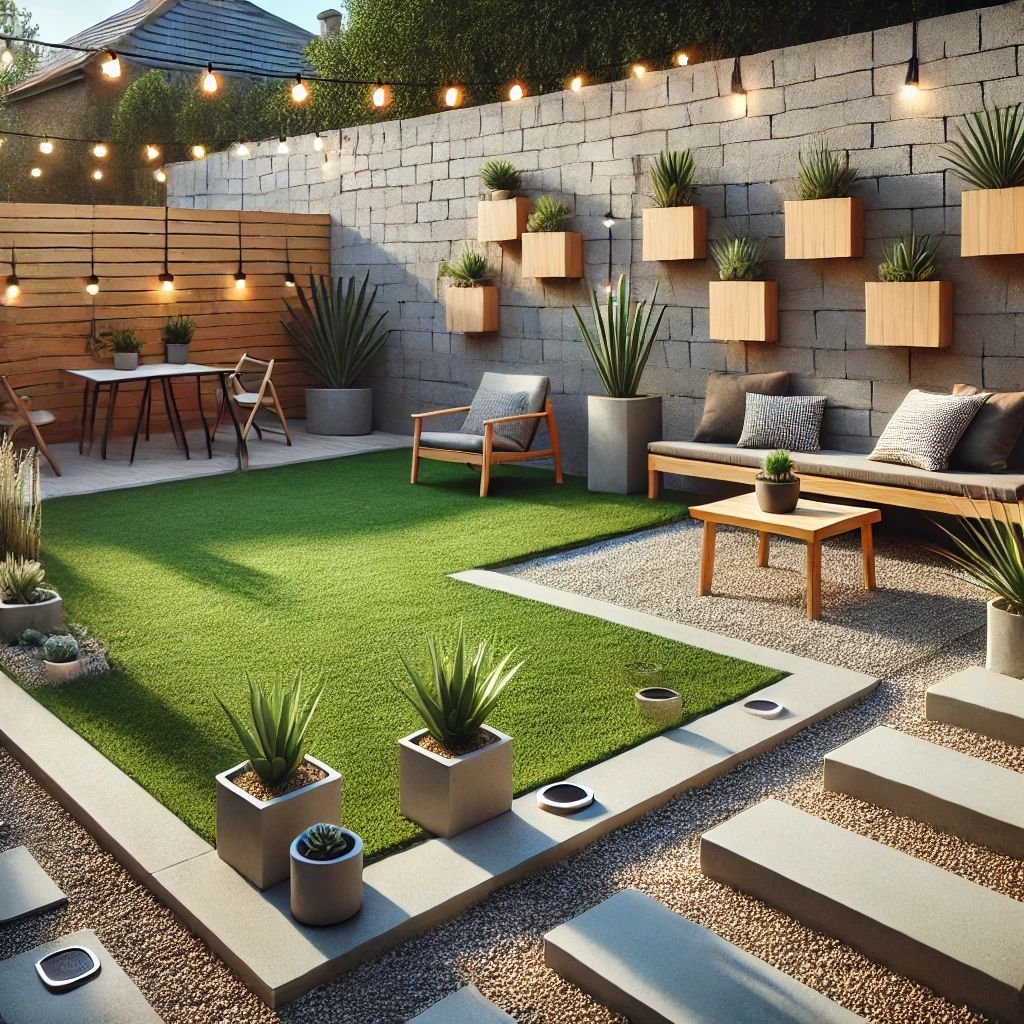
2. Patio or Deck String Lights
String lights make any outdoor area feel enchanting. They are warm, welcoming, and surprisingly low-cost.
A 48-foot strand of weatherproof Edison-style string lights is priced around $20 to $40. These are ideal for pergolas, fences, patio umbrellas, or strung overhead between two posts.
How to hang them: Use all-weather hooks or zip ties. If you’re attaching from post to post, use a guide wire to prevent the strand from sagging. Plug them into an outdoor GFCI outlet.
To make it a genuinely low-cost plan, use a smart plug or timer so the lights go on and off automatically.
String lights are one of the most widely used budget DIY home improvements for outdoor lighting because they fit in virtually any outdoor location.
3. DIY Mason Jar Lanterns
Mason jar lanterns add a cute, rustic touch to your outdoor space. They also cost nearly nothing to make if you have jars already at home.
What you need:
- Mason jars (any size)
- Battery-operated fairy lights or tea light candles
- Wire or twine for hanging
- Optional: Spray paint for color
How to make them: Stuff each jar with a strand of battery-powered fairy lights. Twist the wire around the neck of a jar, then hang them from a fence, tree branch, or pergola beam. You could also place them on a table as centerpieces.
These are excellent for parties, but also serve as permanent outdoor decor. The cost per lantern is typically less than $5.
4. Upcycled Tin Can Lanterns
Don’t toss out those old tin cans. Using a nail, a hammer, and some patience, you can convert them into lovely punched-metal lanterns.
How to make them: Fill the can with water, then freeze it solid so it won’t dent. Draw a simple pattern with a marker. Punch holes along your design using a nail and hammer. Let the ice melt, dry the can, and place a battery-operated tea light inside.
These lanterns throw pretty star or floral patterns on walls and fences. You can get a set of 6 for next to nothing.
5. Solar LED Spotlights for Trees and Shrubs
Want to highlight a beautiful tree, garden bed, or architectural feature? Solar spotlights are the answer.
A single solar spotlight runs $10 to $25. Most include a separate solar panel that you can position to capture maximum sunlight, even if the spotlight itself is in a shaded area.
How to use them: Direct the spotlight up toward the canopy of a tree or shrub. This technique is known as “uplighting,” and it provides a dramatic, professional look at night. They can also be used to light up a garage wall, front steps, or garden statue.
6. Paint Your Existing Fixtures
This one costs almost nothing. If you have old, rusty, or just plain ugly outdoor light fixtures, a fresh coat of spray paint will help immensely.
Use a metal paint that is suitable for the outdoors. Popular hues include matte black, oil-rubbed bronze, and brushed nickel, which lend a high-end appearance to fixtures.
Steps: Turn off the power. Remove the fixture if possible. Clean it with a damp cloth. Apply 2 to 3 thin layers of outdoor-rated spray paint. Allow it to dry completely before replacing.
This upgrade costs about $5 to $10 and can transform the look of your entryway entirely.
7. Install Motion Sensor Lights
Motion sensor lights are a smart budget DIY home improvement for outdoor lighting. They enhance security while saving on energy.
You can get decent motion-activated LED floodlights starting at $15 to $40. Most come with simple wiring for installation in an existing junction box.
Where to install them: Above your garage door, near back doors or side gates, and along dark pathways. Adjust the sensitivity and timer according to the manufacturer’s instructions so that animals or passing cars do not set off the light.
If you aren’t handy with wiring, search for battery-operated or solar motion sensor alternatives — they’re almost just as effective and don’t require any electrical work whatsoever.
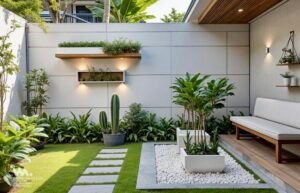
8. Outfit Your Garden Beds With LED Strip Lights
LED strip lights aren’t only for indoor use. Outdoor-rated waterproof LED strips can be used to add sleek, modern lighting along garden bed borders, under deck railings, or along stairs.
A 16-foot roll of waterproof LED strip lights costs roughly $15 to $30. Many have an adhesive backing, so you just need to peel and stick.
How to install: Clean the intended surface for the strip. Peel off the backing and press the strip firmly into place. Connect to a power source or a battery pack. Certain strips can work with smart home systems and change color.
This upgrade is particularly effective under deck or stair edges at night, where it creates a floating light effect.
9. Turn Old Colanders Into Pendant Lights
This is an ideal creative idea for covered patios and outdoor dining areas. Those metal colanders — the kind you use to strain pasta — make surprisingly beautiful pendant light shades.
The holes in the colander allow light to pass through in a way reminiscent of a lantern. A pendant light cord kit (under $15 online) will convert any colander into a hanging light.
How to do it: Run the pendant cord up through the bottom hole of the colander. Secure with a washer and nut. Install a weatherproof LED bulb. Hang from a covered patio ceiling or pergola beam.
This project costs about $20 to $30 in total and looks like it came straight out of a design magazine.
10. Install a Light-Up House Number Sign
This is an easy upgrade that makes a huge visual difference. A backlit house number makes it easier for people to find your home and also gives your exterior a sophisticated, contemporary vibe.
You can purchase illuminated address number plaques for roughly $20 to $60. Or make your own version using backlit LED channel letters or acrylic panels with LED backing.
DIY version: Cut wood or acrylic to size. Place LED strip lighting behind or around the edge. Attach house numbers to the front. That glow behind or around the numbers creates a striking effect, especially at night.
It’s also an upgrade that just makes practical sense — emergency services will find your home quicker when the address is clearly illuminated.
11. Create a Basic DIY Torch Light
Outdoor torch lights set a tropical, laid-back tone in your yard. And creating your own is easier than you might think.
What you need:
- Bamboo or wooden sticks (approximately 4 to 5 feet long)
- Solar torch light heads (sold separately, $5 to $10 each)
- A rubber mallet for driving them into the ground
Simply attach the head of the solar light to the top of a bamboo stake and push it into the ground wherever you want. They look terrific lining a driveway, along a poolside, or down the length of a garden path.
You can create a set of 4 torch lights and bring a resort-like atmosphere to your backyard for under $30.
12. Drape a DIY Rope Light Outline Around Your Porch
Rope lights are flexible, durable, and inexpensive. A 25-foot length runs about $10 to $20. You can use them to outline your porch railing, doorway, steps, or roofline for a crisp, glowing border effect.
How to install: Use cable staples or rope light clips to hold the rope light along the edge you want. Plug into an outdoor outlet or use a timer for automatic operation. This upgrade is great for year-round usage but looks particularly nice during the holidays.
Quick Comparison: Budget vs. Impact
| Upgrade | Estimated Cost | Difficulty | Visual Impact |
|---|---|---|---|
| Solar path lights | $15–$25 | Easy | High |
| String lights | $20–$40 | Easy | Very High |
| Mason jar lanterns | $5–$15 | Easy | Medium |
| Tin can lanterns | $0–$5 | Easy | Medium |
| Solar spotlights | $10–$25 | Easy | High |
| Painted fixtures | $5–$10 | Easy | Medium |
| Motion sensor lights | $15–$40 | Moderate | High |
| LED strip lights | $15–$30 | Easy | High |
| Colander pendant lights | $20–$30 | Moderate | Very High |
| Lighted house number | $20–$60 | Moderate | High |
| DIY torch lights | $20–$30 | Easy | Medium |
| Rope light outline | $10–$20 | Easy | High |
How to Make Your Outdoor Lighting Last Longer
The key is to make your lights weatherproof. Below are a few easy tips to make your outdoor lighting projects last longer.
Use weatherproof products. Be sure that bulbs, fixtures, and wiring are rated for outdoor use. Look for IP65 or higher ratings on LED strips and fixtures.
Clean your fixtures regularly. Over time, dust, dirt, and spiderwebs reduce light output. A quick wipe-down each month keeps things bright.
Check solar panels for shading. Trees grow and shadows shift. Be certain that your solar panels continue to get full sunlight, particularly as seasons change.
Store fragile DIY items in winter. Tin can lanterns and mason jar lights may not survive harsh winters. Bring them inside and reinstall in spring.
If you enjoy saving money on home projects like these, Frugal Home Renovator is packed with practical tips and budget-friendly renovation ideas worth bookmarking.
How to Plan Your Outdoor Lighting Layout
A good plan makes a big difference. Rather than placing lights haphazardly, consider these three zones.
Zone 1 – Safety and Navigation: These are walkways, driveways, and stairway lights. Their job is to navigate people through safely. Path lights and rope lights are good choices here.
Zone 2 – Security: These lights illuminate dark corners, garage spots, and back gates. Motion sensor floodlights are ideal.
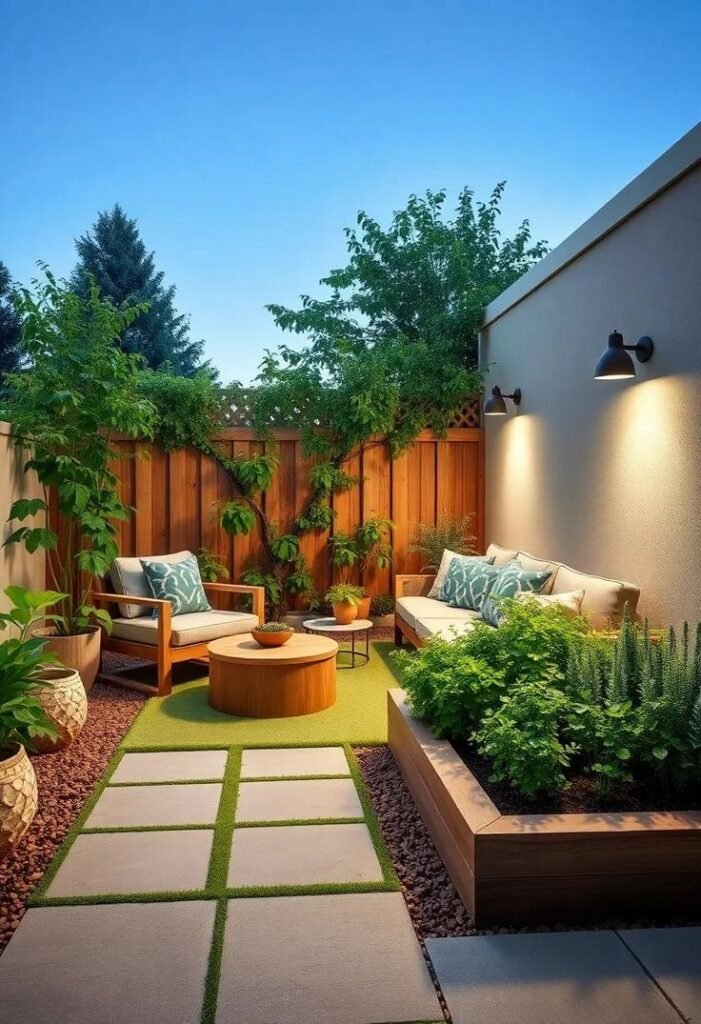
Zone 3 – Ambiance: This is ambient lighting — string lights, torch lights, lanterns. They belong in outdoor living areas such as patios, decks, and garden seating spots.
Aim to have at least one upgrade from each zone to make your exterior lighting system balanced and functional. For deeper inspiration, the U.S. Department of Energy’s guide on outdoor lighting is a great resource for understanding energy-efficient options.
Frequently Asked Questions
Q: What can I realistically spend on budget DIY outdoor lighting? For most people, it takes about $50 to $200 total to get a solid outdoor lighting setup, depending on how many areas you want illuminated. You can begin with one or two upgrades and expand from there.
Q: Can solar lights be relied on year-round? Solar lights are suitable for use in most climates. But in places with notably short winter days or heavy cloud cover, they might not fully charge. In those situations, look for a battery or plug-in option as a backup.
Q: Will I be able to pull off these projects with zero electrical experience? Absolutely. Most of the projects included on this list don’t need any electrical wiring whatsoever. Solar, battery, and plug-in models are ideal choices for total beginners.
Q: What’s the best outdoor lighting upgrade for curb appeal? For the biggest impact for the least amount of money, string lights and a lighted house number sign are hard to beat. Combined, they cost less than $70 and completely alter how your home looks at night.
Q: How can I stop outdoor lighting from tripping my breaker? Use LED bulbs, which use very low power. Avoid plugging too many lights into one outdoor outlet. Set a timer or smart plug to limit use.
Q: Are LED strip lights actually waterproof? Such strips should be IP65-rated at a minimum. These are water-resistant and can take rain and splashing. For places that could get water directly on them, such as near a pool, buy IP68-rated strips.
Q: Do outdoor lights add value to my home? Yes. Real estate professionals will tell you again and again that curb appeal — exterior lighting included — impacts buyers’ perception of a home’s value. It may not register as a line item in an appraisal, but it definitely impacts buyer interest.
Wrapping It All Up
Replacing your outdoor lights doesn’t have to be costly, confusing, or time-consuming. With the right ideas and a little elbow grease, you can completely change how your home looks and feels after dark.
These 12 budget DIY home upgrades for outdoor lighting discussed in this guide vary from super easy (solar path lights and painted fixtures) to a touch more inventive (colander pendant lights and tin can lanterns). All are inexpensive to do and can be completed over a weekend — or even an afternoon.
Start with one zone. Choose one or two projects that you care about. See how they look, and then build from there. Before you know it, your outdoor areas will look like they belong on the pages of a home design magazine — all at way less cost.
Your yard deserves to shine. Now go make it happen.