Meta Description: 4 Budget DIY Home Upgrades That Made My Bathroom Look Expensive — discover how I transformed a dull bathroom for under $200 using simple, beginner-friendly upgrades anyone can do.
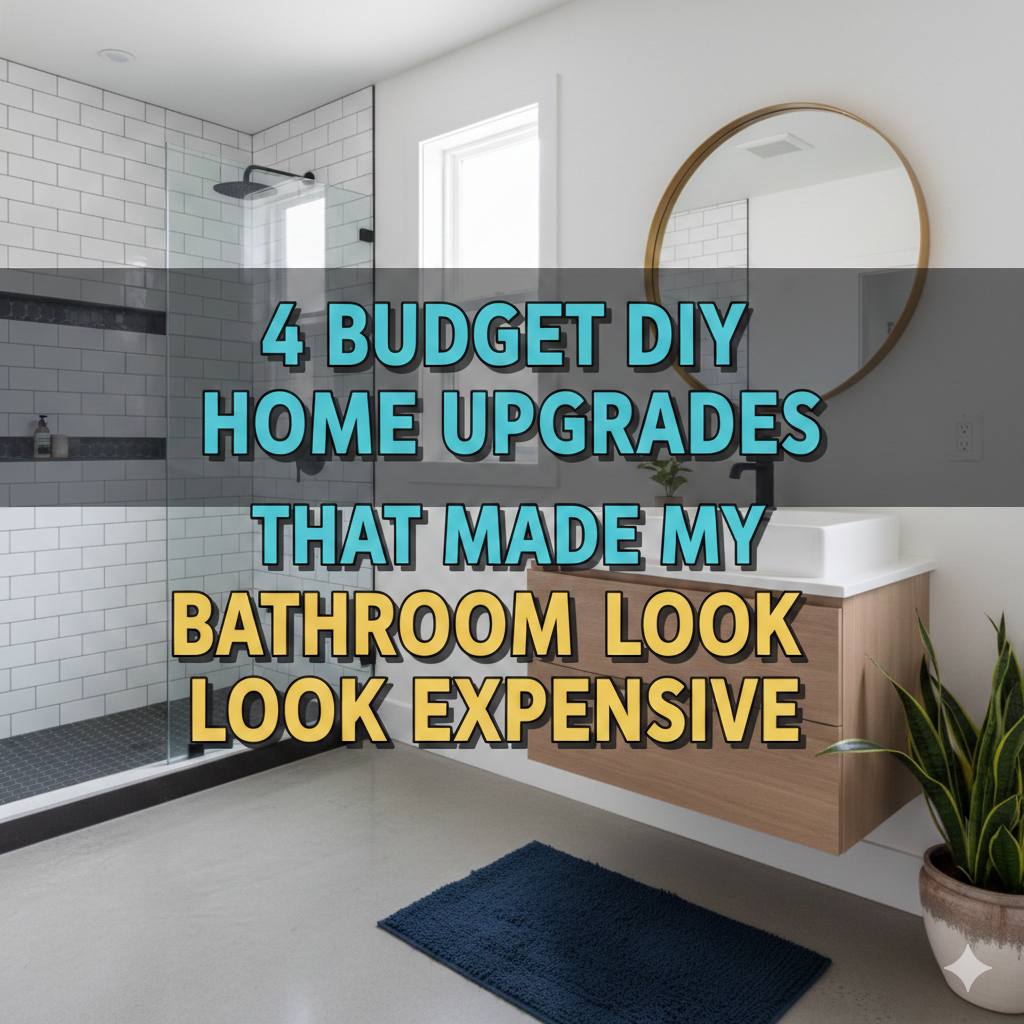
4 Budget DIY Home Upgrades That Changed My Bathroom from Cheap to Chic
My bathroom had the look of a college dorm. Chipped caulk. Dated fixtures. A vanity light that blinked every other Tuesday. I was never comfortable letting guests use it.
But I couldn’t spare thousands of dollars for a full remodel.
So I started small. I studied, watched videos, and learned from failure and discovered what really works. After four weekends and under $200 total, my bathroom was transformed into something out of a home décor magazine.
No contractor. No permits. No prior experience.
In this post, I’ll share exactly what I did — the four budget DIY home upgrades that made the biggest visual impact in my bathroom. I’ll walk you through every single one step by step, what I spent on each, and honest tips so that if you try it yourself, you don’t make the same mistakes I did.
Let’s get into it.
Why Do Small Bathroom Improvements Make Such a Big Impact?
Bathrooms are small rooms. Which is actually a good thing if you’re on a budget.
In such a small space, even one or two tweaks can dramatically change the entire feel of the room. You’re not covering 600 square feet of flooring or repainting an entire open-plan living room. A new faucet or even a clean line of caulk can totally change the vibe.
Bathrooms are also high-use rooms. Guests notice them. You use them every single day. A little investment here pays off more visibly than almost any other room in your house.
Which is why these four budget DIY home upgrades are so worth your time and money.
Project #1 — Replacing the Vanity Light Fixture
Why the Light Fixture Is More Important Than You Realize
Lighting is everything in the bathroom. It plays a part in how colors appear, how clean the space seems, and frankly, how you feel about yourself when you look in the mirror in the morning.
My previous vanity light was a standard builder-grade bar with three frosted globe bulbs. It was fine. But “fine” is not the goal here.
I swapped it for a matte black, two-light sconce-style fixture that I purchased at a home improvement store for $38. The difference was instantaneous and dramatic.
What You’ll Need
- New light fixture (budget: $25–$60)
- Flathead and Phillips screwdriver
- Wire strippers
- Voltage tester (essential for safety — do not skip this)
- Wire nuts
- A friend to hold the fixture while you hook up wires (optional but comes in handy)
How to Replace a Vanity Light (Step-by-Step)
Step 1: Turn off the power at the circuit breaker. Not the wall switch — the actual breaker. Use your voltage tester to make sure nothing is live.
Step 2: Take out the old fixture. Unscrew the mounting plate, gently pull the fixture out from the wall, and disconnect the wires. Before you unplug anything, take a photo with your phone of which wire is which.
Step 3: Attach the new fixture. Match black to black, white to white, and green or bare copper to the ground wire. Make sure the wire nuts are twisted on tightly.
Step 4: Connect the mounting bracket to the electrical box, tuck in wires neatly, and attach the new fixture plate.
Step 5: Restore power and test it.
Time: 45 minutes to 1 hour.
The Visual Payoff
My white vanity popped with the new matte black fixture. It also made the mirror appear more purposeful — as if the two pieces were chosen together. That’s the thing about bathroom upgrades. When things are coordinated, the whole room looks designed instead of default.
Upgrade #2 — Re-Caulking Everything (Yes, the Whole Thing)
Why Old Caulk Makes Your Bathroom Look Dirty
This one isn’t glamorous. But it could be the most significant upgrade on this whole list.
Old caulk turns yellow. It peels. It grows black mold along the edges, no matter how often you clean it. It shouts “this bathroom is old and neglected” even if everything else is perfect.
New caulk runs around $6 a tube. For the cost, the transformation is borderline ridiculous.
Where to Re-Caulk
- Around the tub or shower base
- At the junction of the tub or shower to wall tiles
- Around the sink where it meets the countertop
- Around the toilet base
- Along any tile corners or transition lines
What You’ll Need
- Utility knife or caulk remover tool
- Silicone caulk (buy the mold-resistant kind for bathrooms)
- Painter’s tape
- A damp rag or your finger for smoothing
- Patience
How to Re-Caulk Like a Pro — Step by Step
Step 1: Remove all the old caulk. Use a caulk remover tool or utility knife. Take your time here. Any old caulk that remains will make the new stuff peel too soon. This step takes longer than everything else combined.
Step 2: Clean the surface thoroughly. All you need is some rubbing alcohol or a bathroom cleaner. Allow it to dry completely — this step is essential. Caulk will not bond to wet or dirty surfaces.
Step 3: Apply painter’s tape on both sides of the caulk line. This gives you nice, straight edges and makes you look like a pro who’s been doing this for years.
Step 4: Cut the tip of the caulk tube at a 45-degree angle. Keep the opening small — around pencil-tip size. Apply in one smooth and steady motion.
Step 5: Smooth immediately using a wet finger or a caulk smoothing tool. Pull away the tape while the caulk is still wet.
Step 6: Allow it to cure for 24 hours before getting it wet.
Total cost: $6–$15. Total time: 2–3 hours.
The Before and After
My tub surround went from looking like a haunted house to freshly installed. Guests actually asked whether I had retiled. I had not. I had just caulked.
Upgrade #3 — New Faucet and Hardware
Hardware: The Jewelry of Your Bathroom
Consider your bathroom hardware the way you’d think about accessories in an outfit. You might have a really simple outfit on, but throw some great jewelry on it and all of a sudden it looks put together and expensive. Hardware works in precisely the same way.
My bathroom had mismatched hardware. Chrome faucet. Brushed nickel towel bar. A gold toilet paper holder from 1987, apparently. It looked chaotic.
I replaced the faucet and matched all the hardware to one finish — brushed nickel — and for the first time, the room felt cohesive and intentional.
If you’re looking for more budget-friendly renovation ideas like this, Frugal Home Renovator is a great resource for practical tips that won’t break the bank.
What I Spent
| Item | Cost |
|---|---|
| Single-hole bathroom faucet | $44 |
| Towel bar (24″) | $18 |
| Toilet paper holder | $12 |
| Robe hook | $9 |
| Total | $83 |
Replacing a Bathroom Faucet (It’s Easier Than You Think)
Most people think they need a plumber to replace a faucet. They don’t — as long as you’re OK with working under a sink and have some basic tools.
What you’ll need:
- Basin wrench (a long-handled wrench designed for just this purpose — available to rent or purchase starting at $15)
- Adjustable wrench
- Plumber’s putty or the gasket that came with your faucet
- Bucket and towels
Step 1: Turn off the water supply valves under the sink. Turn them clockwise until they stop. Open the faucet to release any remaining pressure.
Step 2: Place a bucket under the drain connections. Using your adjustable wrench, disconnect the supply lines from the faucet.
Step 3: Using the basin wrench, unscrew the mounting nuts securing the old faucet to the sink. Lift the faucet out.
Step 4: Clean the sink surface where the old faucet was installed.
Step 5: Install the new faucet following the manufacturer’s instructions. Most new faucets include a deck plate and rubber gasket — no putty required. Connect the supply lines and tighten the mounting nuts.
Step 6: Reattach the drain assembly and check for leaks. Let the water run for a couple of minutes and inspect all connections.
Total time: 1–2 hours.
The Easiest Design Tip You’ll Ever Get: Match Your Hardware
After the faucet was installed, I replaced the towel bar, toilet paper holder, and hook. I bought all three from the same brand to ensure perfectly matching colors.
The result? Everything appeared to have been installed at the same time by someone who cared. That’s what “expensive-looking” actually means — intentional and cohesive.
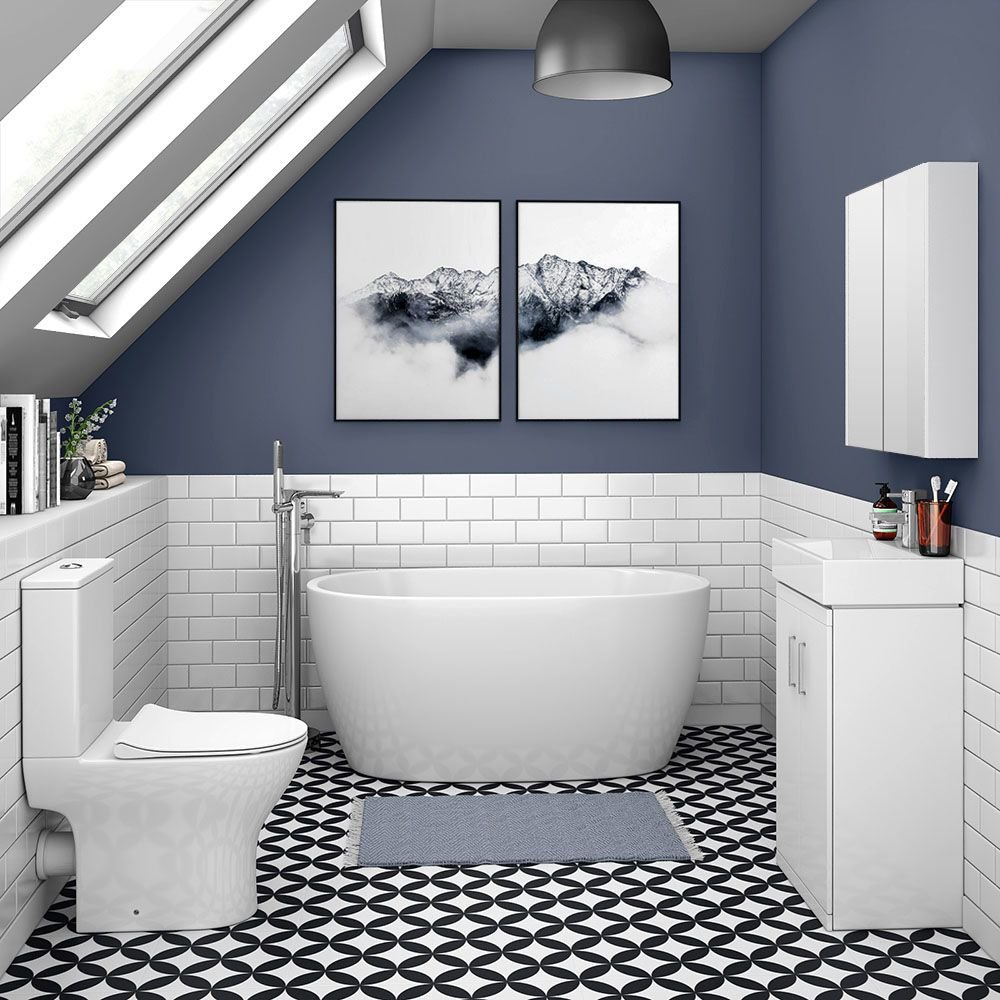
Upgrade #4 — Framing the Builder Mirror
Builder Mirrors Are Fine. Framed Mirrors Are Stunning.
Almost every bathroom in a standard home has the same thing: a large, frameless mirror glued directly to the wall. It’s practical. It’s fine. It’s also utterly devoid of personality.
Framing a mirror is one of the most well-known budget DIY home upgrades for good reason. It turns a plain mirror into a design feature.
I framed my mirror for $27. My bathroom transformed from “apartment bathroom” to “boutique hotel bathroom” in the span of an afternoon.
Two Ways to Frame Your Mirror
Option 1: Wood Trim (More Classic)
Use flat wood molding or craftsman-style trim pieces. Cut them to fit your mirror, paint or stain them, and attach with heavy-duty adhesive.
Option 2: Mirror Frame Kit (Easiest Method)
Companies such as MirrorMate sell frame kits that snap directly onto your existing mirror. They’re the simplest solution and look incredibly clean. Prices range from $50–$150 depending on size.
Since I already had some tools at home, I went with the wood trim option.
What I Used
- 1¼” flat wood trim (available at your home improvement store, sold by the foot)
- Miter saw or a hand saw with miter box (to cut 45-degree corners)
- Liquid Nails adhesive
- Primer and semi-gloss white paint
- Painter’s tape
- Level
Step-by-Step: DIY Mirror Frame
Step 1: Measure your mirror accurately. All four sides. Measure twice.
Step 2: Cut four pieces of trim. The corners must be mitered at 45-degree angles so they fit tightly together. If you don’t have a miter saw, many home improvement stores will cut wood for you when you purchase it.
Step 3: Prime and paint or stain the trim pieces before attaching them. It’s much easier to paint now than after they’re on the wall.
Step 4: Allow the paint to dry completely. Then apply Liquid Nails along the back of each trim piece.
Step 5: Press each piece firmly against the mirror edge. Use painter’s tape to hold them in place while the adhesive sets.
Step 6: Remove the tape and allow 24 hours to dry.
Total cost: $27. Total time: 3 hours (including drying time).
The Visual Impact
The framed mirror gave my vanity area the look of a finished, designed vignette. It also made the light fixture and new faucet look much more coordinated — like everything had been selected as part of one remodel. That’s the magic of a well-placed frame.
So What Was the Total Bill for All Four Upgrades?
Here’s the full breakdown:
| Upgrade | Estimated Cost |
|---|---|
| Vanity light fixture | $38 |
| Caulk and supplies | $12 |
| Faucet and hardware | $83 |
| Mirror frame | $27 |
| Grand Total | $160 |
For $160 and four weekends of low-key work, my bathroom went from embarrassing to genuinely impressive.
Tips to Make Budget Upgrades Look Expensive
Stay in One Finish
Choose just one metal finish — matte black, brushed nickel, polished chrome, or brass — and use it consistently throughout the entire bathroom. Mixing finishes is the quickest way to make a space feel unplanned.
Clean Lines, Every Time
Straight caulk lines, level fixtures, and tight corners all signal quality. Spend more time on prep work and taping. The difference between a $25 fixture that looks cheap and one that looks expensive is most often the installation.
Don’t Neglect the Details
Replace tired outlet covers and light switch plates. They cost $1–$2 each and take two minutes to change. Mismatched or yellowed switch plates are surprisingly noticeable.
Upgrade Your Accessories
New hand soap dispenser. A matching toothbrush holder. A tray to help organize your counter. These small accessories cost very little and add a layer of polish that ties everything together.
Common Mistakes to Avoid
Skipping surface prep. Whether you are caulking, painting, or installing, clean and dry surfaces are everything. Rushing this step will undo all your work.
Buying mismatched finishes. Even if two fixtures are technically the same “brushed nickel,” different brands can vary. Buy from the same brand and product line whenever possible.
Overtightening plumbing connections. When installing a faucet, hand-tight plus a quarter turn is typically enough. Overtightening cracks supply line fittings and causes leaks.
Not testing before tidying everything up. Always run the water, test your fixtures, and look for drips before packing up your tools.
What Makes a Bathroom Look Expensive? (A Quick Visual Guide)
According to This Old House, the elements that have the most visual impact in a bathroom are the ones guests notice first — lighting, mirrors, and hardware.
Here’s a simple breakdown of what makes a bathroom look high-end versus dated:
| Element | Dated Look | Expensive Look |
|---|---|---|
| Mirror | Plain, frameless, builder-grade | Framed, defined edges |
| Lighting | Single-bulb globe bar | Modern sconce or vanity bar |
| Caulk | Yellow, peeling, or moldy | Bright white, clean lines |
| Hardware | Mismatched finishes | Cohesive, single finish |
| Faucet | Outdated chrome two-handle | Modern single-handle |
| Accessories | Random, cluttered | Coordinated, minimal |
Frequently Asked Questions About Affordable DIY Bathroom Upgrades
Q: Do I need any experience to do these upgrades? No. All four of these projects are beginner-friendly. The hardest one is the faucet replacement, and even that is straightforward if you follow the steps carefully and turn off the water first.
Q: How long will these upgrades last? Done correctly, all four should last for years. Quality caulk lasts 5–10 years. A decent faucet can last a decade or more. Light fixtures and mirrors can last indefinitely with minimal care.
Q: Can I do these upgrades in a rental? Some, yes. Re-caulking is almost always fine. Hardware swaps can also work if you save the originals and reinstall them when you move. Read your lease before making any changes to fixtures or lighting.
Q: What if I make a mistake on the faucet installation? Most mistakes are fixable. If you have a leak, you typically only need to tighten a connection slightly or add plumber’s tape to a threaded fitting. If in doubt, shut off the water and assess before continuing.
Q: Where’s the best place to buy affordable bathroom fixtures? Home improvement stores like Home Depot and Lowe’s have solid budget options. Amazon is great for hardware sets. Habitat for Humanity ReStores sometimes offer high-quality fixtures at steep discounts.
Q: Will these changes increase my home’s value? Minor cosmetic upgrades generally have a positive effect on perceived value and buyer appeal, particularly in bathrooms and kitchens. These upgrades won’t dramatically change an appraisal, but they can make your home more attractive to buyers if you ever sell.
Q: If I could only do one upgrade, which should it be? Start with re-caulking. It’s the cheapest, simplest, and one of the most visually striking changes you can make. It also makes everything else feel cleaner and more intentional.
Final Thoughts
You don’t need a big budget or a contractor to have a bathroom you’re proud of.
These four budget DIY home upgrades — a new vanity light, fresh caulk, matching hardware and faucet, and a framed mirror — cost me $160 total and completely transformed both the look of my bathroom and how it made me feel.
The secret isn’t spending more. It’s spending smart. Focus on what is most visible, what is most dated, and what can be fixed. Clean lines, consistent finishes, and fresh materials signal quality — regardless of the price tag.
Pick one upgrade and get started this weekend. You’ll be surprised at how one small change transforms a space you use every single day.
Your bathroom can look expensive. It just needs a little attention.