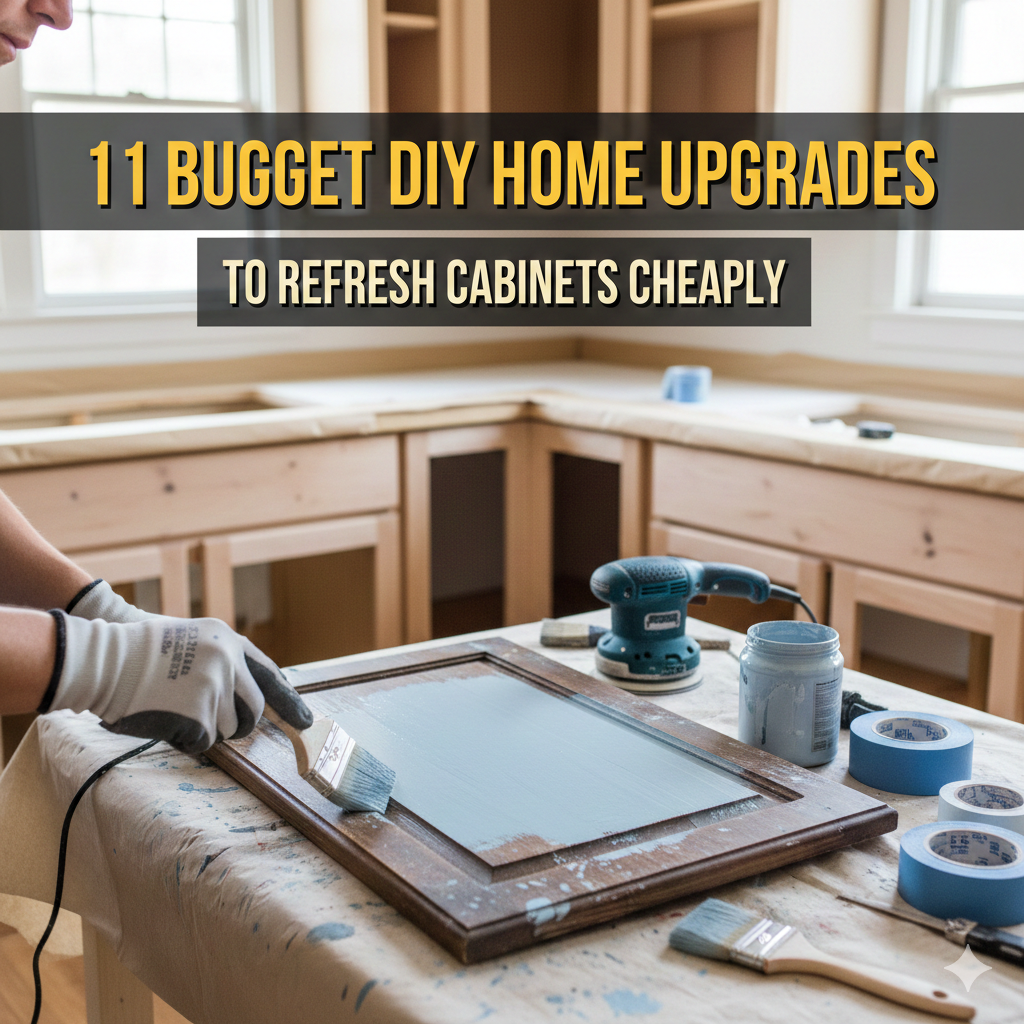
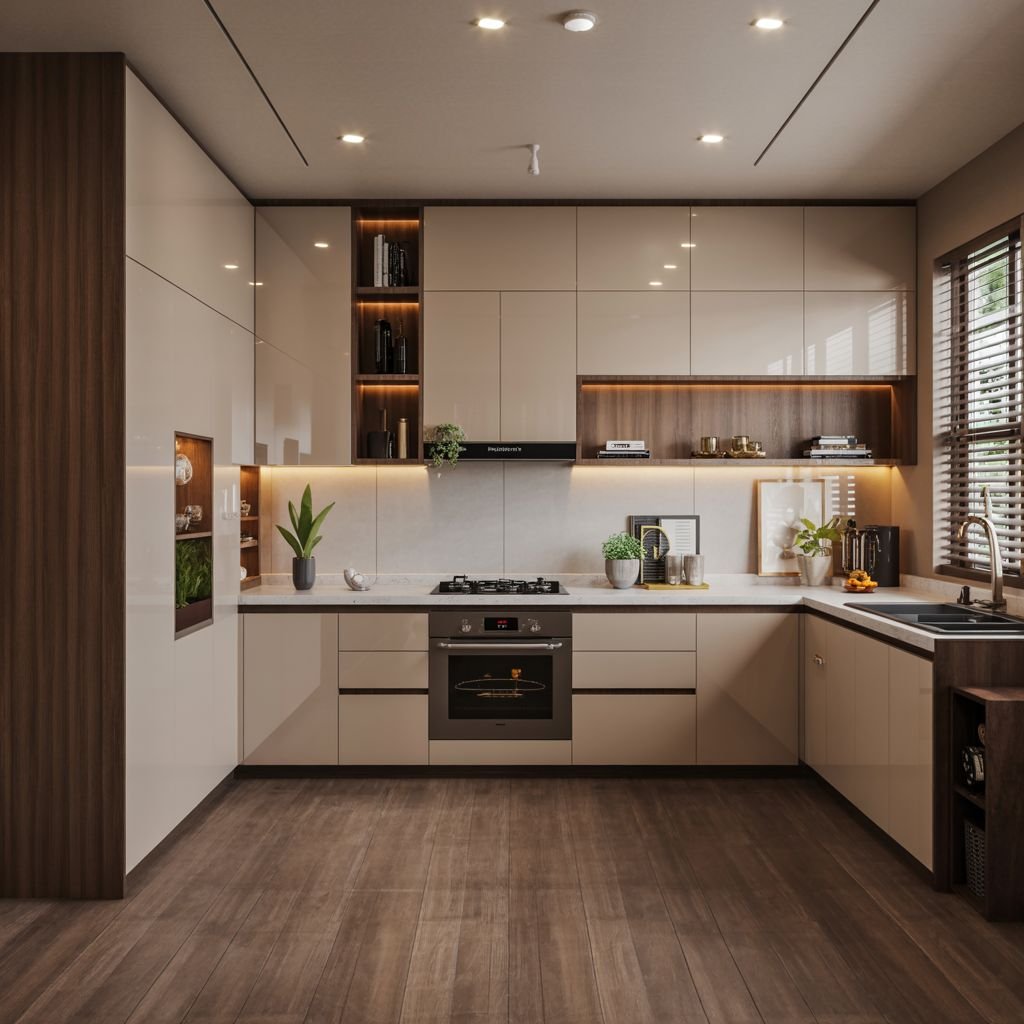
11 Inexpensive DIY Home Upgrades to Update Cabinets on a Budget
Your cabinets get banged up daily. Cycled hundreds of times now, doors opening and closing. Greasiness accumulates in the kitchen. Dampness seeps close to the bathroom sink. Even high-quality cabinets will begin to look duller, older or simply tired over time.
The good news is, you don’t have to shell out thousands of dollars on a full kitchen remodel to make your cabinets look brand-new. Just a little time, some basic tools and a low budget can transform the way your cabinets look and feel.
This guide covers 11 budget DIY home upgrades that will refresh cabinets on the cheap — ideas from actual homeowners who have come up with a stunning result, without hiring a contractor. Whether you’re renting, saving for something bigger down the line or just love a good weekend project, there’s something here for you.
Why It’s Worth It to Refresh Your Cabinets
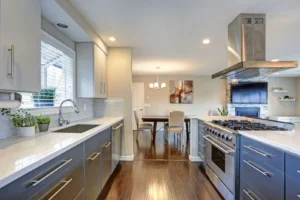
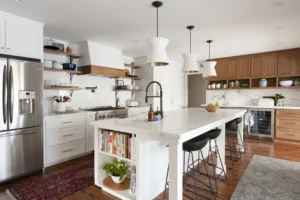
Cabinets take up so much visual real estate in a kitchen or bathroom. When they’re well-designed, the entire room feels cleaner and more contemporary. When they look wrecked, nothing else in the room seems to matter.
A full cabinet replacement costs anywhere from $5,000 to $15,000, on average. A full kitchen remodel? That can run $25,000 or more. But a DIY cabinet refresh? Most of these ideas add up to cost between $10 and $200 total — and some are nearly free.
That’s a huge difference for a result that your friends and family are actually going to notice.
What to Do Before Starting Any Cabinet Project
Spend 30 minutes prepping before you paint, replace hardware or install trim. It was prep work that made the difference between a pro-looking result and a mess.
Here’s a simple checklist:
- Give all cabinet surfaces a degreaser clean
- Take out all doors and tag them (tape and marker)
- Lightly sand rough spots with 120-grit sandpaper
- Wipe the excess dust off before applying anything
Skipping prep is the No. 1 mistake DIYers make. Don’t rush this part.
11 Budget DIY Home Upgrades to Refresh Cabinets
1. Give Your Cabinet Doors a Fresh Coat of Paint
Estimated cost: $50–$120
Painting is the best cabinet refresh you can make. A new coat of paint transforms the appearance of a room — and costs very little.
What you’ll need:
- Deglosser or liquid sandpaper
- Primer (shellac-based works best)
- Cabinet paint (latex or alkyd)
- A small foam roller and brush
- Painter’s tape
The process is simple. Remove the doors. Clean them well. Apply primer. Let it dry completely. Then put on two thin coats of your chosen color.
Sage green, navy blue and soft gray are popular color choices these days. All of these colors feel modern and clean without being trendy in a way that would make them age quickly.
Pro tip: Do not use regular wall paint. Use special cabinet or trim paint. It’s harder and more durable.
2. Replace Old Hardware to Give a Whole New Look
Estimated cost: $20–$160
This upgrade is one of the most affordable and quickest ones possible on this whole list. Replacing your cabinet knobs and pulls takes under an hour, needs just a screwdriver, and costs as little as $1–$3 each.
Brass hardware from the ’90s? Swap it for matte black or brushed nickel. Plastic knobs that have yellowed? Replace them with ceramic or stainless steel.
Cost comparison by hardware type:
| Hardware Style | Average Cost Per Piece |
|---|---|
| Basic chrome knobs | $1–$2 |
| Brushed nickel pulls | $3–$6 |
| Matte black bar pulls | $4–$8 |
| Ceramic/porcelain knobs | $3–$7 |
| Vintage brass pulls | $5–$12 |
For a kitchen with 20 doors and drawers, that’s $20–$160 total. For a very visible change, that’s an inexpensive price.
3. Make Open Shelving by Removing Some Doors
Estimated cost: $0–$30 (paint only for the inside)
This one requires a bit more work, but the effect is stunning. Choose one or two upper cabinet sections, take the doors off and paint the inside a different color. Next, decorate the shelves with your dishes, potted plants or small baskets.
Open shelving is very much in vogue at the moment. It can make a kitchen feel larger and more contemporary. And since it’s just doors you’re taking off (not actually cutting anything), you can always put them back if you don’t like it.
Style tip: Make open shelves neat and intentional. Show only stuff that you truly love looking at.
4. Install Under-Cabinet LED Lighting
Price range: $15–$60 for a complete kitchen set
Lighting changes everything. Having LED strip lights under your upper cabinets provides warmth, lights up your workspace and gives the entire kitchen a more high-end feel.
59 percent of LED strip kits are plug-and-play, no electrical work needed. You simply measure, cut, stick and plug.
What to look for:
- Warm white (2700K–3000K) for a comfortable mood
- Cool white (4000K) for a contemporary and fresh appearance
- Dimmable options for more control
This is also one of those budget DIY home improvements that has a functional upside, too: improved task lighting when you cook.
5. Use Peel-and-Stick Wallpaper to Line Cabinet Interiors
Approximate price: $15–$40 for a few cabinets
Here’s a fun one. Find your upper cabinets, then imagine wrapping the back of them with a beautiful patterned wallpaper. That splash of color or pattern is seen each time someone opens a cabinet — and it costs next to nothing.
Peel-and-stick wallpaper (sometimes called removable wallpaper) is simple to install and easy to take down. You don’t have to be crafty to do this. You simply measure, cut, peel and stick.
This works particularly well in open shelving areas or with glass-front cabinets. It gives personality without making a permanent commitment.
6. Install Crown Molding at the Top of Your Cabinets
Cost: $30–$80 based on the size of the kitchen
If there’s a space between your upper cabinets and the ceiling, crown molding to fill it makes your kitchen feel custom. It’s a classic design trick that interior decorators are always employing.
Crown molding can be purchased at any home improvement store, and cut with a miter saw or even a hand saw in a miter box. You glue and nail it into position, caulk the seams, then paint it to match.
This upgrade provides real architectural detail that makes budget cabinets seem twice as expensive.
7. Refinish Natural Wood with a Wood or Gel Stain
Estimated cost: $20–$50
If you have real wood (or wood veneer) cabinets with a finish that has faded, you don’t need to paint them. You can use gel stain to revive the wood or let it take on an entirely different hue.
Gel stain is thicker and easier to control when applying it. You brush it on, wipe off the excess and it air-dries. It’s way more forgiving than traditional liquid stain, which makes it a great choice for beginners.
You can choose a light oak or darker walnut tone, or go from some dated orange-toned wood to a cool gray-brown. The transformation can be dramatic.
Note: This will only be effective on real wood or wood veneer, not laminate or MDF.
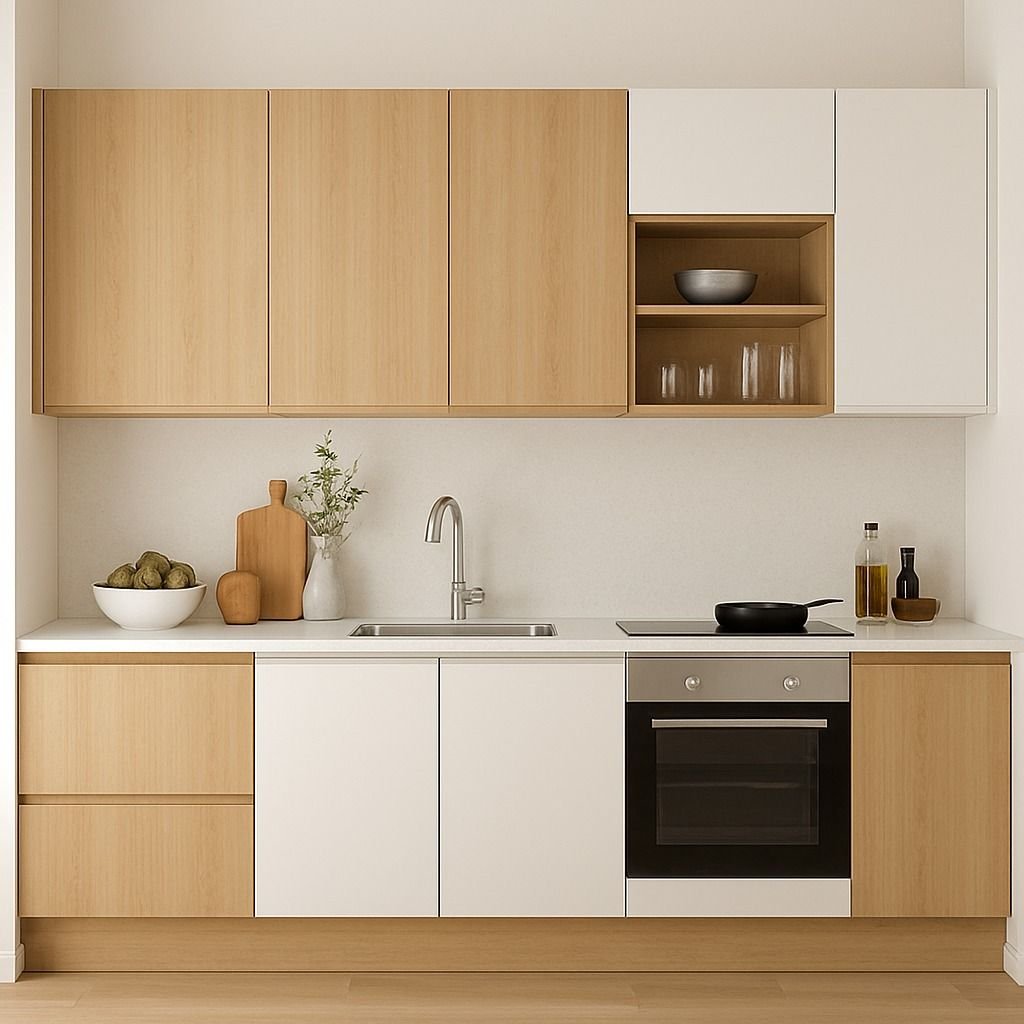
8. Swap Flat Cabinet Doors for Shaker-Style Inserts
Cost estimate: $50–$150, depending on the number of doors
That sounds fancy but it’s really quite accessible. You can purchase flat router bit sets and create a routed profile on existing flat doors — or, you can purchase pre-made shaker-style inserts that will attach to your current door frames.
Shaker-style cabinets have been the No. 1 kitchen design trend in the last decade. They’re clean, simple, and timeless. And you could achieve this look without investing in all-new doors.
A second option: purchase replacement door fronts only — not complete cabinet boxes, just doors — from businesses like IKEA, Semihandmade or some online retailers. Costs are much less than complete replacement.
9. Caulk and Touch Up Those Details
Estimated cost: $5–$20
This one takes minimal investment, and it pays off big. Over time, old caulk around the edges of cabinets and where cabinets meet walls often yellows or cracks. Pulling it out and putting in a new bead makes everything appear fresh and clean.
You’ll also want to:
- Touch up paint chips with a tiny brush
- Tighten any loose hinges
It sounds like a little thing, but this kind of detail work is precisely what differentiates a “nice refresh” from a “wow, did you redo your whole kitchen?” result.
10. Outfit Cabinet Doors With Glass Inserts or Chicken Wire
Estimated cost: $20–$70 per door
Take one or two upper cabinet doors and add a glass or wire panel in the center. That makes for a display cabinet that highlights your prettiest dishware or glassware.
To do so, you cut out a rectangle from the middle of the door panel (preserving the frame) and attach glass or decorative wire mesh on the back. It’s easier than it sounds, and there are dozens of YouTube tutorials that guide you through step by step.
The result is both custom and high-end. It breaks up a solid wall of cabinet doors and adds actual visual interest.
11. Use Contact Paper to Line Drawers
Cost: $8–$20 for multiple drawers
This is the most underappreciated upgrade on the list. Open any kitchen drawer and picture a clean, pretty liner instead of the scratched or stained wood that’s likely in front of you now.
Contact paper is available in hundreds of patterns and colors. Marble, wood grain, solid colors, geometric patterns — whatever works with your style. It’s easy to put on, easy to take off and costs next to nothing.
This applies to the interior floors of lower cabinets as well, particularly under the sink where moisture is likely to wreak havoc.
How to Prioritize These Improvements, Depending on Your Budget
Not everyone has equal amounts to spend. Here’s a straightforward map to help you decide which upgrades are worth your while. For even more ideas on stretching your renovation budget, check out Frugal Home Renovator — a great resource for budget-conscious DIY projects throughout the home.
| Budget Range | Recommended Upgrades |
|---|---|
| Under $30 | Hardware swap, contact paper, caulk touch-up |
| $30–$75 | LED lighting, peel-and-stick wallpaper, crown molding |
| $75–$150 | Cabinet painting, gel staining, open shelving |
| $150–$300 | Glass inserts, shaker inserts, full hardware overhaul |
Start small. Even two or three of these changes combined can completely alter the way a room feels.
DIY Cabinet Projects — Common Mistakes to Avoid
Even the greatest ideas can fall flat if you miss vital steps. These are the missteps that most stump first-time DIYers:
- Skipping primer before painting. Without it, paint won’t adhere well and your finish will chip in weeks.
- Applying the wrong paint type. Cabinets need a paint much sturdier than wall paint. Always use a cabinet-specific or trim paint.
- Not letting coats dry fully. If you rush between coats, there are streaks, bubbles and peeling.
- Picking hardware without measuring. Before purchasing pulls, always check the hole spacing (known as center-to-center measurement).
- Forgetting to label removed doors. Doors often look the same but aren’t. Tape labels on everything before removing it.
Quick-Glance Summary: All 11 Upgrades at a Glance
| # | Upgrade | Estimated Cost | Skill Level |
|---|---|---|---|
| 1 | Paint cabinet doors | $50–$120 | Beginner–Intermediate |
| 2 | Replace hardware | $20–$160 | Beginner |
| 3 | Remove doors for open shelving | $0–$30 | Beginner |
| 4 | Install LED strip lighting | $15–$60 | Beginner |
| 5 | Peel-and-stick wallpaper inserts | $15–$40 | Beginner |
| 6 | Add crown molding | $30–$80 | Intermediate |
| 7 | Gel stain wood cabinets | $20–$50 | Beginner–Intermediate |
| 8 | Shaker-style door inserts | $50–$150 | Intermediate |
| 9 | Caulk and touch-up details | $5–$20 | Beginner |
| 10 | Glass or wire door inserts | $20–$70 | Intermediate |
| 11 | Contact paper drawer liners | $8–$20 | Beginner |
Frequently Asked Questions About Budget Cabinet Refresh Projects
How long does it take to DIY paint kitchen cabinets?
For an average kitchen with 20–30 doors, budget a full weekend. Day one is prep, priming and removing hardware. Day two is for painting. If you want a second coat with the correct drying time in between, add a third day.
What type of paint lasts the longest on kitchen cabinets?
Alkyd (oil-based) paint is the most durable, but it also takes longer to dry and needs mineral spirits for cleanup. Latex cabinet paint has come a long way in the past few years and is easier to work with. For best results, try brands like Benjamin Moore Advance or Sherwin-Williams Emerald Urethane.
Can I refinish cabinets without taking doors off?
Yes, but the results won’t be as clear-cut. Painting in place makes it difficult to apply smooth coats on edges and corners. If you can take the doors off, do so. It’s worth the extra time.
Is peel-and-stick wallpaper safe for use inside cabinets?
Yes. The majority of removable wallpaper is non-toxic, leaving no residue behind when taken down correctly. It works particularly well for cabinet interiors, especially in upper cabinets.
How do I know if my cabinets are real wood or laminate?
If laminate, they usually have a plastic, sticker-like surface that can be lifted with a fingernail. Check the edges and interior of the doors. Real wood has end grain visible running across edges. The surface of laminate or thermofoil is smooth and sort of plastic-like, and sometimes peels at the corners. Not all types of wood accept gel staining equally.
Most noticeable visual difference for the money?
Replacement hardware wins out here. New pulls and knobs — for, say, $30–$60 total — can make a kitchen feel about 10 years younger without the expense or effort involved in painting or major work.
Are these projects possible for renters?
Absolutely. Many of these upgrades are fully removable — contact paper, peel-and-stick wallpaper and adhesive-backed LED strip lights can all be peeled off when you move. Even hardware swaps are reversible if you save the originals in a bag.
The Takeaway: Little Changes, Big Returns
Without a contractor or big budget, you can still fall back in love with your kitchen or bathroom cabinets. The 11 budget DIY home upgrades featured here prove that the right, strategic changes can result in far more expensive-looking (but actually way cheaper) results.
Begin with whatever you can afford right now. Perhaps that’s simply new hardware or contact paper. That’s completely fine. Once you see the difference, you’ll want to put the next upgrade on your list.
The best part? Each of these projects is one you can tackle in a Saturday afternoon — no experience necessary, no contractor required and no giant bill waiting for you at the end.
Pick one. Start this weekend. Your cabinets — and your entire room — will be grateful.