Here is the formatted article:
Meta Description: Small bathrooms can be easily renovated on a budget with DIY home upgrades. 7 easy, affordable renovations for your small bathroom.
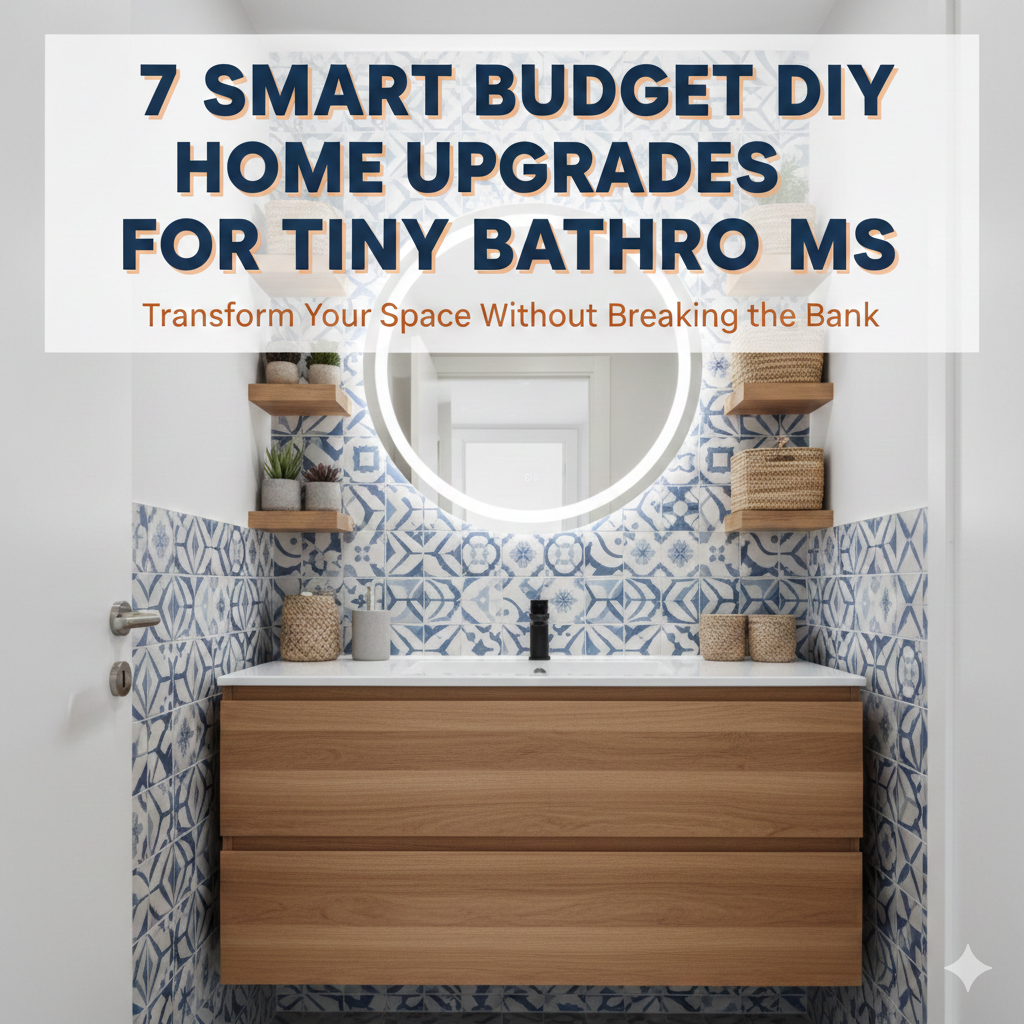
7 Clever Affordable DIY Home Updates For Small Bathrooms
Is your bathroom more like a closet with a toilet? You’re not alone. Every day millions of homeowners live with small, cramped bathrooms. The good news? Your tiny bathroom doesn’t require a full renovation — or even a contractor — for it to feel brand new.
These are the best budget DIY home upgrades to make even the smallest bathroom look larger, feel cleaner and work smarter. Most of these projects cost less than $50 and can be completed over a weekend. No fancy tools. No expensive materials. Just some smart thinking and a little elbow grease.
Whether you rent, own or simply want to work with what you have, this guide can help. Let’s get into it.
Why Small Bathrooms Are Worthy of Big Attention
Small bathrooms are some of the busiest rooms in a home. Seriously — everyone in the family uses it multiple times a day. Yet the room often receives the least amount of attention when it comes to upgrades and design.
A poorly organized, dreary bathroom sets the tone for every single morning. On the contrary, a clean and well-designed bathroom — as small as it may be — can feel like a mini retreat.
The best part? Small bathrooms are actually cheaper to remodel. Less tile. Less paint. Less everything. That’s what makes budget DIY home upgrades for small bathrooms some of the smartest investments you can make in your home. For more money-saving renovation ideas, check out Frugal Home Renovator — a great resource for budget-conscious homeowners tackling projects big and small.
Upgrade No. 1: A Fresh Coat of the Right Color on Your Walls
Paint is the most cost-effective transformation tool in existence. One quart of paint will cover most small bathroom walls, and it costs about $10–$20.
But in a small bathroom, your choice of color is more important than you realize.
Paint Shades That Make Small Bathrooms Feel Larger
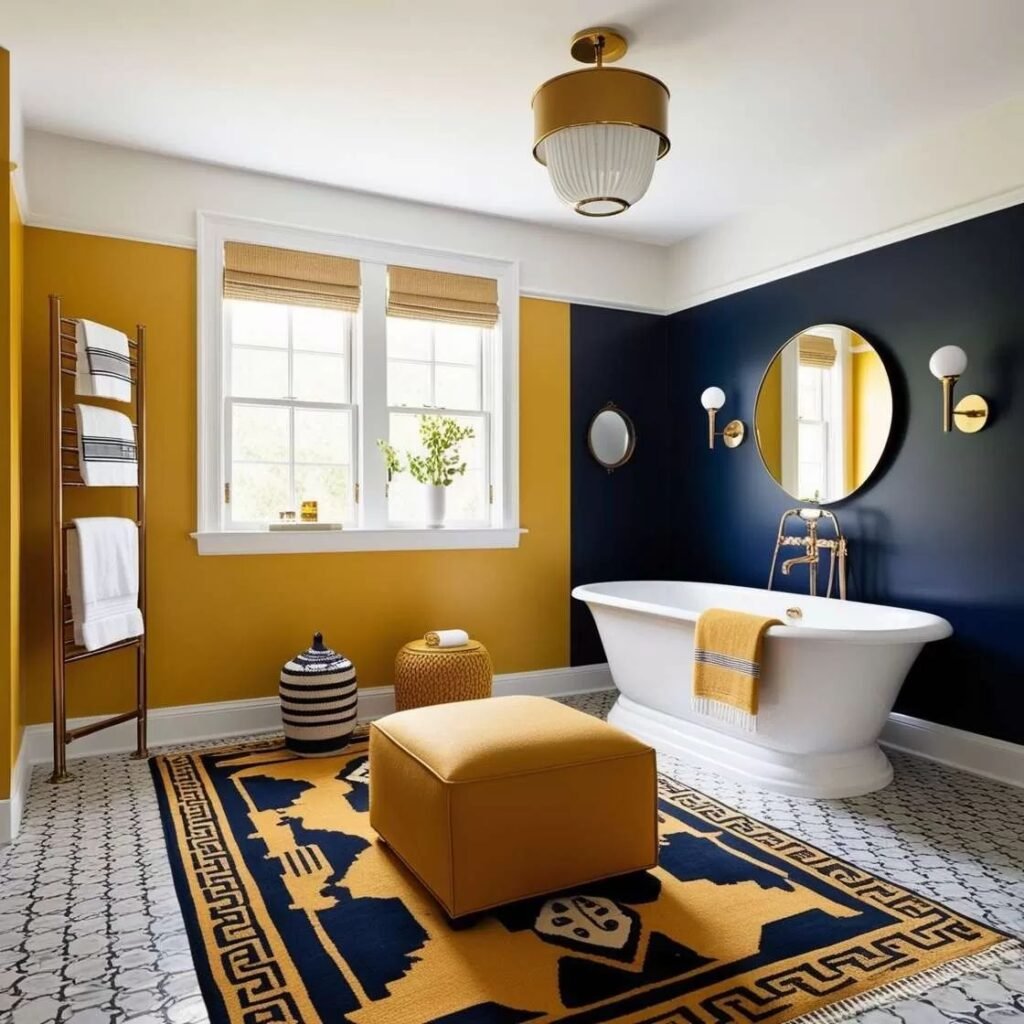
Light, cool colors reflect more light and cause walls to recede. Think soft whites, pale grays, light sage greens and sky blues. These hues fool the eye into seeing a larger room than what you have.
Dark colors have the opposite effect — they absorb light and close down visual space. That said, if your bathroom receives good natural light or is kitted out with bright artificial lighting, a dark navy or charcoal accent wall can be lovely.
Design tip: Paint the ceiling the same color as the walls. It eliminates that “box” visual effect and creates a sense of height and openness to the room.
What You’ll Need
| Item | Estimated Cost |
|---|---|
| Interior latex paint (1 quart) | $10–$20 |
| Painter’s tape | $5 |
| Small roller + brush set | $8–$12 |
| Drop cloth | $3–$5 |
| Total | $26–$42 |
This is easily one of the budget DIY home upgrades you can do today. Clear the room, tape the trim and roll on a couple of coats. Done in a weekend.
Upgrade No. 2: Replace Old Hardware for Instant Style
You’d be surprised what a difference a new towel bar, toilet paper holder and cabinet knobs can make. Old, rusty or mismatched hardware can make even a pristine bathroom look hopelessly haggard and cheap.
It takes about two hours to replace all of your bathroom hardware. And it pays for itself if you shop smart.
What Hardware to Replace
Focus on these five pieces:
- Towel bar or ring
- Toilet paper holder
- Robe hook
- Cabinet or drawer knobs
- Faucet handle (optional but impactful)
Choosing a Finish That Works
Choose one metal finish and stick with it. Mixing chrome, gold and black in a small bathroom tends to feel busy. Matte black, brushed nickel and warm brass are popular finishes today.
- Matte black is great for modern or minimalist bathrooms.
- Brushed nickel suits traditional styles.
- Warm brass adds a luxurious touch without feeling excessive.
Budget hack: Look at discount home stores, outlet sections of larger retailers, or even Facebook Marketplace. You can get a matching set for less than $30 total.
Cost Breakdown
| Hardware Item | DIY Cost |
|---|---|
| Towel bar | $8–$15 |
| Toilet paper holder | $6–$12 |
| Robe hook | $5–$10 |
| Cabinet knobs (set of 4) | $8–$14 |
| Total | $27–$51 |
This is the kind of budget DIY home upgrade that looks far more expensive than it truly is.
Upgrade No. 3: Create Vertical Storage to Free Up Floor Space
In a tiny bathroom, floor space is prime real estate. The more square footage of floor that’s littered with things, the smaller it feels. The solution? Go vertical.
Vertical storage takes clutter off the floor and pushes it up the walls — where there is often an abundance of unused space.
Vertical Storage Solutions That Are Actually Effective
Floating shelves are a great investment for the smallest bathroom. Two or three small wooden shelves can hold towels, toiletries, candles and decorative items. They’re inexpensive, simple to install and attractive.
Over-the-toilet shelving units are another winner. These freestanding units rest just above the toilet — a space that is nearly always wasted. You can find them for $25–$50 at most home goods stores.
Pegboards are surprisingly effective in bathrooms. Paint one the same color as your wall, add some little hooks and baskets, and you have a customizable storage wall for next to nothing.
Behind-the-door organizers suit renters perfectly. These hang over the door and can store everything from hair tools to cleaning supplies. No drilling required.
Quick Comparison: Vertical Storage Options
| Storage Option | Cost | Renter Friendly | Difficulty |
|---|---|---|---|
| Floating shelves | $15–$30 | Partially | Easy |
| Over-toilet shelf unit | $25–$50 | Yes | Very Easy |
| Pegboard wall | $10–$20 | No | Easy |
| Over-door organizer | $10–$25 | Yes | Very Easy |
Going vertical is one of the best budget DIY home improvements for small spaces because it solves storage AND makes the overall room appear more open simultaneously!
Upgrade No. 4: Upgrade or Refresh Your Vanity Mirror
Typically, builder-grade bathrooms have just a simple frameless mirror glued to the wall. It’s functional, sure. But it’s also completely forgettable.
A mirror occupies a significant amount of your wall real estate. That’s a big visual element in the room. Upgrading it — or even just framing it out — instantly upgrades the feeling of the entire bathroom.
Option 1: Frame Your Existing Mirror
You don’t need to remove the old mirror. You can frame it out with basic wood trim from a hardware store. Paint or stain the trim so it coordinates with your new hardware finish, then adhesive- or nail-gun it around the edges of the mirror. You’ll have a brand new look for less than $20.
This has been one of social media’s top trending budget DIY home upgrades — and it’s easy to see why!
Option 2: Swap in a Framed Mirror
Take it a step further and replace the mirror entirely. Framed mirrors in a variety of styles are available from discount stores for $30 to $80. A curved mirror softens a boxy bathroom. A round mirror interrupts straight lines and gives a modern touch.
Option 3: Incorporate a Medicine Cabinet Mirror
A recessed medicine cabinet mirror does double duty — it’s a mirror AND hidden storage. Installing a medicine cabinet can free up extra shelf space without adding clutter to the room.
Approximate cost: $40–$120, depending on size and style.
Mirror Size Tip
Always size up bigger than you think you need. A larger mirror reflects more light and gives the room a larger feeling. In a small bathroom, a 24×36 inch mirror can make a significantly bigger impact than a smaller one.
Upgrade No. 5: Replace Your Lighting (Without Rewiring)
Lighting is usually the least regarded component of a bathroom redesign. But poor lighting can cast even the prettiest of bathrooms into gloom, making it feel yellow and unwelcoming.
The good news: You don’t have to rewire anything to achieve better light.
Swap Bulbs First
The easiest and most affordable solution is to swap out your light bulbs. Cool-white or daylight LEDs can replace old incandescent or warm-yellow bulbs. Look for bulbs in the 3000K–4000K range, which will give you clean and flattering light.
It’s a simple swap — $5–$15 and five minutes. But it can radically change the entire look and feel of your bathroom.
Install a Plug-In Vanity Light Bar
If your current light fixture is installed above the mirror and creates shadows on your face, consider adding a plug-in LED vanity light bar. These simply mount on the wall next to or above the mirror and plug into an outlet. No electrician needed.
They cost $20–$60 and make a huge difference in your everyday experience.
Use Mirrors to Amplify Light
Position mirrors directly across from windows or existing light sources to bounce light around the room. If you were already planning on upgrading your mirror from the previous section, this is essentially free.
Lighting Upgrade Cost Summary
| Lighting Fix | Cost | DIY Difficulty |
|---|---|---|
| LED bulb swap | $5–$15 | Very Easy |
| Plug-in vanity light bar | $20–$60 | Easy |
| Battery-powered under-cabinet lights | $10–$25 | Very Easy |
Improved lighting makes all other changes look better. It’s one of those inexpensive DIY home upgrades that amplifies all of your other effort.
Upgrade No. 6: Reimagine Your Shower Curtain and Accessories
In a small bathroom, your shower curtain takes up a lot of visual real estate. A heavy, dark or busy curtain can cut the room in half.
Swapping it out is one of the quickest and cheapest ways to refresh the entire look of your bathroom.
Curtain Styles That Transform Tiny Bathrooms
Sheer or semi-sheer curtains let the eye move through the space, giving a larger sense of size to the room. They’re particularly great if your shower has beautiful tile work.
An all-white or light-colored curtain will reflect light and keep things feeling open. For small bathrooms, linen-look white curtains are very much in style at the moment.
Higher rods with extra-long curtains give the feeling of higher ceilings. If your ceiling is 8 feet, try to hang the rod as close to the ceiling as possible and use a curtain that’s at least 72 inches long.
Upgrade the Curtain Rod Too
Replace a tension rod with a curved shower rod. A curved rod bows out about 3–6 inches, giving you more elbow room in the shower and making the bathroom feel more spacious. They run $20–$40 and take mere minutes to install.
Coordinate Your Accessories
Ditch your plastic soap dish, toothbrush holder and cup for a matching set. Coordinated sets are available in ceramic, bamboo or matte-finish resin for $15 to $30. Little details like this are what tie the whole room together and make it feel intentional and designed — rather than just thrown together.
Upgrade No. 7: Repaint Your Grout and Caulk for a Fresh Look
This one isn’t glamorous. But it could be the most impactful upgrade on this entire list.
Dirty, cracked or yellowed grout and caulk gives a bathroom an old, dirty and neglected look — even if everything else is spotless. Updating it can transform a bathroom that is a decade old into one that looks almost brand new.
How to Clean Grout Without Replacing It
First, try a commercial grout cleaner or a paste of baking soda and hydrogen peroxide. Apply it to the grout lines, scrub with a stiff brush and rinse off. For heavily stained grout, a steam cleaner does the trick.
If cleaning alone doesn’t do the trick, you can apply a grout paint (or grout colorant) right over your existing grout to bring it back to its original white or gray color. A small bottle runs between $8 and $15 and is enough to cover most average-size bathrooms.
When to Re-Caulk
Caulk in your tub, shower or sink that’s cracking, peeling or showing visible mold needs to be replaced. Remove the old caulk using a utility knife or caulk remover tool, clean the surrounding area well, and apply new waterproof bathroom caulk.
A tube of caulk costs $5–$10. The entire job takes roughly an hour. And the end result is a freshly renovated-looking bathroom.
Grout and Caulk Refresh Cost
| Task | Cost | Time Needed |
|---|---|---|
| Grout cleaning | $5–$15 | 1–2 hours |
| Grout colorant | $8–$15 | 1–2 hours |
| Re-caulking tub/shower | $5–$15 | 1 hour |
| Total | $18–$45 | 3–5 hours |
This is the budget DIY home upgrade that most people skip — and then regret.
How These Seven Upgrades Work in Concert
Here is the beauty of all seven of these combined projects. Each one is good on its own. But combined, they make for a radically different bathroom.
Think of it like this:
- Paint establishes a mood and expands the space.
- Hardware ties the style together.
- Vertical storage reduces clutter and creates function.
- Mirror upgrade refracts light and gives focus.
- Lighting makes every other upgrade shine.
- Shower curtain frames the space, adding texture.
- Grout and caulk refresh cleans up the details that make or break the room.
You don’t need to do all seven at once. Start with one or two, notice the difference, then grow from there.
Estimated Total Cost for All 7 Upgrades
| Upgrade | Estimated Cost |
|---|---|
| Wall paint | $26–$42 |
| Hardware replacement | $27–$51 |
| Vertical storage | $25–$50 |
| Mirror refresh or upgrade | $20–$80 |
| Lighting improvements | $25–$75 |
| Shower curtain + accessories | $35–$70 |
| Grout and caulk refresh | $18–$45 |
| Grand Total | $176–$413 |
For less than $400 — and often far less, when you shop wisely — you can turn a tired little bathroom into a space that’s genuinely enjoyable to use every day.
Budget DIY Home Upgrades for Tiny Bathrooms: FAQ
Q: What is the simplest DIY upgrade you can do for a bathroom, even if you’re not very handy? Changing out hardware (towel bars, knobs, toilet paper holder) is the simplest starting point. It takes few tools — typically a screwdriver — and produces an instant visual impact.
Q: Can renters do any of these upgrades? Yes. Many of them are renter-friendly, including over-the-door organizers, over-toilet shelving units, shower curtain swaps, bulb replacements and plug-in lighting. Make sure to read your lease before drilling or painting.
Q: How much time do each of these DIY projects take? Most of the projects on this list can be completed in a couple of hours to an entire weekend. The longest process is painting due to the drying time between coats. Hardware swaps and storage additions take under two hours to complete.
Q: Do these upgrades add value to my home? Improving your bathroom — even in small, inexpensive ways — is always one of the most valuable home upgrades you can make. A clean, updated bathroom makes a big impression on buyers and appraisers alike.
Q: If finances are tight, what should I upgrade first? Begin with the grout and re-caulk, along with a fresh coat of paint. Together these two cost less than $60 and make an instant difference in how clean and new the room looks. Then save for the rest over time.
Q: Should I hire someone for any of these projects? Not usually. None of these seven upgrades should require a professional. If you’re not comfortable with basic drilling for shelves or a mirror, reach out to a handy friend or follow some YouTube tutorials first.
Wrap-Up: Small Bathroom, Big Transformation
Your small bathroom doesn’t have to feel small. With a little strategic planning, some weekend work and a modest budget, you can create a space that feels both stylistically informed and refreshing.
The seven budget-friendly DIY home upgrades featured in this guide — paint, hardware, vertical storage, mirror refresh, lighting upgrade, shower curtain swap and grout renewal — aren’t purely aesthetic. They’re about making a room that you use every single day work for you.
The rest can wait for another weekend. You’ll be amazed at how a single change quickly drives the next. Before long, the room will be unrecognizable to you — in the best way possible.