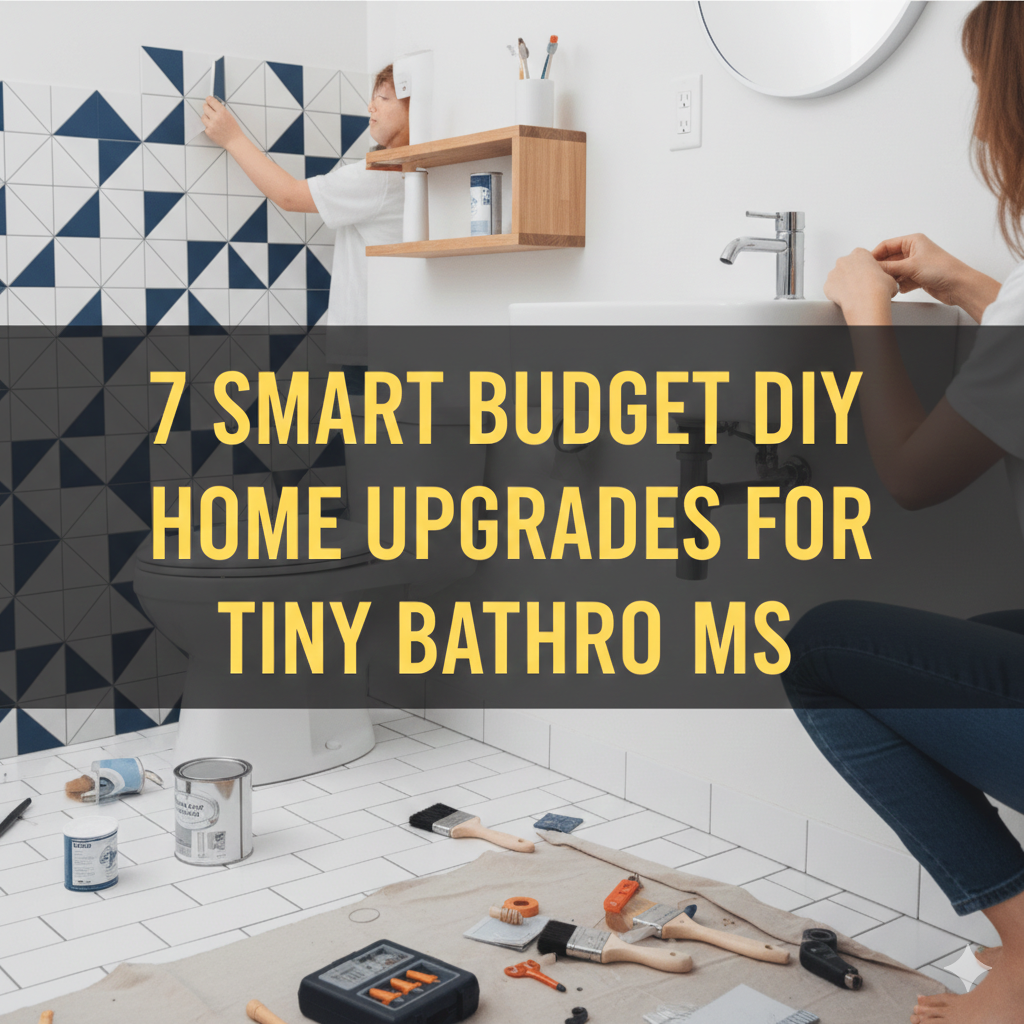
7 Smart Budget DIY Home Upgrades to Plan Before Renovating
Meta Description: Budget DIY home upgrades don’t have to break the bank. Discover 7 smart, affordable improvements to tackle before your big renovation saves time, money, and stress.
So you’re considering renovations to your home. Perhaps you want a new kitchen, a revitalized bathroom, or simply a place that actually feels like yours. But here’s the thing — diving into a full-scale renovation without preparing in advance can be an expensive mistake most homeowners make.
Before you call in the contractors and the dust starts to fly, there are some smart, low-cost DIY upgrades that you can bang out yourself. Those projects will do more than just save you money. They will keep your renovation moving more smoothly, looking better, and lasting longer.
In this guide, we take you through 7 of the most worthwhile budget DIY home upgrades to make before you renovate. All of them are practical, accessible to beginners, and really useful.
Why Doing Your Own Prep Work Before a Renovation Matters
Many believe that preparing for a renovation simply involves clearing furniture out. But savvy homeowners do one better.
You help yourself by doing a few small upgrades before the bigger work starts:
- Reduce the overall renovation cost
- Catch hidden issues before contractors do (and bill you more)
- Make the end product cleaner and more elegant
- Learn practical skills you’ll continue using for years
It’s kind of like prepping a canvas before you paint. The more the prep, the better the final result.
Upgrade #1 — Patch and Fix Every Wall First
Walls get a lot of wear and tear over the years. Nail holes, scuffs, hairline cracks, and dents are found in abundance throughout most homes. And though they seem small, it would be a mistake to leave them unaddressed before a renovation.
Why Wall Repair Comes First
Nice paint or wallpaper can’t cover up bad walls. Old damage often becomes more visible with new finishes, in fact. Sunlight reflecting off a freshly painted wall will highlight every single imperfection you overlooked.
If you decide to fix walls on your own before your renovation contractor arrives, it will mean:
- You save yourself labor rates for simple spackling work
- The finished paint job looks immaculate and professional
- You know what shape your walls are in going in
What You’ll Need
| Tool/Material | Estimated Cost |
|---|---|
| Spackling compound | $6–$10 |
| Putty knife | $4–$8 |
| Sandpaper (120-grit) | $5–$8 |
| Primer spray | $8–$12 |
Total estimated cost: $23–$38
How to Do It
Spread spackling on holes or cracks with a putty knife. Allow it to dry thoroughly — typically 2 to 4 hours. Sand it smooth until it’s flush with the wall. Then prime these areas before putting on the final paint.
For larger cracks (over pencil width), joint compound is the way to go rather than spackling. It’s stronger and more durable.
This one step can save you $100–$300 in contractor prep fees.
Upgrade #2 — Replace Old Light Switches and Outlet Covers
This one gets overlooked constantly. People spend thousands on renovations and leave behind yellowed, cracked, or mismatched outlet covers and light switch plates.
It’s a small detail that has a huge impact.
The Visual Impact Is Real
Clean, matching switch plates and outlet covers unify a room. Beige-yellowed plastic covers make even newly redecorated rooms look old.
New covers cost almost nothing. A typical outlet cover plate runs about $1–$2. A light switch plate is similar. You can do an entire room for less than $20.
What to Look For
Before starting your renovation, walk through each room and take note of:
- Cracked or broken plates
- Different styles (some white, some ivory, some metal)
- Covers that are not snug-fitting
- Outlet covers close to water that need GFCI protection
Upgrade Options by Style
| Style | Best For | Average Cost Per Piece |
|---|---|---|
| Screwless/Snap-on | Modern, minimalist rooms | $3–$6 |
| Rocker switches | Contemporary homes | $2–$5 |
| Brushed nickel | Industrial or farmhouse | $4–$8 |
| Standard white | Any neutral renovation | $1–$2 |
It only takes about 5 minutes per outlet if you swap these yourself. No electrician needed. Just turn off the circuit breaker for that room first.
Upgrade #3 — Caulk All Gaps, Seams, and Cracks in the Home
One of the most impactful budget DIY home upgrades is caulking. It’s cheap. It’s fast. And it helps with several problems at the same time.
What Caulking Actually Does
Worn or missing caulk around windows, doors, tubs, sinks, and baseboards enables:
- Air to leak in and out (raising your energy bills)
- Dampness to seep behind surfaces (promoting mold and rot)
- Pests to enter through small cracks
- Heat and cold to escape more quickly
New caulk seals all of that. This is particularly essential before a renovation, because contractors will often caulk as a final step — which means you pay for it. Doing it yourself in advance costs a tiny fraction of that.
Where to Caulk Before Renovating
- Around every window frame (inside and outside)
- Across the bottom of your bathtub and shower
- Around sinks in the kitchen and bathroom
- Along baseboards in areas where you aren’t completely replacing
- Around door frames
Cost Breakdown
| Item | Cost |
|---|---|
| Silicone caulk tube (waterproof) | $5–$10 |
| Paintable latex caulk tube | $4–$8 |
| Caulk gun | $6–$12 |
| Caulk remover tool | $4–$6 |
Total: $19–$36 for the entire house
One tube of caulk can seal 30 to 40 linear feet. Most rooms require just a single tube.
Pro tip: Use silicone caulk in wet areas. Use paintable latex caulk near baseboards or along door frames if you plan to paint over it.
Upgrade #4 — Deep Clean and Degrease Before the Big Jobs Begin
This sounds too simple to be on this list. But it really is one of the best budget DIY home upgrades you can do before a renovation.
Why Cleaning Before Renovating Matters
Contractors and tradespeople are more effective in a clean environment. Surface deposits like grease, grime, and built-up dirt can disrupt:
- Paint adhesion
- Tile adhesive bonding
- Caulk sealing
- New flooring installation
Dirty surfaces mean shorter-lasting results. A professional kitchen degreasing runs $150–$400. Doing it yourself will set you back less than $20.
The Places That Need the Most Attention
Kitchen: Grime accumulates on cabinets, walls above the stove, and inside exhaust fans. Use a degreaser spray or a solution of dish soap and warm water with a scrub brush.
Bathroom: Soap scum, hard water deposits, and mildew lurk on tiles, grout, and glass. A paste of baking soda and white vinegar handles most of it without resorting to caustic chemicals.
Basement and garage: Dust, cobwebs, and moisture marks must be removed before any waterproofing or flooring can take place.
Simple DIY Cleaning Supplies
| Supply | Cost |
|---|---|
| Heavy-duty degreaser | $6–$10 |
| White vinegar (gallon) | $4–$6 |
| Baking soda | $2–$3 |
| Microfiber cloths (pack) | $8–$12 |
| Scrub brush set | $6–$10 |
Total: $26–$41
You’ll want to block off a whole weekend for this. Play some music. Turn it into a project, rather than a chore.
Upgrade #5 — Paint the Ceilings Before Walls or Floors Are Updated
Most people paint ceilings last. That’s actually backwards — at least prior to a renovation.
Why You Should Paint the Ceiling First
If you’re replacing floors or installing new baseboards, ceiling paint drips won’t matter yet. You have nothing to protect. However, if you wait until after new flooring goes down, every drip becomes a headache.
Painting ceilings is physically challenging as well. You’re painting overhead, usually with a roller on an extension pole. Doing it early means less worrying and less mess to manage.
What Makes a Good Ceiling Paint Job
- Use flat or matte paint — it’s better at hiding flaws than eggshell or satin
- Apply two coats for full coverage
- Use a paint meant for ceilings — it’s a bit thicker, so it won’t drip
- Cut in along edges with a brush before rolling
Ceiling Paint Cost Guide
| Room Size | Paint Needed | Estimated Cost |
|---|---|---|
| Small bedroom (10×10) | 1 quart | $12–$18 |
| Standard bedroom (12×14) | 1 gallon | $20–$35 |
| Open living/dining area | 2 gallons | $40–$70 |
| Full home (2,000 sq ft) | 4–5 gallons | $80–$140 |
A painter just for ceilings can run $200–$500 per room. Doing it yourself makes this one of the best budget DIY home upgrades before renovation day.
For more money-saving strategies like this one, the team at Frugal Home Renovator regularly publishes practical guides for homeowners who want to stretch every dollar without cutting corners on quality.
Upgrade #6 — Fix Squeaky Floors and Loose Hardware
Squeaky floors are annoying. Cabinet handles that feel a little loose, wobbly door hinges, and drawers that stick can be frustrating. And they’re all super easy to DIY.
The Loose Hardware Fix
Walk through each room with a screwdriver. Tighten every:
- Cabinet door hinge
- Drawer pull and knob
- Door handle
- Curtain rod bracket
- Towel bar screw
It takes 30–45 minutes and is free, assuming you already have a screwdriver. When screws won’t tighten (they just spin), use a wooden toothpick dipped in wood glue. Drop it into the hole, snap it off flush, and re-drive the screw. It works every time.
Fixing Squeaky Floors
Squeaks occur when floorboards rub against one another or the subfloor. There are two main DIY fixes:
From above (if you can’t access the subfloor): Sprinkle powdered graphite or talcum powder into the seam between boards. Work it in with a cloth. The powder lubricates the joint and eliminates the squeak.
From below (if you have access to a basement or crawl space): Have someone walk on the squeaky spot while you observe from below. Find where the subfloor flexes. From the bottom, drive a short screw up into the subfloor to pull it snug. Don’t go too long — you don’t want to come through the top.
Cost Comparison
| Fix | DIY Cost | Pro Cost |
|---|---|---|
| Tighten loose hardware | $0 | $50–$150 |
| Talcum powder for squeaks | $3–$5 | $75–$200 |
| Subfloor screw fix | $5–$10 | $150–$300 |
Upgrade #7 — Improve Storage Before New Rooms Get Built
This is one most people completely skip. Before you renovate, take a close look at your storage situation. Then fix it cheaply now before the walls are closed up and the layouts are set in stone.
The Benefits of Planning Storage Before Renovation
After your renovation is complete, built-in storage can become pricey and impractical to add. But before the work starts, you can:
- Map out where storage is most lacking
- Incorporate inexpensive, easy fixes that fit in with your renovation plan
- Avoid paying contractors to install simple shelving you can do yourself
Easy Storage Upgrades to Do Now
Closets: Install a second hanging rod underneath what you already have, doubling your hanging space. A standard closet rod costs $10–$20. You can install it yourself in about 20 minutes.
Kitchen: Use tension rod organizers within cabinets to store lids vertically. Add adhesive hooks on the inside of cabinet doors for measuring cups or small tools.
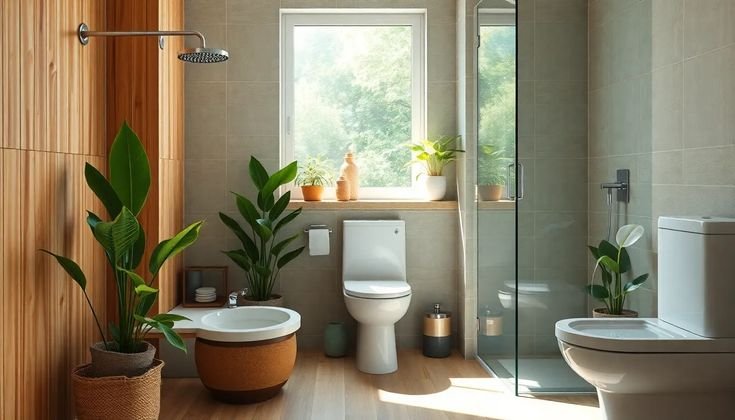
Bathroom: Install a plain floating shelf above the toilet for towels and toiletries. A simple shelf with brackets costs $15–$30.
Garage: Install a pegboard panel above a workbench for tool storage. Pegboard runs $15–$25 for a 4×4 section.
According to This Old House, planning storage improvements before a renovation is one of the most overlooked yet cost-effective decisions a homeowner can make.
Budget Storage Upgrade Costs
| Area | Upgrade | DIY Cost |
|---|---|---|
| Closet | Extra hanging rod | $10–$20 |
| Kitchen | Tension rod cabinet organizers | $8–$15 |
| Bathroom | Floating shelf above toilet | $15–$30 |
| Garage | Pegboard tool organizer | $15–$25 |
| Pantry | Pull-out cabinet organizer | $20–$40 |
Total for all areas: $68–$130
Professional closet organizers charge at least $500. Custom built-ins can run $3,000–$8,000. Getting ahead of storage now will save considerable money down the road.
How Much Can These 7 Upgrades Save You?
Let’s put some real numbers to this. Here’s a side-by-side breakdown of DIY cost vs. hiring a pro for each upgrade.
| Upgrade | DIY Cost | Pro/Contractor Cost | Savings |
|---|---|---|---|
| Wall patching and repair | $23–$38 | $150–$400 | $127–$362 |
| Switch plates and outlet covers | $15–$40 | $80–$200 | $65–$160 |
| Full-home caulking | $19–$36 | $200–$500 | $181–$464 |
| Deep cleaning and degreasing | $26–$41 | $200–$500 | $174–$459 |
| Ceiling painting | $80–$140 | $600–$2,000 | $520–$1,860 |
| Squeaky floor and hardware fixes | $8–$15 | $275–$650 | $267–$635 |
| Storage improvements | $68–$130 | $500–$3,000+ | $432–$2,870+ |
| Total | $239–$440 | $2,005–$7,250 | $1,766–$6,810 |
These are conservative estimates. In many cases, the savings are much higher depending on your local labor market.
How to Prioritize These Projects
Few people have time to complete all seven before a renovation. Here’s an easy approach to help you decide where to begin.
Start with structural and moisture issues first. Caulking and wall repair protect against damage. Do those before anything cosmetic.
Do ceiling painting next. It prevents drips and mess from damaging your future renovation work.
Then tackle the quick wins. Outlet covers, hardware tightening, and squeaky floors — one weekend and virtually no money.
Plan storage last. It requires the most thought but costs the least in labor.
You can realistically complete all seven of these projects in two weekends before your renovation begins. Set a budget of $300–$500 total, and stay within it.
FAQs About Budget DIY Home Upgrades Before Renovating
Q: Will these upgrades require any special skills? No. All of the upgrades on this list are beginner-friendly. If you can grip a screwdriver and follow some simple instructions, you can do all of them.
Q: What if I discover bigger problems when doing these projects? That’s actually a good thing. Better to discover a moisture problem or cracked joist before the renovation begins than after. Record everything and share it with your contractor before work even starts.
Q: How far in advance of my renovation should I do these DIY projects? Ideally 2–4 weeks before your renovation start date. That gives you time to work through them at a comfortable pace and order any materials you may need.
Q: Can I make these upgrades to an apartment I’m renting? Some of them, yes. Cleaning, changing out outlet covers (with your landlord’s approval), and basic caulking are often acceptable. Review your lease before making any permanent changes.
Q: Are these DIY upgrades really going to benefit my home’s resale value? Yes, indirectly. A home that’s well-maintained, clean, and without little issues always earns better offers. These upgrades build on the broader renovation investment.
Q: What tools do I actually need to get started? A very basic toolkit covers everything: putty knife, caulk gun, screwdriver set, sandpaper, and a paint roller kit. If you don’t already own these items, you can get all of this for under $60.
Q: Is it worth doing DIY before a renovation if contractors will be redoing everything anyway? Absolutely. Contractors charge per hour. Every hour they spend doing basic prep work is money you never needed to pay. And some of those upgrades — such as storage improvements and outlet covers — are in spaces contractors won’t even touch.
Final Thoughts — Small Steps Lead to Big Results
Here’s the bottom line. Budget DIY home upgrades prior to a renovation aren’t just about saving money. They’re about approaching your renovation with confidence.
When you’ve already patched the walls, caulked the gaps, tightened the hardware, and deep-cleaned the space, it’s not just about cash savings. You’re showing up prepared. You understand your home better. You’ve already fixed things that would have cost you more down the line.
Renovation projects are exhilarating — but they can also cost a lot of money and cause a lot of stress. Every wise choice you make before the heavy lifting begins shows in the final result.
Choose a project from this list and start this weekend. You’ll be amazed at how quickly the momentum picks up — and how good it feels to have control over your home before the renovation even begins.
Total estimated DIY cost across all 7 upgrades: $239–$440 Total estimated savings vs. professional labor: $1,766–$6,810