Meta Description: 6 Quick Budget DIY Home Upgrades Using Peel-and-Stick Magic — give your space a makeover without the expense or need for a contractor. Easy, removable, and renter-friendly!
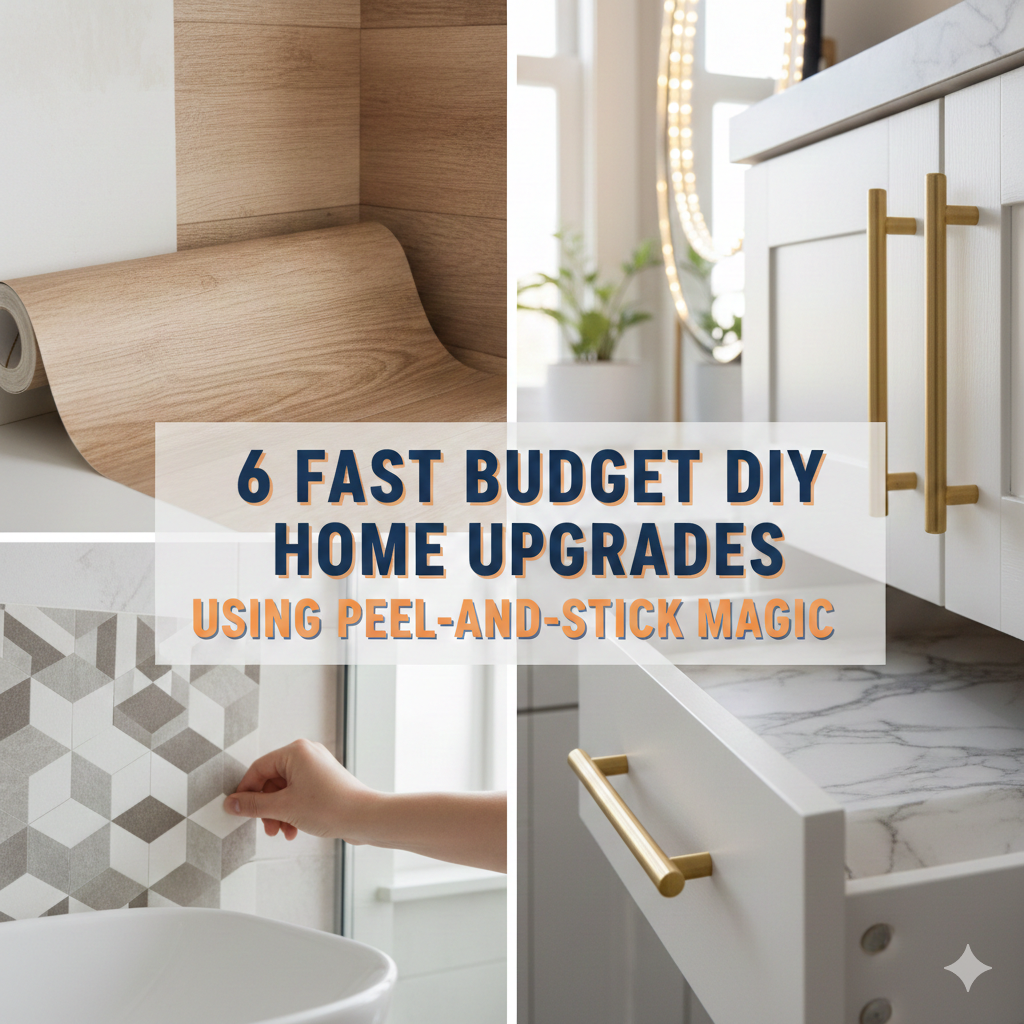
6 Quick Budget DIYs That Use Peel-and-Stick Magic
Your house should look incredible. But hiring contractors? Too expensive. Doing a full renovation? Too much time. The good news is that you might not need either.
Peel-and-stick products have revolutionized the DIY world. These self-adhesive materials are inexpensive, easy to apply and — best of all — removable. Whether you rent an apartment or own a home, you can have fun sprucing up your space without hammering holes in walls or spending thousands of dollars.
In this guide, we are taking you through 6 speedy budget DIY home upgrades using peel-and-stick magic anyone can do in a weekend. No power tools. No professional skills. You just need a clean surface, steady hands, and a little creativity.
Let’s get into it.
The Case for Peel-and-Stick Products Right Now
Back to the upgrades, but first a word about why peel-and-stick is so popular.
These products had been stigmatised only a few years before. They came off too fast, looked tacky or left behind stickiness. That’s changed completely. Peel-and-stick materials have come a long way in the last few decades due to modern adhesive technology. They adhere better, appear more lifelike and are easily removable when you’re ready to mix things up.
Here’s why people love them:
- They’re budget-friendly. The majority of peel-and-stick projects retail between $20 and $150 each — a minuscule percentage compared with traditional renovation prices.
- They’re renter-friendly. Removable upgrades won’t leave a permanent mark on walls or surfaces, so most landlords are amenable.
- They’re beginner-friendly. You need no special skills. If you can peel a piece of paper off and press it onto something, you can do these modifications.
- They’re fast. Most projects take between 30 minutes to a few hours.
Upgrade #1 — Give Your Backsplash a New Personality
The kitchen backsplash is one of the first things that catches a person’s eye when walking into a kitchen. An old, dingy or boring backsplash can make the entire room feel tired.
What You’ll Need
Peel-and-stick backsplash tiles are having a moment. They are available in subway tile patterns, mosaic designs, hexagonal shapes, faux marble and even metallic finishes. You can pick them up at any home improvement store or online for as low as $2 to $5 per square foot.
How to Do It
Clean the surface thoroughly before you begin. Grease or dirt will keep the tiles from adhering properly. Clean with a degreaser and allow the wall to dry thoroughly.
Measure your backsplash area and use scissors or a utility knife to cut the tiles to fit. Most peel-and-stick backsplash tiles can be cut easily without any special tools.
Peel the protective backing film and firmly press from the centre outward. Smooth out air bubbles with a credit card or a squeegee. Make sure every tile lines up correctly and work row by row.
The Results
For a regular kitchen backsplash (about 15–20 square feet), expect to spend about $30 to $100. Contrast that with a professional tile installation, which generally costs $300–$1,000. That’s serious savings.
Pro Tip: Select a tile design that contrasts with your cabinet colour. Light tiles with dark cabinets, or dark tiles with white cabinets, always pop.
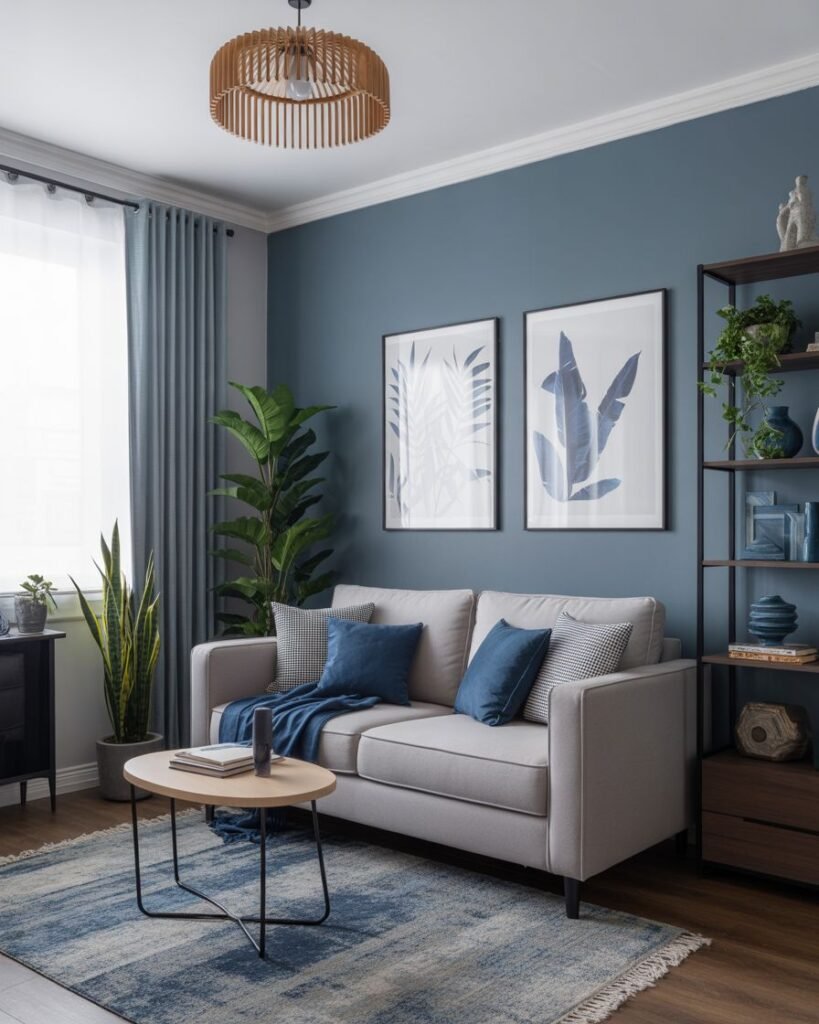
Upgrade #2 — Create an Accent Wall With No Mess
Accent walls can bring depth, character and personality to any room. Traditional wallpaper is lovely, but disruptive. Peel-and-stick wallpaper gives you the exact same look — with no mess and no commitment.
Picking the Right Pattern
Here’s a general rule: one pattern, one wall.
Going bold? Experiment with a large floral print, a geometric pattern or a moody dark background with subtle designs. Going subtle? A soft linen texture or a subtle stripe works in nearly any room.
In bedrooms, a peel-and-stick wallpaper accent wall behind your headboard has an immediate designer appeal. For living rooms, the wall behind your couch or TV is the best choice.
Step-by-Step Application
- Measure the wall height and cut your wallpaper panels accordingly, adding 2–3 inches at the top and bottom for trimming.
- Start in a corner or from the centre of the wall. Use a level to ensure your first strip is perfectly vertical — this makes every subsequent strip easier.
- Peel back a few inches of the backing at a time as you smooth the wallpaper down the wall. Don’t peel the entire backing in one go — that’s where most mistakes happen.
- Once all strips are on, trim the top and bottom using a sharp craft knife and a straight edge.
Cost Breakdown
| Room Size | Square Footage Needed | Estimated Cost |
|---|---|---|
| Small bedroom wall | 40–50 sq ft | $25–$60 |
| Medium living room wall | 60–80 sq ft | $50–$100 |
| Large feature wall | 90–120 sq ft | $80–$150 |
Upgrade #3 — Refresh Your Floors With Peel-and-Stick Vinyl Tiles
Ugly floors can spoil the vibe of an entire room. Worn carpet, cracked vinyl or scuffed linoleum can all be covered with peel-and-stick floor tiles — no adhesive, no grout, no expert required.
Where This Works Best
Peel-and-stick vinyl tiles are best for kitchens, bathrooms, laundry rooms and entryways. They work well on top of existing hard floors, such as vinyl, tile or concrete — provided the surface is even and clean.
Choosing Your Style
The variety is impressive. You can get:
- Planks that resemble real wood
- Stone-effect tiles that mimic slate or marble
- Classic black and white checkerboard patterns
- Bold geometric designs for a modern look
Thickness matters. Choose tiles that are at least 1.5mm thick for increased durability and comfort underfoot.
How to Apply Them
- Clean the existing floor thoroughly with a floor cleaner and let it dry completely. Bumps, cracks or debris will show through the tiles.
- Find the centre of the room by measuring the midpoint of each wall and snapping a chalk line. Lay tiles out from the centre so the finished look is symmetrical.
- Peel each tile and press snugly into place. Press the tiles down thoroughly — especially on the edges — with a rubber mallet or rolling pin.
- Use a utility knife and straight edge to cut the border tiles.
Cost vs. Traditional Flooring
| Option | Cost per sq ft | Time to Install |
|---|---|---|
| Peel-and-stick vinyl tiles | $1–$4 | A few hours |
| Professional vinyl flooring | $3–$10 + labour | 1–2 days |
| Hardwood flooring | $8–$15 + labour | 2–4 days |
| Ceramic tile | $5–$12 + labour | 2–5 days |
Upgrade #4 — Transform Cabinets & Furniture With Contact Paper
Here’s a little secret interior design lovers have known for decades: contact paper can make cheap and dated furniture look amazing.
Old IKEA furniture, chipped kitchen cabinet doors, scratched side tables — all can get a dramatic makeover with a roll or two of contact paper. For more creative budget renovation ideas like these, Frugal Home Renovator is a great resource to bookmark.
What Surfaces Work Best
Contact paper works beautifully on:
- Cabinet doors and drawer fronts in a kitchen
- Open shelves or bookcases
- Tops of furniture like dressers and coffee tables
- Old refrigerators or filing cabinets
- The inside backs of bookcases for a pop of colour
Popular Finishes to Try
Marble print remains one of the most searched interior design trends. A faux marble contact paper finish on a plain white desk or dresser top looks genuinely glamorous from afar.
Applying wood grain contact paper to cabinet doors creates the illusion of real wood without the expense.
A coat of matte black or dark charcoal contact paper on older furniture can give it a sleek, contemporary look that’s camera-ready.
Tips for Applying That Actually Matter
- Clean the surface with rubbing alcohol to remove oils and residue. Let it dry.
- Measure twice, cut once. Add an inch all around — you can always cut down, but you can’t add paper back.
- Use the “hinge method” — tape one edge of the paper in place and slowly peel off the backing while you smooth the paper down with a squeegee or bank card.
- Work slowly. Bubbling occurs when you rush. If you do get a bubble, use a pin to poke it and smooth it out.
Pro Tip: Run a hair dryer on low heat over the contact paper as you apply it. This warms the material, making it more flexible and easier to work with — especially on rounded edges.
What It Costs
One roll of quality contact paper (covering about 18 square feet) typically ranges from $8 to $20. For an average kitchen with 10–15 cabinet doors, expect to spend $40–$80 total. A professional cabinet refacing would cost $1,000–$3,000 for the same kitchen.
Upgrade #5 — Add Faux Brick or Stone to Any Wall
This one surprises people. Many assume the look of a brick or stone wall requires actual masonry — heavy, costly and permanent. With peel-and-stick brick panels and stone veneer sheets, this look is now completely accessible.
Why a Faux Brick Wall Works So Well
A brick accent wall works well in kitchens, living rooms, home offices and even bedrooms. It brings texture and warmth that flat painted walls simply cannot offer — and it photographs beautifully, which is why it’s so prevalent in interior design on social media.
Types of Peel-and-Stick Faux Brick
- 3D foam brick panels — Lightweight textured foam panels that look like bricks. The simplest to apply and the least expensive option, at around $1–$3 per square foot.
- PVC brick veneer sheets — More realistic in appearance. Better for high-traffic areas. Usually $3–$6 per square foot.
- Peel-and-stick brick wallpaper — A flat, printed version. Less dimensional, but fast and very affordable. Perfect for accent areas or as a backdrop behind shelving.
Installation Process
- Measure and plan out your wall. If working with brick panels, start at the bottom and work upward.
- Wipe the wall surface with a damp cloth and allow to dry completely.
- Peel the backing off each panel and press firmly against the wall. Most panels lock together, so align the edges precisely.
- Use a utility knife to trim panels around outlets, windows or door frames.
For extra realism: After installation, apply a paint wash to foam brick panels. Mix a little water with off-white or grey paint and brush it gently over the bricks. This adds depth and makes them appear much more authentic.
Before and After Comparison
| Wall Type | Material Cost | Installation Time | Difficulty |
|---|---|---|---|
| Plain painted wall | $0 | N/A | N/A |
| Peel-and-stick foam brick | $30–$80 | 2–4 hours | Easy |
| Real brick installation | $800–$3,000 | 2–5 days | Expert |
Upgrade #6 — Refresh Your Bathroom With Peel-and-Stick Tile
Professional bathroom renovations are expensive. A standard bathroom tile job is likely to cost $500–$2,000 including labour. But peel-and-stick tiles made for wet areas allow you to completely transform the look of your bathroom for less than $100.
Important: Wet Area Compatibility
Not every peel-and-stick tile is built for wet spaces. When buying for bathroom use, look for:
- Waterproof labelling
- Mildew-resistant adhesive
- Suitability for high-humidity environments
These details matter. Regular peel-and-stick tiles will lift and peel in a steamy bathroom environment. According to the Tile Council of North America, proper surface preparation and using the right adhesive product for the environment is one of the most critical factors in tile longevity — and that applies to peel-and-stick options just as much as traditional tile.
Where to Apply in the Bathroom
The tub surround is the area that makes the biggest visual impact. Other great spots include:
- The wall behind the sink and vanity
- The backsplash between the countertop and wall
- A feature wall opposite the mirror
How to Achieve a Clean, Professional Finish
- Make sure the surface is completely dry before you begin. Moisture is the main cause of adhesion failure.
- Mark your starting line with painter’s tape to ensure the tiles are perfectly level. One crooked row at the top will throw off the entire look.
- Press each tile on firmly. At tub surrounds, run a bead of clear waterproof caulk along the bottom edge where tiles meet the tub — this keeps water from creeping in behind the tiles.
- Allow the caulk to cure for 24 hours before using the shower or tub.
Maintenance Tips
Peel-and-stick bathroom tiles are easy to maintain. A quick spray and wipe with a bathroom cleaner keeps them looking fresh. Avoid abrasive scrubbers that could scratch the surface.
Smart Shopping Guide
Before you buy, here’s what to look for to ensure you get a quality product:
| Feature | What to Look For |
|---|---|
| Adhesive quality | Pressure-sensitive, repositionable adhesive |
| Thickness | At least 1.5mm for floor tiles; 0.3mm for wall products |
| Surface compatibility | Requires a smooth, clean surface |
| Removability | “Removes without damage” labelling |
| Waterproofing | Essential for kitchens and bathrooms |
| Pattern repeat | Important for backsplash tiles and wallpaper |
FAQs
Q: Will peel-and-stick products damage my walls when removed? Quality peel-and-stick products are designed to be removed cleanly. The key is to peel slowly at a 45-degree angle, as close to the wall as possible. On freshly painted walls, minor paint lifting can occasionally occur. Always test a small area before full application.
Q: How long do peel-and-stick tiles and wallpaper really last? Quality products generally last 3 to 7 years on walls and 2 to 5 years on floors under normal use. Lifespan depends on how well surfaces are prepared, humidity levels, and the amount of foot or surface traffic.
Q: Are peel-and-stick products suitable for a rental apartment? Yes — this is a large part of their appeal. Most landlords approve of peel-and-stick upgrades since they are removable and don’t cause lasting changes. It’s still worth checking your lease or asking your landlord first.
Q: What surfaces don’t work well for peel-and-stick products? Textured wall surfaces (such as popcorn ceilings or rough plaster), unprimed drywall, and surfaces with existing peeling paint are all problematic. A smooth, clean and well-adhered surface is required.
Q: Are peel-and-stick products safe to use in kids’ rooms? Yes, the majority are non-toxic once applied and fully dried. Check product labels for VOC (volatile organic compound) content if you are sensitive to fumes or applying in a small, enclosed space. Ventilate the room during application.
Q: Can I install peel-and-stick tiles over existing tiles? Yes, if the existing tiles are smooth, clean, flat and well bonded to the wall. Fix any loose or missing grout first. If there are deep grout lines, skim over them with tile filler to level the surface before applying peel-and-stick tiles on top.
Q: What’s the best way to cut peel-and-stick tiles or wallpaper? Use a utility knife and a metal straight edge for the cleanest cuts on tiles. Sharp scissors work well for straight cuts on wallpaper. A craft knife and cutting mat work well for detailed or curved cuts.
Your Weekend Upgrade Strategy
Here’s an easy plan for completing two upgrades in a single weekend:
- Saturday Morning — Install peel-and-stick backsplash tiles in the kitchen. This typically takes 2–3 hours.
- Saturday Afternoon — Work on the accent wall in the bedroom or living room. Let the wallpaper set overnight.
- Sunday Morning — Tackle the bathroom tub surround or vanity backsplash.
- Sunday Afternoon — Cover cabinets or furniture pieces in contact paper.
By Sunday evening, your home will look and feel entirely different — and you’ll have spent only a fraction of what it would cost to hire a contractor.
The Bottom Line
You don’t need a large renovation budget or professional expertise to update the look of your home. Peel-and-stick products allow anyone — renters, first-time homeowners, college students, budget-conscious families — to quickly and affordably update their living spaces.
These 6 fast budget DIY home upgrades using peel-and-stick magic target the highest-impact areas in your home: kitchen, living spaces, bathroom, floors and furniture. Each one delivers a dramatic visual shift for a relatively small investment of time and money.
The best part? If you change your mind, you can peel it off and start over. That kind of flexibility is simply not possible with traditional renovation.
So choose one project, gather your supplies and get to work this weekend transforming your space. Your future self — and your wallet — will thank you.