Meta Description: Budget DIY home upgrades transformed my dull porch into a stunning outdoor retreat — discover 5 powerful, affordable ideas that made a big impression without putting pressure on your bank account.
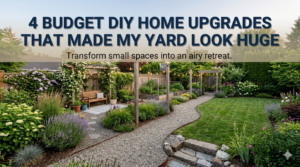
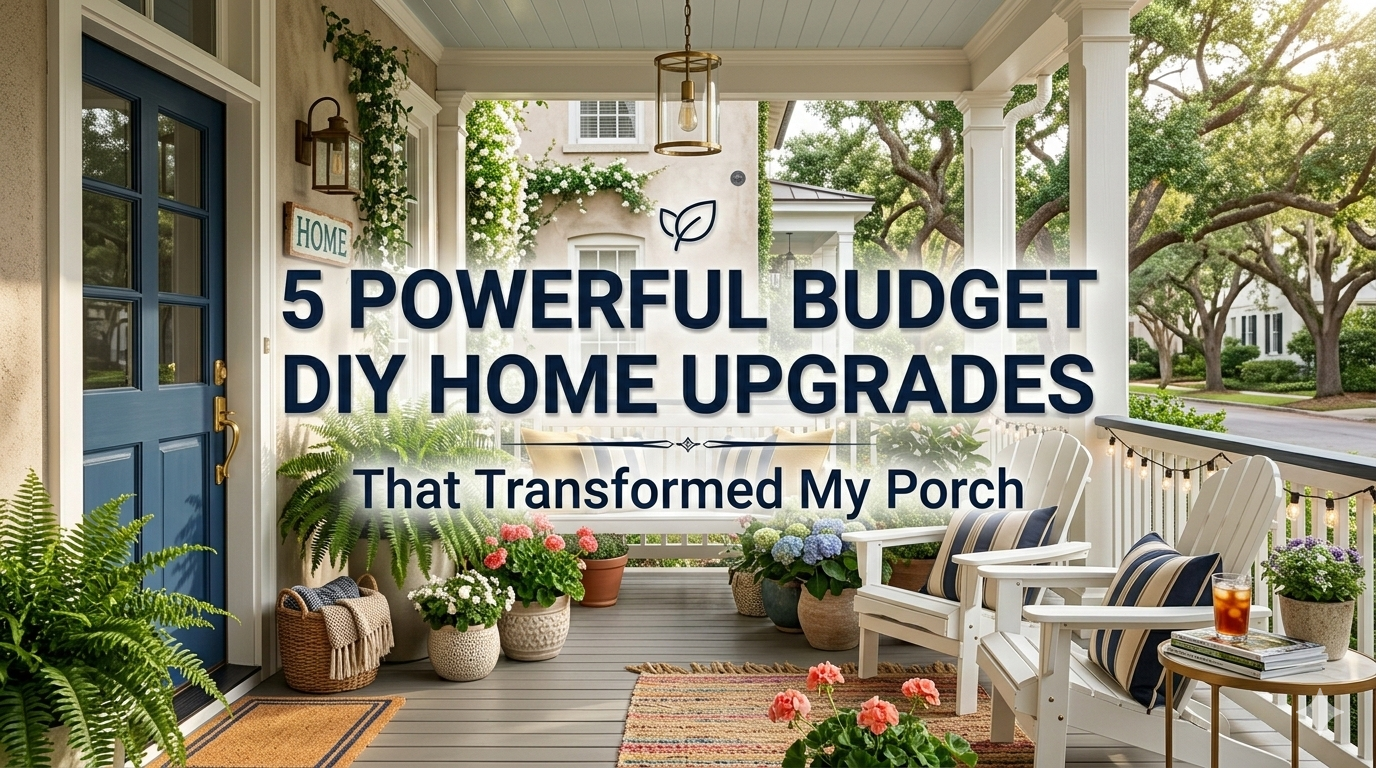
5 Budget DIY Home Upgrades That Transformed My Porch into the Best Outdoor Room
It was hard to believe that that was my porch once upon a time.
Everything can make it home. Even light accessories like that fixture which looked like a bad Hollywood scare — sometimes lots of fumbling beneath too-tight old bulbs led me to cut off their wires entirely, bringing one kind of crazy relief almost as good as no light at all. Every time I walked past it, I felt a little defeated.
The one problem — I didn’t have any big renovation money. It was maybe $200, a free weekend, and a pretty strong will to make something a little better.
So I set to work.
What came after that genuinely shocked me. A few clever, cheap changes kept that little porch from looking so down. Friends started asking who my contractor was. Neighbors slowed right down to catch the whole view. And I didn’t spend a dollar on labor.
Step by step, with actual costs, tips, and everything I’d have wanted to know before I began — in this article I’m going to show you the exact 5 budget DIY home upgrades I made for my porch transformation.
These ideas will work whether your front steps are almost nonexistent or if you have an even larger verandah.
Why Your Porch Deserves More Thought Than You Give It
Before we get into the upgrades, let’s talk about why the porch is worthwhile.
When people first enter your home, your porch is the first thing they see. It sets the tone for their entire experience. Curb appeal studies have observed consistently that the appearance of a house matters — not only in terms of how visitors feel, but also for your own mental well-being from day to day.
A porch also gives you extra living space. If that space is used properly, it’s practically free square footage.
The best thing? You don’t need a large budget to make it shine. Most of the upgrades I made came to between $15 and $60 each. The total was around $190. The transformation? Priceless — but also genuinely wow-inducing in photos.
Let’s get into it.
Upgrade #1 — A Fresh Coat of Paint Completely Changed Everything
Why Paint Is the Most Underrated Tool in DIY
I can’t say this enough: paint is magic.
My porch floor was a washed-out grey that looked as if it had lost the will to live. The railings were chipped. The front door was a brown that had faded until it seemed part of the house itself.
All the exterior paint, primer, and a quality brush set cost me about $45. That was all I spent.
I chose a deep navy blue for the front door and a warm charcoal grey for the porch floor. Both colors are big in exterior design right now, but more importantly, they looked intentional and bold.
Getting It Right the First Time
Exterior paint’s number one enemy? Skipping prep. Don’t do it.
Here’s what I did before applying a single drop of paint:
I washed the whole surface with a pressure washer rental (approximately $35 for a half day — or borrow one from a neighbor). Next I let everything dry completely for 24 hours. I sanded down bumpy spots on the railings and applied exterior primer before giving them a topcoat.
Two coats of paint later, my porch felt like a brand new room. The change was immediate and dramatic.
Paint Cost Breakdown
| Item | Estimated Cost |
|---|---|
| Exterior paint (door + floor) | $28 |
| Primer | $9 |
| Brush and roller set | $8 |
| Total | $45 |
Upgrade #2 — Outdoor String Lights Turned My Porch Into a Vibe
Nights When You Need to See and Be Seen
I changed just two things: the light fixture was replaced with an outdoor pendant lantern that cost $22 from the local big box store, and a set of soft warm-white outdoor string lights was hung up where an old stark variety once lived.
It was definitely the string lights that made all the difference.
How I Hung the Lights Without Drilling Into the House
This is the part that people think is most difficult — but it is actually quite easy.
I hung outdoor-rated adhesive hooks on the roofline of my porch for the lights. No drilling, no damage to the siding. The lights ran from the house to the posts of the porch in a zigzag pattern, creating a canopy effect.
The entire process took 40 minutes.
At nighttime, the porch glowed warmly. Like a sidewalk café, the place lit up and felt inviting. My neighbor asked me if I was having a party.
Outdoor Lighting Cost Breakdown
| Item | Estimated Cost |
|---|---|
| Matte black lantern fixture | $22 |
| 50-ft outdoor string lights | $18 |
| Adhesive outdoor hooks | $6 |
| Total | $46 |
One important note: make sure your string lights are labeled for outdoor or all-weather use. Indoor lights aren’t weatherproofed and can become a hazard in the rain.
Upgrade #3 — A DIY Planter Wall Made the Space Feel Like a Garden
Introducing Plants With Minimal Cash Investment
Plants change everything. They breathe life, color, and texture into a space.
But traditional planters sitting on the floor took up space I didn’t have. My porch is narrow — only 6 feet deep.
So I built a simple vertical planter wall using a wooden pallet a local hardware store gave me for free (ask and they’ll usually oblige), some landscaping fabric, and about $14 worth of potting soil and small plants.
If you enjoy creative, low-cost outdoor projects like this one, Frugal Home Renovator is a great resource packed with budget-friendly ideas for every corner of your home.
Building the Pallet Planter Step by Step
This project sounds intimidating but is actually quite easy.
First, I lightly sanded the pallet to remove splinters and rough edges. Next I stapled landscaping fabric to the back and bottom sections of each row to hold soil in place. Then I filled every gap with potting mix and tucked small plants into their respective openings — typically one row at a time.
I picked pothos, petunias, and a variety of herbs — basil and mint. They don’t take much looking after and all three look good together in the same space.
I leaned the finished pallet against the wall of my porch and held it in place with two small L-brackets screwed onto the wall. Done.
Vertical Planter Cost Breakdown
| Item | Estimated Cost |
|---|---|
| Wooden pallet | Free |
| Landscaping fabric | $5 |
| Potting soil | $7 |
| Small plants (6 pack) | $9 |
| L-brackets | $4 |
| Total | $25 |
The pallet planter became its own attraction. People simply could not believe something this fabulous was made from something free.
Best Plants for a Porch Planter Wall
Not all plants work equally well in a vertical setup. Here’s a quick guide:
| Plant Type | Best For | Care Level |
|---|---|---|
| Pothos | Trailing, shade areas | Very easy |
| Petunias | Color and fullness | Easy |
| Ferns | Lush, tropical look | Moderate |
| Succulents | Sunny, dry spots | Very easy |
| Herbs (basil, mint) | Useful + decorative | Easy |
Upgrade #4 — New Hardware and a Doormat Made the Entry Look Polished
Small Details That Make a Big Impression
Here’s something I learned during this project: people notice the small things.
After the paint and the lights, I looked at the whole thing and noticed the door handle was old brushed nickel that didn’t suit anything. The house numbers were crooked. There was no doormat — only a sad patch of concrete. Fixing these three things for under $40 made details that had never previously struck me suddenly leap out as the most important features of the whole entry.
Swapping the Door Hardware
Replacing a door handle is an extremely simple DIY job. Most handles come with all the necessary parts — it’s just a matter of unscrewing two screws, pulling out the old handle, putting in the new one, and tightening two screws again.
I went with a matte black handle that matched my new light fixture. The difference it made as soon as I installed it was tangible. It unified the whole look.
House Numbers That Actually Look Good
I exchanged the plastic stick-on numbers with modern metal ones in a matte black finish — the same finish as the handle and the lights. That unified feel gave a nice surprise at dusk.
The whole process took 15 minutes. I used a level to make sure they were straight — a small detail that makes a world of difference — and attached them with the fastening screws that came with the numbers.
Choosing the Right Doormat
I found a thick, natural coir doormat with a simple geometric pattern at a discount home store for $14. It added warmth and texture to the entrance and was genuinely practical — actually good at scraping mud off shoes.
According to HGTV’s outdoor decorating guide, a well-styled porch entry is one of the fastest ways to boost your home’s curb appeal without spending a fortune — and a quality doormat plays a bigger role than most people realize.
Entry Details Cost Breakdown
| Item | Estimated Cost |
|---|---|
| Matte black door handle | $18 |
| Metal house numbers | $11 |
| Coir doormat | $14 |
| Total | $43 |
Upgrade #5 — A Thrifted Seating Area Turned the Porch Into a Place to Actually Sit
A Porch Without Seating Is Just a Landing Zone
I wanted it to feel like a destination — a place where I’d actually want to be in the morning with coffee or after work. Oh, and it should be beautiful, of course.
At this point in the budget it was running tight, so I had a look at thrift stores and Facebook Marketplace.
Building a Seating Area for Almost Nothing
I found two matching wooden chairs at a thrift store for $8 each. They were ugly — chipped white paint, slightly wobbly — but the bones were solid.
I tightened the joints with wood glue and clamps and let them dry overnight. Then I spray-painted them in the same matte black finish I’d been using throughout the porch. A can of rust-resistant outdoor spray paint cost $6.
For cushions, I bought a set of two outdoor chair cushions in a striped navy and white pattern for $16 total at a discount store. They tied in perfectly with the navy door.
Seating Area Cost Breakdown
| Item | Estimated Cost |
|---|---|
| Two thrifted wooden chairs | $16 |
| Matte black rust-proof spray paint | $6 |
| Wood glue | $4 |
| Two outdoor cushions | $16 |
| Total | $42 |
Where to Find Cheap Outdoor Furniture
If you’ve never tried thrift stores or Facebook Marketplace, here’s where to start.
Facebook Marketplace — You’d be surprised how much stuff people give away. Most often you can find anything from a lawn chair to full porch furniture for free, especially in late summer.
Thrift stores — Look for solid wood or wrought-iron bargains. Steer clear of anything rotted or structurally damaged.
Yard sales — Try Saturday mornings. All the good stuff is out early and gone by 10 a.m.
Curb alerts — Really. Keep your eyes open on trash day. Sometimes you get lucky.

The Full Transformation: Before vs. After at a Glance
| Upgrade | Cost | Visual Impact |
|---|---|---|
| Exterior paint (door + floor) | $45 | Dramatic — completely changed the whole tone |
| Lighting (fixture + string lights) | $46 | Evening magic — felt comfortable and inviting |
| Vertical pallet planter | $25 | Unique focal point — everybody notices it |
| Hardware, numbers, doormat | $43 | Polished and cohesive — looks intentional |
| Thrifted seating area | $42 | Functional and cozy — made the space livable |
| Grand Total | $201 | Porch completely transformed |
Things I Learned Along the Way (That No DIY Blog Warned Me About)
Patience With Drying Time Actually Matters
I was not patient enough. I painted the porch floor and placed the chairs on it before the paint was fully cured. By the third week I had scuff marks. Floor paint needs a minimum of 72 hours before heavy foot traffic — not just surface-dry time.
Matching Finishes Makes You Look Like You Know What You’re Doing
Matte black was my unifying finish. Every piece of hardware, every fixture, every painted metal piece shared that one finish. It made everything look curated and intentional rather than thrown together by chance.
Free Stuff Is Everywhere If You Ask
The pallet was free. One of the chairs ended up being free when the seller messaged saying just take them. Landscaping fabric scraps came from a neighbor’s garden project. Don’t assume you have to buy everything.
Your Porch Tells a Story About You
The most surprising part: when I finished, I felt genuinely proud. Not just of the work, but of what the space said. It said: someone here cares. Someone pays attention. Someone made an effort.
That feeling is worth every hour of the weekend you spent on it.
Frequently Asked Questions
What does a simple porch makeover cost on a small budget? First, focus on paint and light. That alone can make a big difference for anywhere from $50 to $100. My complete overhaul with all 5 upgrades cost around $200.
Do I need any special tools for these DIY porch upgrades? Nothing complicated. The main tools involved are a paintbrush and roller, a screwdriver, a staple gun for the pallet planter, and spray paint. Most people already have all of these.
How long does it take to finish all 5 upgrades? I spread the work over two weekends, allowing proper drying time between projects. If you plan ahead, you could realistically get most of it done in one solid weekend.
Will these upgrades hold up in bad weather? Yes, provided you use outdoor or exterior-rated products only — especially paint, string lights, and cushions. Always read the labels.
I rent my home. Can I still do these upgrades? Yes, most of them. Landlord approval may be required for paint and lighting fixtures, but the planter, doormat, hardware changes, and seating are all non-permanent. Adhesive hooks for string lights are also removable with no wall damage.
What’s the single best upgrade for the biggest impact? Paint. In every case. The cost is almost nothing relative to its impact and it is a complete agent of change in how a space feels and looks.
How do I keep my outdoor plants alive without spending a lot of time on them? Choose low-maintenance plants like pothos, succulents, or petunias. Water them consistently — a small routine, not an overwhelming task — and make sure they get the right light for their type.
Your Porch Can Be Your Favorite Place Too
Something stuck. I did not have much money, and I doubted that anything I could do within a $200 limit would look good. But here is what I discovered: intentionality matters more than money.
When you make thoughtful choices — matching finishes, quality plants, relatable lighting, furniture with good bones — people feel the effort. The space communicates care.
These 5 budget DIY home upgrades not only changed the look of my porch. They changed the way I felt coming home every day. And that, really, is more important than anything a contractor could ever deliver.
Start with one upgrade. Paint the door. Hang some lights. Do it one weekend at a time. You will be amazed at what’s possible when you start working with what you have instead of waiting for the “right” budget to arrive.