14 Ultimate Budget DIY Home Upgrades for Kitchen Lighting
A kitchen can be spotless, organized, and beautifully designed—yet still feel dull if the lighting is poor. Lighting is the silent force that shapes how a kitchen looks, feels, and functions. The good news? You don’t need a full renovation or expensive fixtures to transform it. With a little creativity, basic tools, and a modest budget, you can dramatically upgrade your kitchen lighting yourself.
This guide explores 14 ultimate budget DIY kitchen lighting upgrades that instantly make your space brighter, warmer, and more inviting—without draining your wallet. Along the way, you’ll find practical tips, comparison tables, planning charts, and real-world advice to help you choose the right upgrades for your home.
Why Kitchen Lighting Matters More Than You Think
Lighting in the kitchen serves three essential purposes:
| Lighting Type | Purpose | Examples |
|---|---|---|
| Ambient | Overall illumination | Ceiling fixtures, recessed lights |
| Task | Focused light for work areas | Under-cabinet lights, pendants |
| Accent | Decorative and mood lighting | Toe-kick LEDs, display lights |
A well-lit kitchen combines all three layers. Most budget upgrades simply improve one or two layers, but when combined strategically, they create a dramatic transformation.
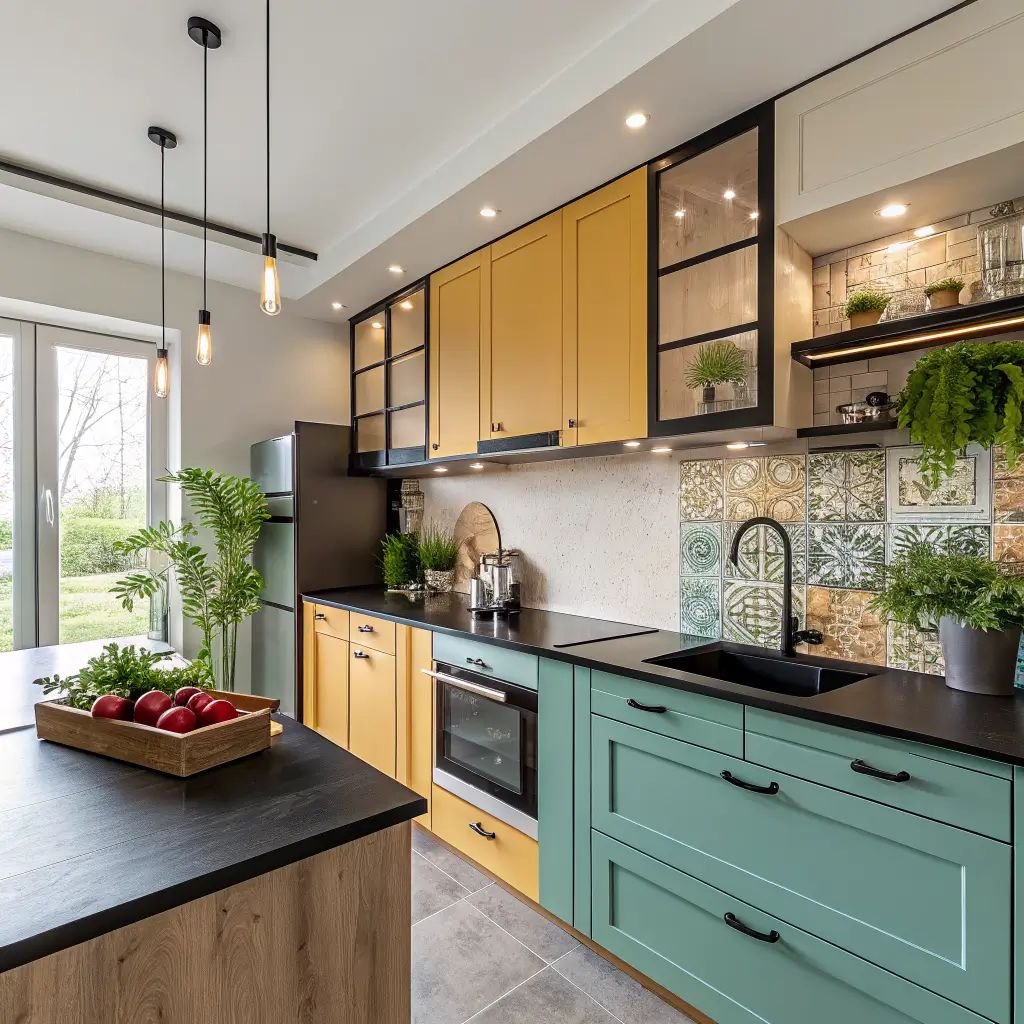
1. Install Peel-and-Stick LED Strip Lights Under Cabinets
Under-cabinet lighting is one of the most impactful upgrades you can make.
Why it works:
- Eliminates shadows on countertops
- Makes food prep safer
- Adds a modern glow
Peel-and-stick LED strips cost very little and require no wiring. Many plug into a standard outlet or USB adapter.
DIY Tip: Choose warm white (2700K–3000K) for cozy kitchens and cool white (4000K) for a clean, modern look.
2. Replace Old Bulbs with Energy-Efficient LEDs
Sometimes the simplest upgrade is the most effective.
LED vs Traditional Bulbs
| Feature | Incandescent | CFL | LED |
|---|---|---|---|
| Energy Use | High | Medium | Very Low |
| Lifespan | ~1,000 hrs | ~8,000 hrs | ~25,000 hrs |
| Heat Output | High | Medium | Low |
| Cost Over Time | Expensive | Moderate | Cheapest |
Switching to LEDs instantly brightens the kitchen and reduces electricity bills.

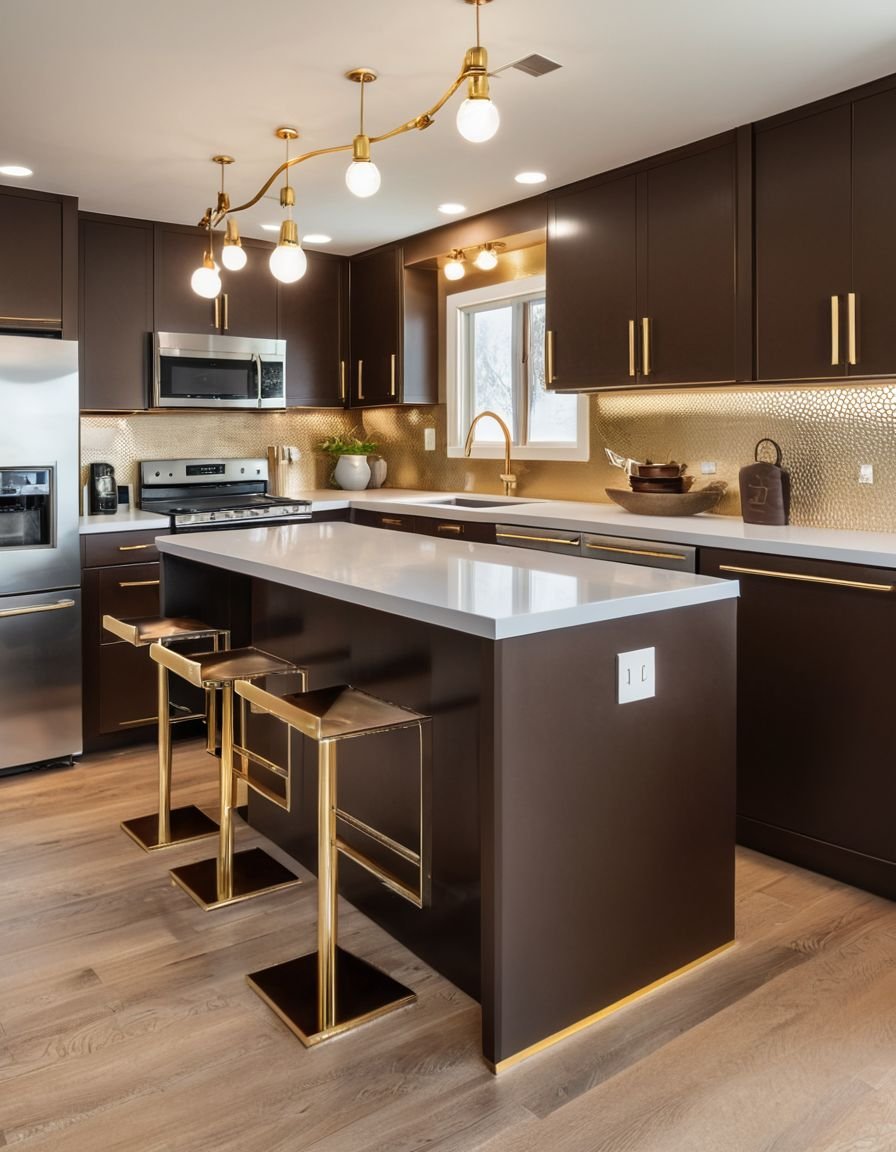
3. Add Plug-In Pendant Lights Over Work Areas
Pendant lights don’t require hardwiring if you choose plug-in versions. Hang them from ceiling hooks over islands or dining corners.
Budget Hack: Use decorative cords and inexpensive shades for a custom look.
4. Install Motion-Sensor Lights Inside Cabinets
Ever struggled to find something in a dark cabinet? Motion-sensor puck lights solve that problem.
They turn on automatically when doors open and turn off when closed—no switches needed.
Best Places to Install:
- Pantry shelves
- Deep cabinets
- Under sinks
5. Use Battery-Powered Puck Lights for Instant Brightness
Puck lights are perfect for renters because they require no drilling or wiring.
You can place them:
- Under cabinets
- Inside glass display cabinets
- Above the sink
Many models come with remote controls for brightness and color adjustments.
6. Create a Statement with a DIY Light Shade Makeover
If your existing fixture works but looks outdated, change the shade instead of replacing the entire light.
Creative Ideas:
- Spray-paint metal shades
- Wrap shades in fabric
- Use rattan baskets as covers
This small upgrade can completely change the kitchen’s style.
7. Add Toe-Kick Lighting at Floor Level
Toe-kick lighting sits beneath base cabinets and creates a soft floating effect.
Benefits:
- Adds depth and ambiance
- Provides nighttime navigation lighting
- Makes small kitchens look larger
LED strips are ideal for this project.
8. Install Dimmer Switches for Flexible Lighting
Dimmer switches allow you to adjust brightness based on mood and time of day.
Ideal Brightness Levels
| Activity | Recommended Brightness |
|---|---|
| Cooking | 100% |
| Dining | 50–70% |
| Nighttime | 20–30% |
Installing a dimmer is an affordable upgrade that instantly adds sophistication.
9. Brighten Dark Corners with Clip-On Lamps
Kitchens often have awkward dark corners where overhead light doesn’t reach.
Clip-on lamps can attach to shelves or cabinet edges, directing light exactly where needed.
10. Upgrade to Smart Bulbs for Custom Control
Smart bulbs allow you to:
- Adjust brightness from your phone
- Change color temperature
- Set schedules
Even a single smart bulb above the main workspace can enhance convenience.
11. Install Above-Cabinet Accent Lighting
If your cabinets don’t reach the ceiling, the empty space above them is perfect for hidden lighting.
This creates a soft glow that reflects off the ceiling and expands the sense of space.
12. Use Reflective Surfaces to Amplify Light
Not all lighting upgrades require new fixtures.
Light-boosting tricks:
- Add a mirrored backsplash section
- Use glossy paint
- Install glass cabinet doors
These surfaces bounce light around the room, making it feel brighter without extra electricity.
13. DIY Mason Jar Pendant Lights
For a rustic or farmhouse style, mason jar pendants are charming and inexpensive.
You can buy kits or assemble them yourself with basic components.
Safety Note: Use LED bulbs to prevent overheating.
14. Create a Layered Lighting Plan
The most powerful upgrade isn’t a single project—it’s combining several.
Sample Budget Lighting Plan
| Area | Upgrade | Estimated Cost |
|---|---|---|
| Countertops | LED strips | Low |
| Island | Plug-in pendants | Low–Medium |
| Cabinets | Motion lights | Low |
| Ceiling | LED bulbs | Low |
| Ambiance | Toe-kick lighting | Low |
By layering these upgrades, your kitchen can feel professionally designed on a tight budget.
Step-by-Step Budget Planning Chart
Use this planning guide before starting:
| Step | Action | Why It Matters |
|---|---|---|
| 1 | Identify dark areas | Targets upgrades |
| 2 | Choose lighting types | Prevents overspending |
| 3 | Measure spaces | Ensures proper fit |
| 4 | Set budget per zone | Keeps costs controlled |
| 5 | Install in phases | Easier DIY process |
Common Mistakes to Avoid
- Choosing bulbs with mismatched color temperatures
- Installing lights without considering shadows
- Over-lighting small kitchens
- Ignoring safety near water sources
How Lighting Transforms Kitchen Mood
Lighting doesn’t just help you see—it shapes emotion.
Bright white light: Energetic, clean, modern
Warm light: Cozy, inviting
Layered lighting: Balanced and comfortable
Think of lighting as the difference between a hospital room and a café. Same space, different atmosphere.
Final Thoughts
You don’t need expensive renovations to fall in love with your kitchen again. Strategic DIY lighting upgrades can completely transform the space—making it brighter, safer, and more beautiful.
Start small. Even one or two of these upgrades can make a noticeable difference. Over time, layering multiple improvements will give your kitchen a polished, designer feel on a budget.
Frequently Asked Questions (FAQs)
1. What is the cheapest way to improve kitchen lighting?
Switching to LED bulbs and adding peel-and-stick under-cabinet lights are the most affordable and effective upgrades.
2. What color light is best for kitchens?
Neutral white (3500K–4000K) works best for task areas, while warm white (2700K–3000K) is ideal for dining spaces.
3. Can renters upgrade kitchen lighting?
Yes. Battery-powered lights, plug-in pendants, and adhesive LED strips are renter-friendly options.
4. How many lighting types should a kitchen have?
Ideally three: ambient, task, and accent lighting for a balanced design.
5. Are smart bulbs worth it for kitchens?
They’re useful for convenience and energy savings, especially for frequently used fixtures.
6. How do I make a small kitchen look brighter?
Use under-cabinet lighting, reflective surfaces, and light-colored bulbs to visually expand the space.