Meta Description: Budget DIY home upgrades don’t have to cost a fortune. Learn ten proven ways to reach your long-cherished goal that are both cheap and practical.
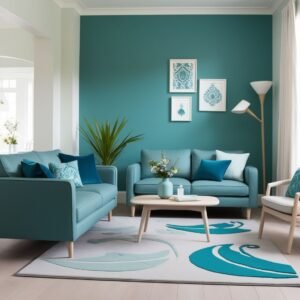
Making Your Place Instagram-Worthy on a Budget
With a little imagination and just a few dollars, you can have some of the most beautiful and eye-popping spaces ever seen on Instagram. At that point, we are certainly prepared to see the spade-ideal to get people talking in no time flat.
Whether you’re renting an apartment, townhome, or own a house which just needs some love, budget DIY home upgrades can take your space to an entirely fresh level. What’s more, it’s mostly complete at less than a day’s work. It’s a win-win situation for all!
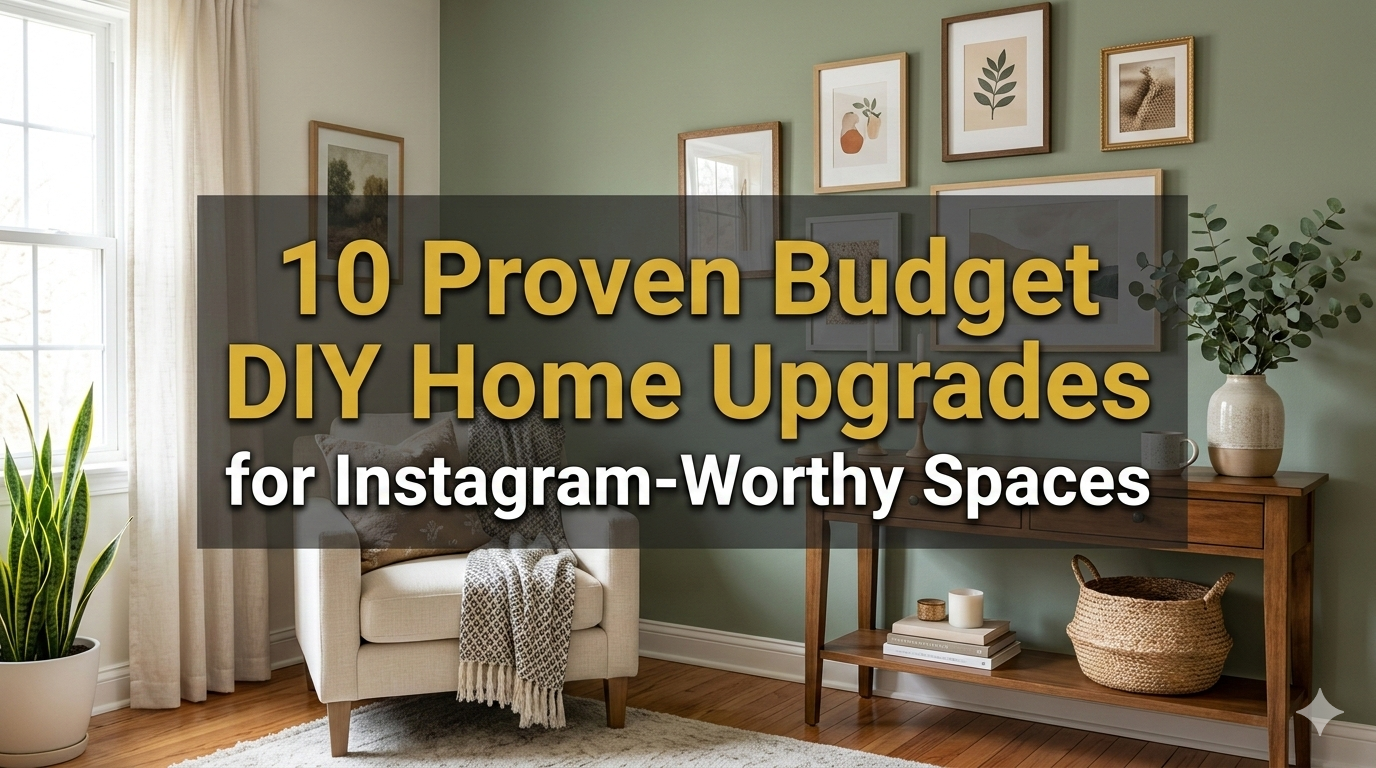
In 10 Proven Budget DIY Home Upgrades, we’ve put together a complete guide to budget-friendly interior decorating that ordinary people can use for their own homes. Each one is simple and inexpensive, and all those attached photos are suitable for sharing.
Let’s start with the first one.
Why Are DIY Home Upgrades the New Black?
Social media has changed the way we think about our homes. These days, people want homes that are curated spaces — looking like a Den of Luxury with extra style but without spending the equivalent of two luxury cars on every item.
The advent of platforms like Instagram, Pinterest, and TikTok has turned home décor into a daily source of ideas. More people now understand that this sort of professional look can be achieved without hiring a designer.
DIY is growing popular because it’s a good way to save money, lets you express your own artistic ideas freely, and is even a lot of fun once you get launched on it.
According to a report of the Harvard Joint Center for Housing Studies, Americans spend more than $400 billion a year on home improvement. But many of the most effective changes require spending less than $100.
What Is an “Instagram-Worthy” Space?
Before getting into the projects, it’s worth making sure you know what looks good in a room — both on camera and off.
Here are a few key elements:
- Good lighting — Natural or warm LED light makes everything look better.
- A consistent color theme — Try not to have more than two or three colors that commonly go well together.
- Textures and layers — Mix soft textiles, wood, metal, and plants for visual depth.
- Clean lines and organization — Less is more.
- Personal touches — Pictures, books, candles, and things that have meaning to the inhabitants make a space feel lived-in and unique.
Keep these in mind as we dive into the following upgrades.
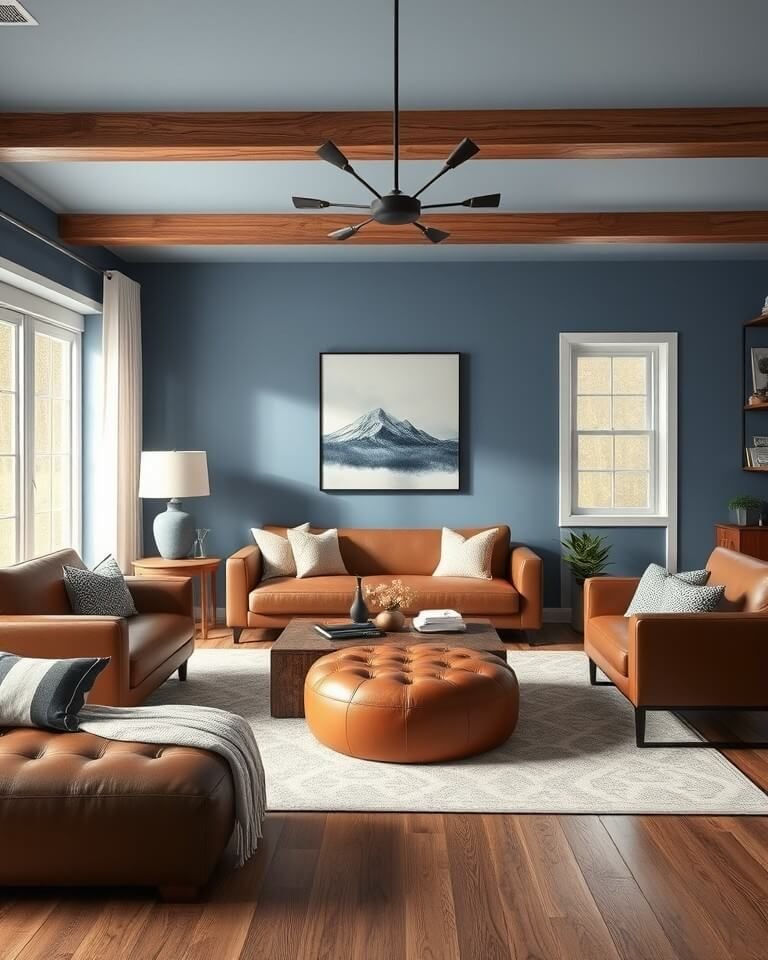
Upgrade #1: Paint a Bold Accent Wall That Immediately Grabs the Eye
Cost: $20–$50 | Time: 4–6 hours
Nothing makes a room brand new faster than a coat of paint. By choosing to paint just one bold and spectacularly eye-catching wall, rather than the whole room, you not only save on costs but also provide a dramatic focal point for otherwise plain spaces.
How to Choose the Right Wall
Choose the wall that your eyes naturally go to when you enter the room. That is usually the wall behind your bed, your couch, or your TV.
Color Palette Inspiration
| Color | Best Room | Why It Works |
|---|---|---|
| Sage Green | Bedroom, Living Room | Calming, earthy, on-trend |
| Deep Navy | Office, Dining Room | Bold, sophisticated look |
| Terracotta | Living Room, Kitchen | Warm, bohemian feel |
| Warm White | Any room | Bright, clean, timeless |
| Dusty Rose | Bedroom, Nursery | Soft, romantic aesthetic |
Pro Tip: Use painter’s tape for sharp lines. Two thin coats are nicer than one thick coat. Always let the first coat dry completely before applying the second.
For less than $30, this single upgrade can change a room’s entire feel. For more paint and finishing ideas on a shoestring, check out Frugal Home Renovator — a great resource for hands-on, budget-conscious DIYers.
Upgrade #2: Swap Out Old Light Fixtures for Instant Glamour
Cost: $25–$80 | Time: 1–2 hours
In photography and in all of our lives, lighting is the key. Old, outdated fixtures will make even a nice room feel dreary and tired.
Replacing a light fixture is easier than most people think. You don’t need to be an electrician. Most basic fixture swaps just involve turning off the breaker, unscrewing the old fixture, and following simple instructions on the new one.
Best Budget Fixture Styles to Try
- Rattan or woven pendant lights — Perfect for bohemian or coastal vibes
- Black metal cage lights — Industrial and modern
- Globe bulb clusters — Warm, romantic, and very photogenic
- Drum shade flush mounts — Clean and minimal
IKEA, Amazon, and thrift stores all have great options. Perhaps try spray painting an old chandelier gold or black for a dramatically effective and inexpensive upgrade.
Safety Note: Always turn off the power at your circuit breaker before touching any wiring. If you’re unsure, call a licensed electrician.
Upgrade #3: Peel-and-Stick Wallpaper for Renter-Friendly Style
Cost: $30–$80 per wall | Time: 2–3 hours
Peel-and-stick wallpaper has completely changed the game for renters and homeowners alike. It goes up easily, comes off without damage, and comes in hundreds of beautiful patterns.
Where to Use It
- Behind your bed as a headboard you can replace at will
- Inside bookshelves for a bit of pattern
- On a kitchen backsplash
- In the bathroom for a bold statement
- On the backside of your front door
Patterns That Pop on Instagram
Geometric patterns, tropical leaves, classic arches, and marble prints are all incredibly popular right now.
This upgrade is one of the most shared on social media because the before-and-after contrast is stunning.
Upgrade #4: Build a DIY Gallery Wall for Zero Decorating Regret
Cost: $15–$60 | Time: 2–4 hours
Gallery walls look expensive and intentional. But they are actually one of the easiest and most affordable ways to fill a blank wall with personality.
How to Plan Your Layout Without Making Holes Everywhere
Lay all your frames out on the floor first. Arrange them until you love the composition. Then copy each frame onto newspaper or kraft paper, cut out the shapes, and tape them to the wall. This lets you see how the layout will look before committing to nail holes.
What to Frame on a Budget
- Printed photos (Walgreens, CVS, or Amazon photo services are cheap)
- Free downloadable art from sites like Canva or Unsplash
- Pressed dried flowers in clear frames
- Kids’ drawings or hand-lettered quotes
- Pages from old books or maps
Mix frame colors intentionally. All black, all white, or a mix of natural wood tones look great. Mismatched random colors tend to look chaotic.
Size Tip: Use one large anchor piece in the center or corner, then build around it with smaller frames.
Upgrade #5: Refresh Your Kitchen Without a Full Remodel
Cost: $30–$150 | Time: Weekend project
Kitchens are expensive to renovate. But you can get a major visual refresh for very little money with a few smart swaps.
Cabinet Hardware Swap
New knobs and pulls make all the difference in the world. A full set of matte black or brushed brass hardware can cost $30 to $60 and takes about an hour with a screwdriver.
Open Shelving Addition
Take out one cabinet door — or all of them — to create open shelving. Line the shelves with identical plates, a few plants, and some baskets. This look is all the rage now and costs almost nothing to achieve.
Peel-and-Stick Backsplash Tiles
Worth mentioning again specifically for kitchens. These tile look-alikes peel and stick are incredibly realistic and can be applied in just a few hours.
| Kitchen Upgrade | Approximate Cost | Impact Level |
|---|---|---|
| New cabinet hardware | $30–$60 | High |
| Open shelving (remove doors) | $0 | High |
| Peel-and-stick backsplash | $40–$80 | Very High |
| New faucet | $50–$120 | Medium-High |
| Paint cabinets | $50–$100 | Very High |
Upgrade #6: Create a Cozy Reading Nook From Scratch
Cost: $50–$150 | Time: Weekend
Reading nooks top the list of most shared and saved home areas on Instagram. They feel defined, cozy, and utterly yours.
Easy Nook Ideas That Don’t Require Construction
- Window seat with floor cushions: Stack large floor cushions in a window bay to form a makeshift seat, throw a blanket over the top, and place a small side table beside it.
- Closet conversion: Remove the closet rod, add a bench cushion, string lights, and tiny shelves.
- Corner setup: Push a small armchair into a corner, add a floor lamp, a side table, and a stack of books.
What Makes a Nook Look Amazing in Photos
Light is the biggest factor. Whether you’re using a classic Edison filament bulb lamp or warm string lights, you can create an incredibly photogenic golden glow that isn’t possible anywhere else.
Add a knit throw blanket, a small plant, and candles. That’s the total aesthetic.
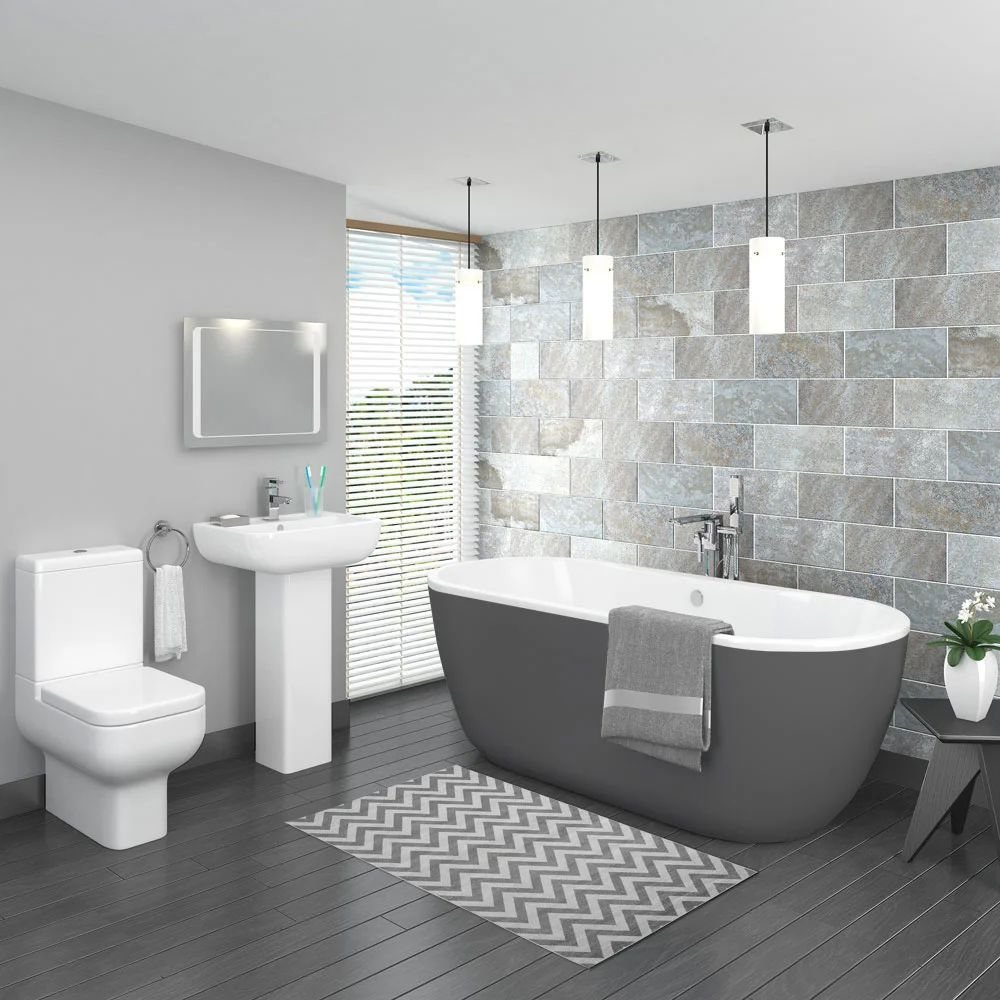
Upgrade #7: Level Up Your Bathroom for Almost Nothing
Cost: $20–$70 | Time: 1–3 hours
Because bathrooms are small, even small changes can make a big visual difference.
Quick Wins That Cost Under $30
- Replace a basic toilet paper holder with a matte black or gold version
- Swap a builder-grade mirror for a vintage-style or arched mirror
- Add a small wooden tray to organize products on the counter
- Hang a eucalyptus bundle from your showerhead — it smells amazing too
- Replace a plastic shower curtain with a linen or waffle-weave one
The Power of Matching Accessories
When your soap dispenser, toothbrush holder, and cup all match — even cheap ones from Amazon or HomeGoods — the bathroom instantly looks more curated and expensive.
Color Rule: Stick to two tones max. White and wood, black and white, or sage and cream all look great in small bathroom spaces.
Upgrade #8: Style Your Shelves Like a Pro
Cost: $10–$40 | Time: 1–2 hours
Shelves are prime Instagram real estate. Most people just stack books randomly. But with a little intention, shelves become one of the most beautiful parts of a room.
The Rule of Threes
Group items in sets of three — one tall item, one medium, one small. This creates visual balance without looking too perfect or staged.
What to Put on Styled Shelves
- Books (turned spine-in for a neutral look, or spine-out for color pops)
- Small potted plants or trailing vines
- Candles in varying heights
- Small sculptures or figurines
- Framed photos leaning against the shelf wall
- Baskets for hiding clutter
Color Coordination Trick
Pull two or three colors from your room’s palette and stick to those in your shelf items. When everything shares a color family, it looks collected and intentional — not random. According to House Beautiful’s shelf styling guide, mixing books with objects of varying heights is one of the most effective ways to create a visually compelling shelf display.
Upgrade #9: Add Life With Plants (Real or Faux)
Cost: $5–$50 | Time: 30 minutes
Plants make every single space look better. They add color, texture, life, and warmth. In photos, they fill empty corners and add organic shapes that feel natural and calming.
Best Budget-Friendly Plants for Beginners
| Plant | Price Range | Light Needed | Why It’s Great |
|---|---|---|---|
| Pothos | $5–$10 | Low to medium | Almost impossible to kill |
| Snake Plant | $10–$20 | Low | Very architectural, modern look |
| Spider Plant | $5–$10 | Medium | Great trailing look for shelves |
| Monstera | $15–$30 | Medium | Very photogenic, dramatic leaves |
| ZZ Plant | $15–$25 | Low | Glossy, sculptural, forgiving |
For Those Who Forget to Water
High-grade faux plants from IKEA, Amazon, or Target now look incredibly real. Use them anywhere with no natural light, style them in good-looking pots — like terracotta, ceramic, or woven baskets — and nobody will know the difference in photos.
Upgrade #10: Curtains Customized for Your Budget Design
Cost: $25–$80 | Time: 2–3 hours (no sewing required)
Curtains are among the most underestimated upgrades to any room. The wrong curtains make a space feel cheap and incomplete. The right ones make a room feel tall, soft, and luxurious.
The Biggest Mistake Most People Make With Curtains
Hanging curtains too low and too short. Always mount the rod close to the ceiling — not above the window frame. Let the curtains fall to the floor or pool slightly. This trick makes ceilings look higher and rooms bigger.
No-Sew DIY Curtain Options
- Buy inexpensive linen fabric by the yard and use iron-on hem tape to finish the edges
- Use drop cloth fabric — extremely cheap, beautiful natural look
- Clip IKEA LENDA curtains or similar basic panels and dye them with Rit Dye for a custom color
Curtain Styles That Photograph Well
- Sheer white linen panels for a light, airy look
- Boucle or velvet panels in dark tones for a brooding aesthetic
- Warm beige or oatmeal linens for an organic, minimal feel
Budget DIY Upgrade Quick Reference Chart
| Upgrade | Budget Range | Time Required | Difficulty Level | Instagram Impact |
|---|---|---|---|---|
| Accent Wall Paint | $20–$50 | 4–6 hours | Easy | ⭐⭐⭐⭐⭐ |
| Light Fixture Swap | $25–$80 | 1–2 hours | Easy-Medium | ⭐⭐⭐⭐ |
| Peel-and-Stick Wallpaper | $30–$80 | 2–3 hours | Easy | ⭐⭐⭐⭐⭐ |
| Gallery Wall | $15–$60 | 2–4 hours | Easy | ⭐⭐⭐⭐ |
| Kitchen Refresh | $30–$150 | Weekend | Easy-Medium | ⭐⭐⭐⭐⭐ |
| Reading Nook | $50–$150 | Weekend | Easy | ⭐⭐⭐⭐⭐ |
| Bathroom Upgrade | $20–$70 | 1–3 hours | Easy | ⭐⭐⭐⭐ |
| Shelf Styling | $10–$40 | 1–2 hours | Easy | ⭐⭐⭐⭐ |
| Plants | $5–$50 | 30 minutes | Very Easy | ⭐⭐⭐⭐ |
| Custom Curtains | $25–$80 | 2–3 hours | Easy | ⭐⭐⭐⭐⭐ |
Using Social Media to Help You Stay Focused on DIY Upgrades
Doing too many projects at once is a sure way to make yourself crazy and leave piles of unfinished work piled up in each room. Try this simple approach instead:
Begin with a single room. Usually it’s either the room you spend the most time in or the one which bothers you the most. Give all your efforts there first.
Analyze according to degree of influence. Look at the chart above and pick 2–3 high-impact targets that fit your budget. Begin with those.
Determine a sensible budget. Think about how much you will spend this month. Even $50 can create instantly visible changes.
Keep records as you go. Take before photos. Document the process. Share every step. Self-promotion content is great, but it is also helpful in building momentum for yourself.
Don’t Fail on Your DIY Journey the Way Most People Do
Even in its most basic form, things can slow down when you begin without a plan. Here are the most common beginner mistakes — and how to avoid them.
Don’t skip prep work. If your walls are dirty or oily, paint won’t stick properly. An unprimed surface is no place for peel-and-stick paper either. Clean and prepare walls before beginning.
Don’t skip color tests. Always buy a sample pot of paint before committing to a full gallon. Colors look completely different in different lighting.
Don’t ignore scale. A tiny rug in a very large room, or an enormous piece of art in a short hallway, throws off everything. Measure before you buy.
Don’t rush it. The reason why so many people make mistakes with DIY projects is that they try to do too much at once. Slow down. Let it dry. Get it right.
FAQs About Budget DIY Home Upgrades
Q: What is the cheapest thing I can do for the biggest impact?
A: Almost certainly painting an accent wall. A $20–$30 can of paint can completely change the mood of a room in just a few hours.
Q: Can renters do any of these projects?
A: Certainly. Renters can put up peel-and-stick wallpaper, style plants and furnishings on shelves, renew curtains, and accessorize. The only thing to watch out for is work that involves permanent changes, such as removing cabinet doors or filling big holes without permission.
Q: How do I know where to begin?
A: Begin by changing first what will cause you the fewest problems if it doesn’t turn out right. Styling books on a shelf or adding a pot of plants are great starting points that need no tools.
Q: Do these projects require special tools?
A: No special tools are necessary for most of these upgrades — a screwdriver, a level, a tape measure, and painter’s tape will handle most jobs. A drill comes in handy when putting up gallery walls or changing fixtures but isn’t always needed.
Q: How can I make my home look good on camera?
A: First, work on your lighting. Move close to a window during the day and use warm LED lights at night. Declutter the frame. Add one or two plants and a textured throw. You will be astounded at the results this formula gives.
Q: Where can I find inexpensive décor items for these projects?
A: IKEA, Target, Amazon, HomeGoods, and thrift stores are your best bets. Facebook Marketplace and local estate sales are also goldmines where unique pieces sell at rock-bottom prices.
Q: How quickly can I expect to see results?
A: Some changes, such as styling shelves or adding plants, can be done within an hour with immediate results. Bigger projects like painting or wallpaper take a few hours but can still be finished in a single day or weekend.
The Real Secret Behind Every Beautiful Space
Most home decoration articles won’t tell you this. The most beautiful spaces don’t get that way by buying expensive furniture and rare old pieces. Rather, they’re beautiful because someone made intentional decisions.
They chose a color palette and stuck to it. They ruthlessly edited things out. They created texture and warmth through soft elements like throws, rugs, and plants. They were mindful of how light moved through the space.
That level of intention is completely free. And it is available right now to you, in whatever space you are sitting in.
Budget DIY home upgrades are really just the tools. It’s your eye, your taste, and your desire to try things and adjust them that really make a home feel and look amazing.
Wrapping Up
You now have 10 proven, inexpensive upgrades that can transform any room from forgotten to genuinely stunning. No professionals required. No big budget needed. And every single one is worth sharing.
Start small. Pick the one project that appeals to you most. Take a before photo. Then go make something beautiful.
You and your home will both be grateful that you did.